For molding and casting, it is a 4 stage process. Model your object and mold, machine your mold, create the mold, then cast your object.
There are different types of materials you can use to do casting, and various ways you can go around it.
For this assignment, I will be using foam for the first machining, silicon rubber for my mold, and liquid plastic as my cast.
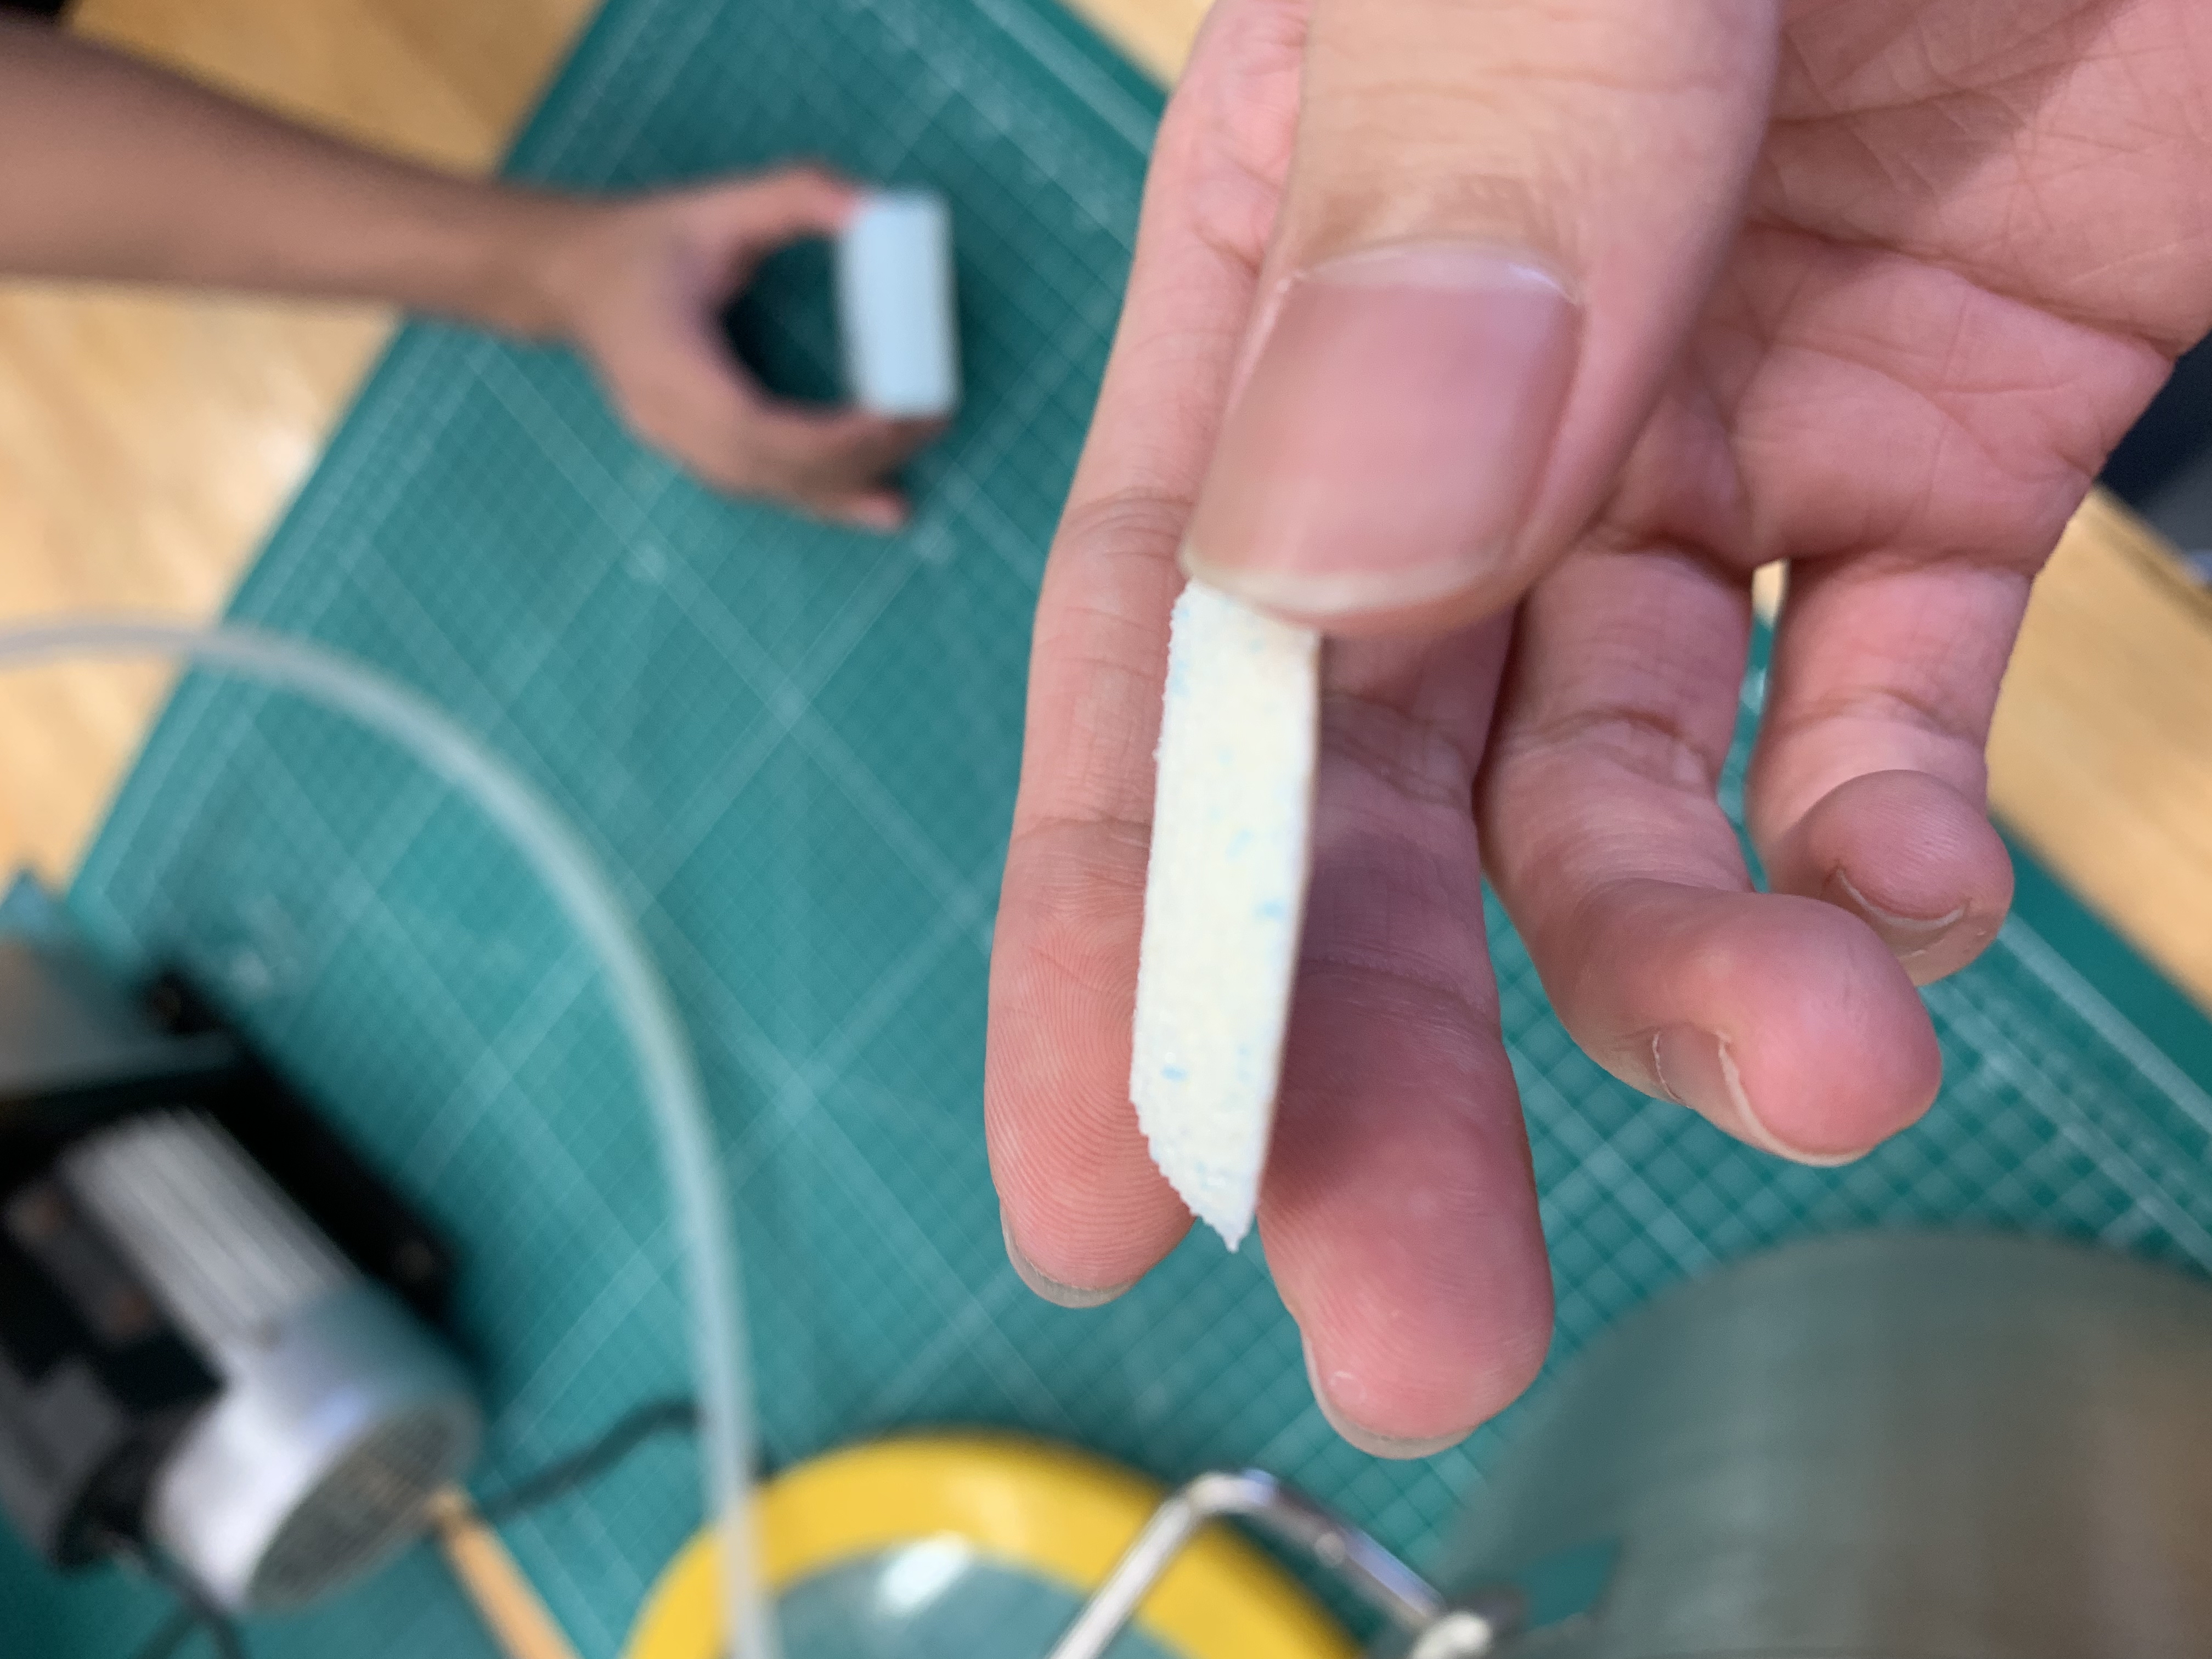
One thing to note is that these solutions are considered harmful to skin, thus gloves and protection is needed.
It is also hard to clean with continuous exposure to air.
CREATING MOLD
With the foam machined (refer to 3D Machining), I can create my mold.
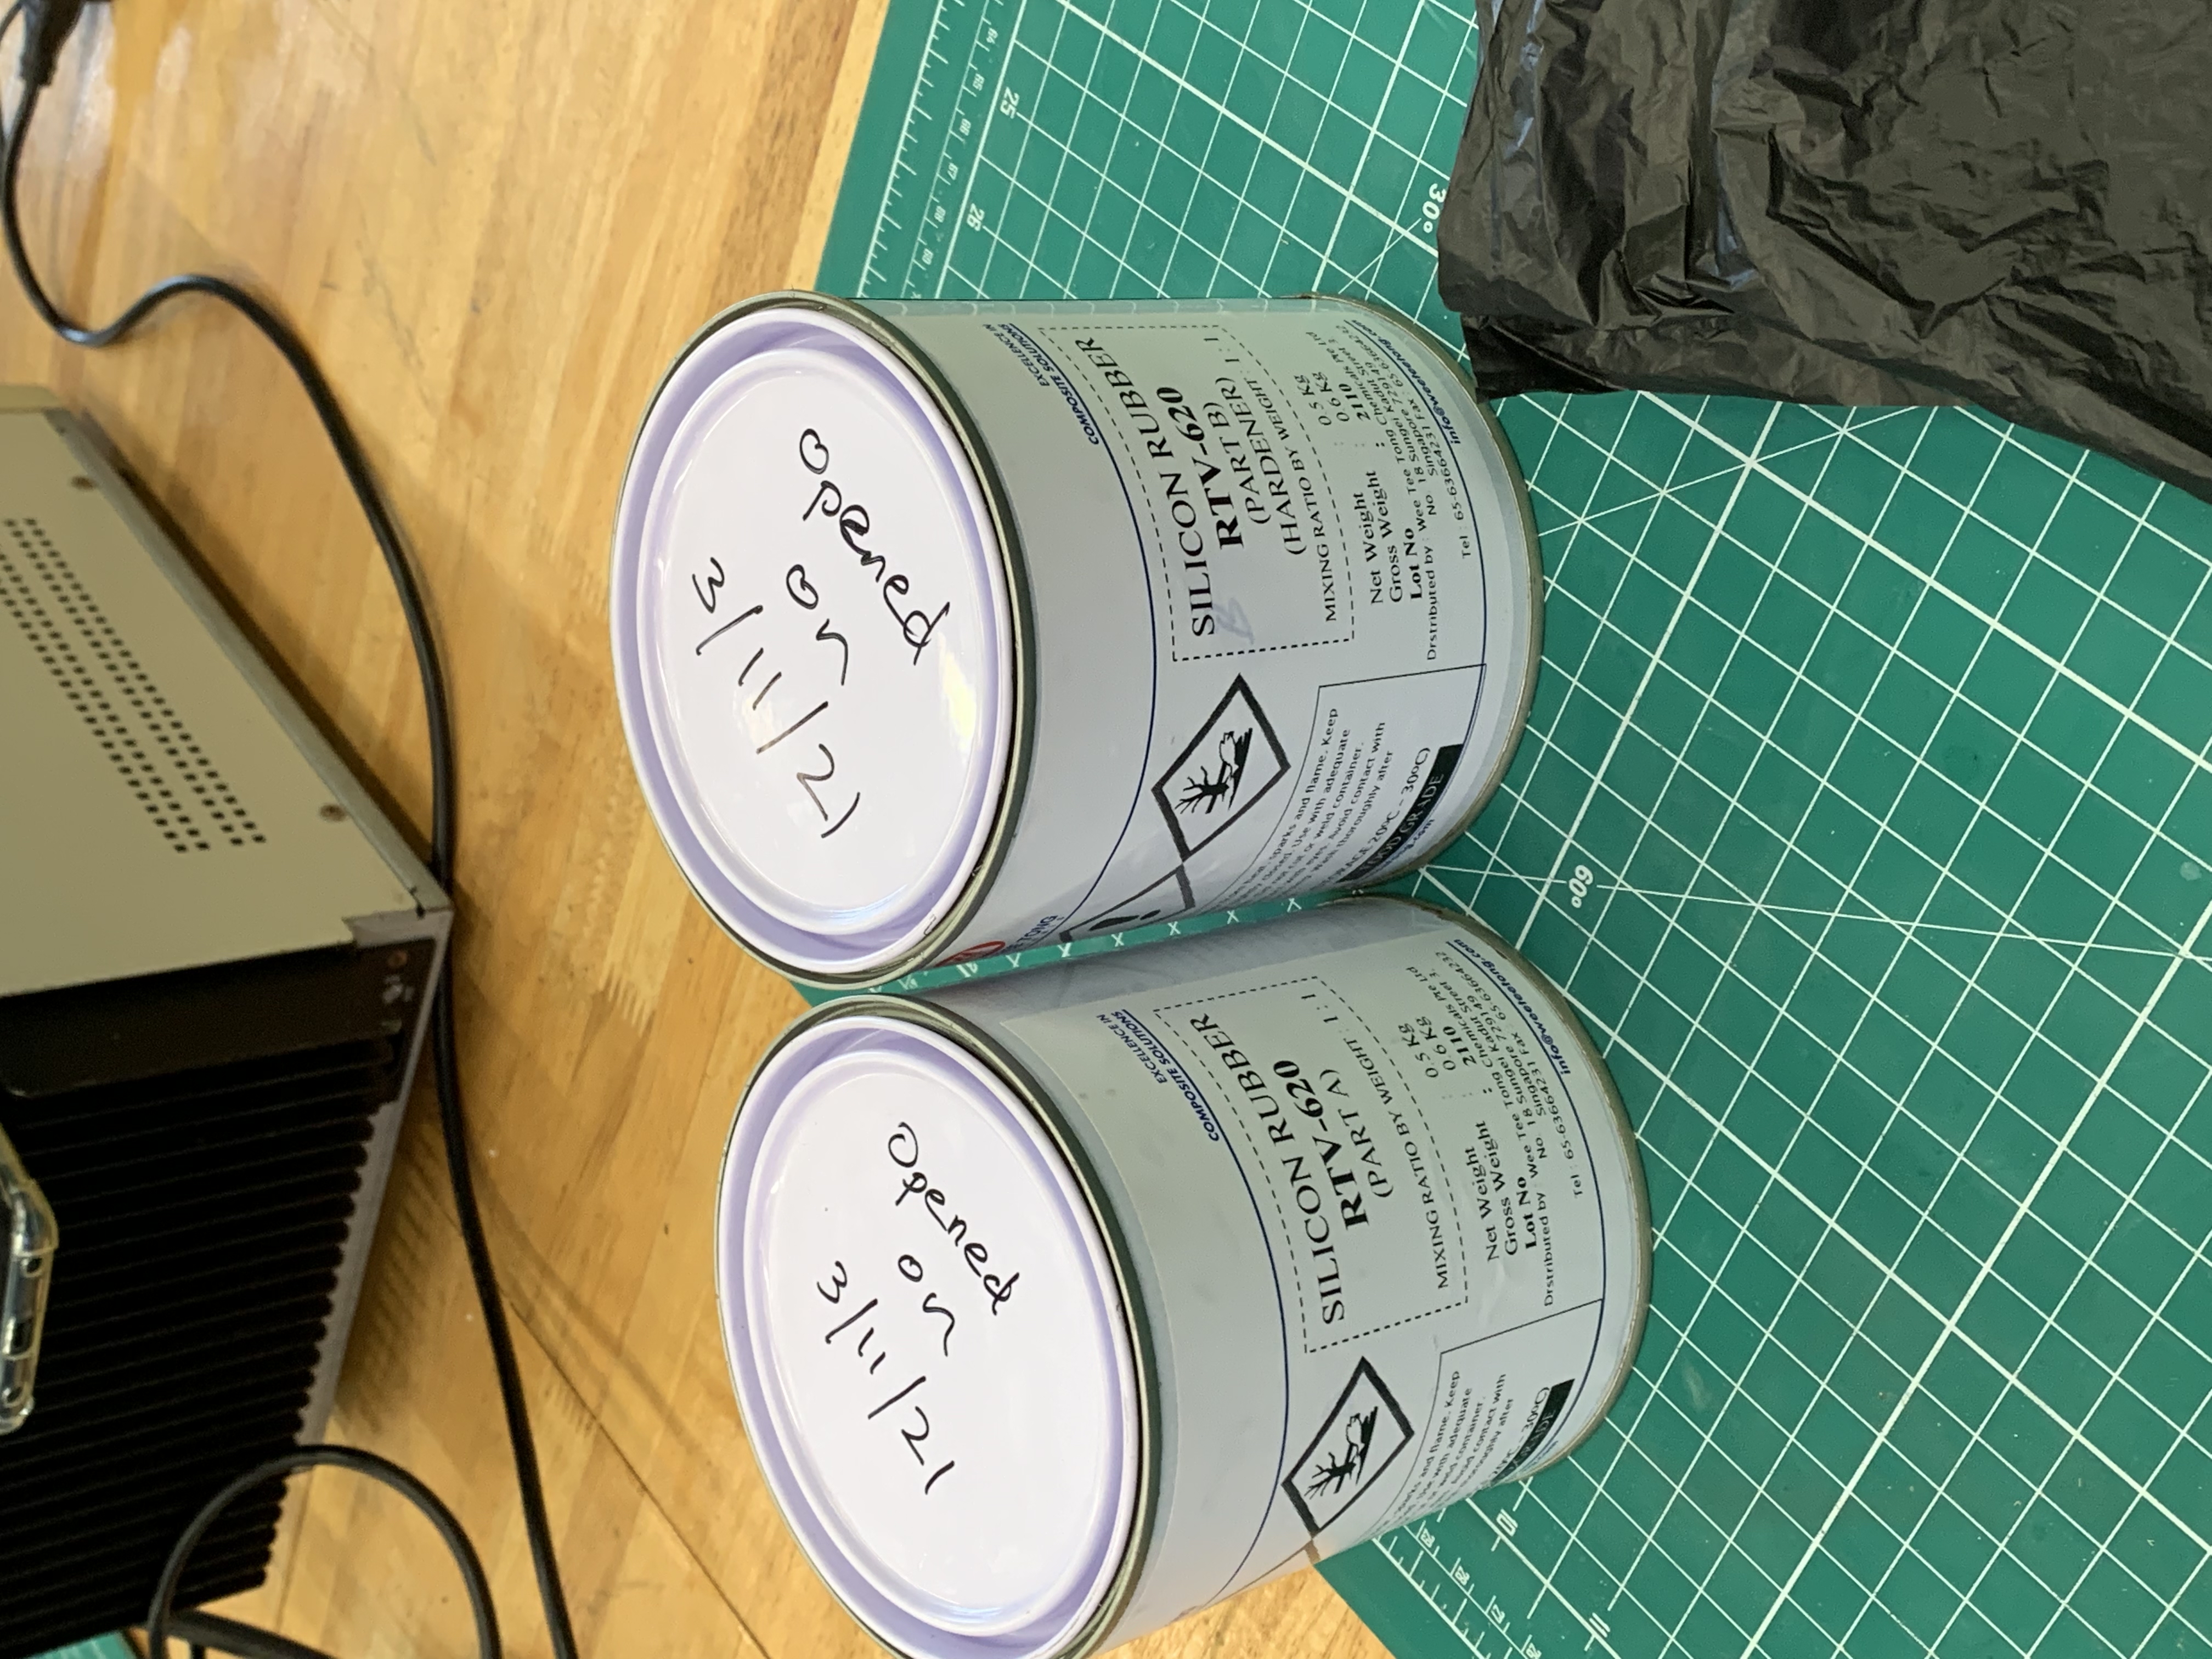
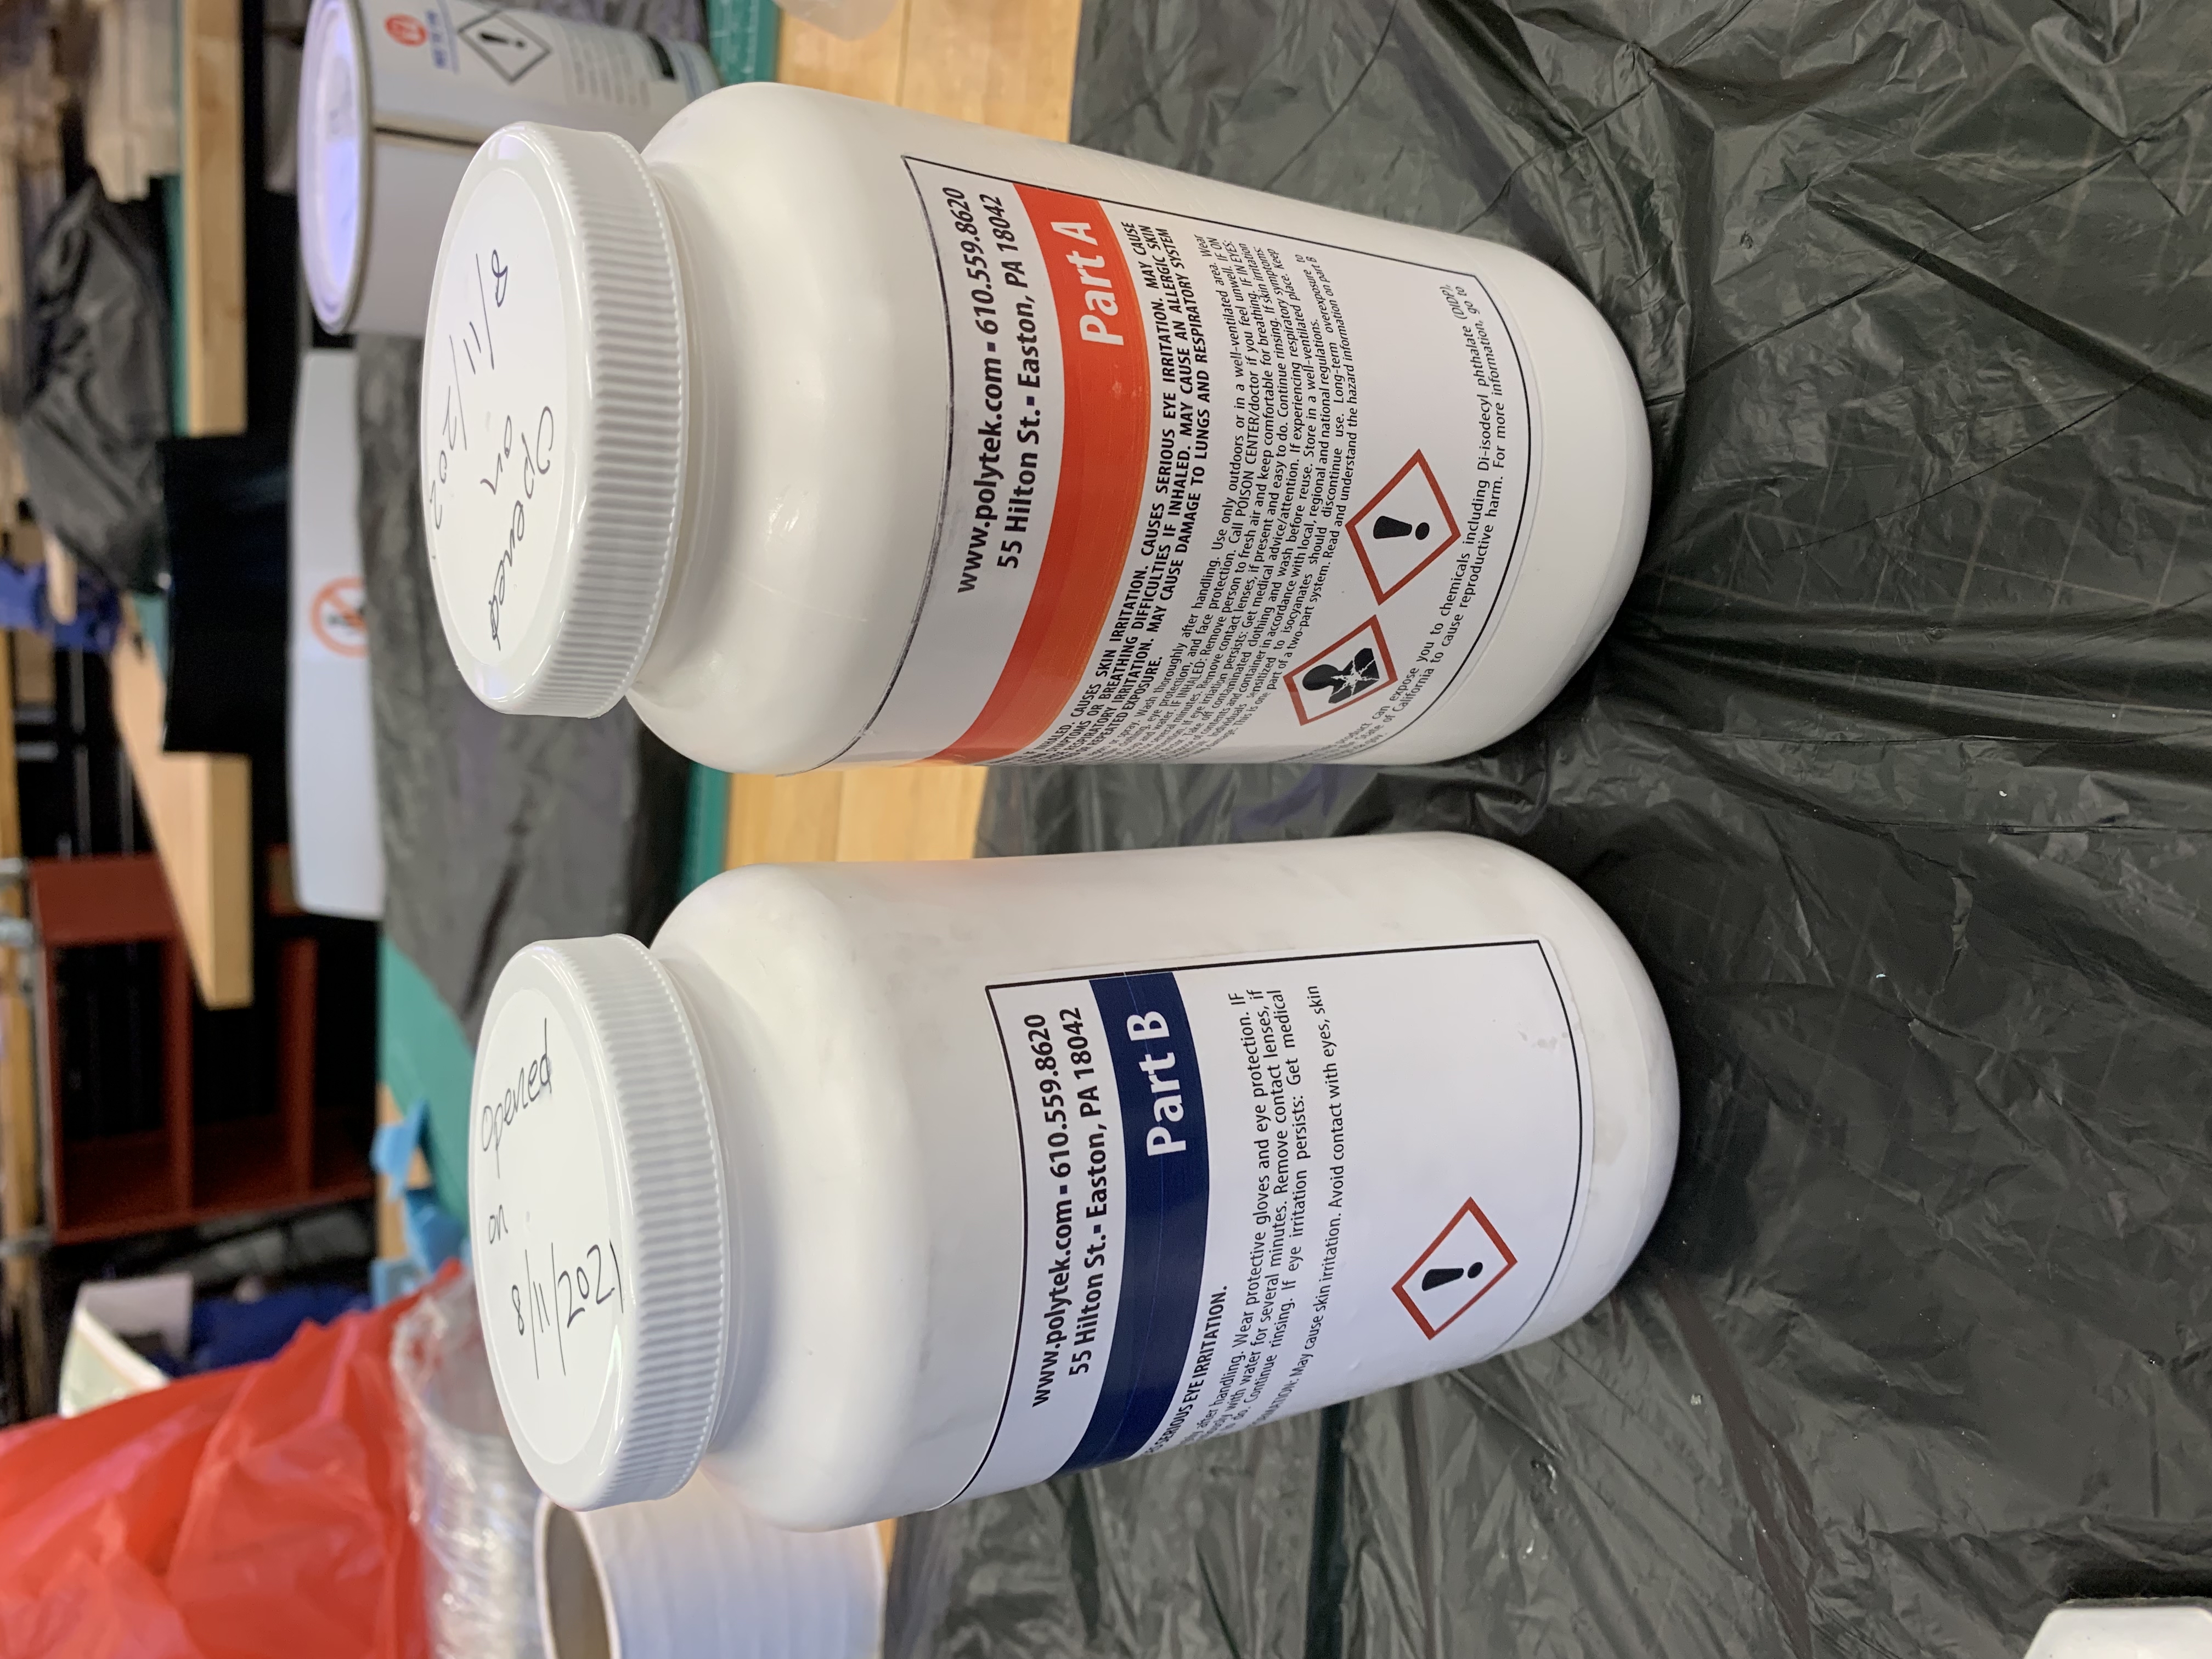
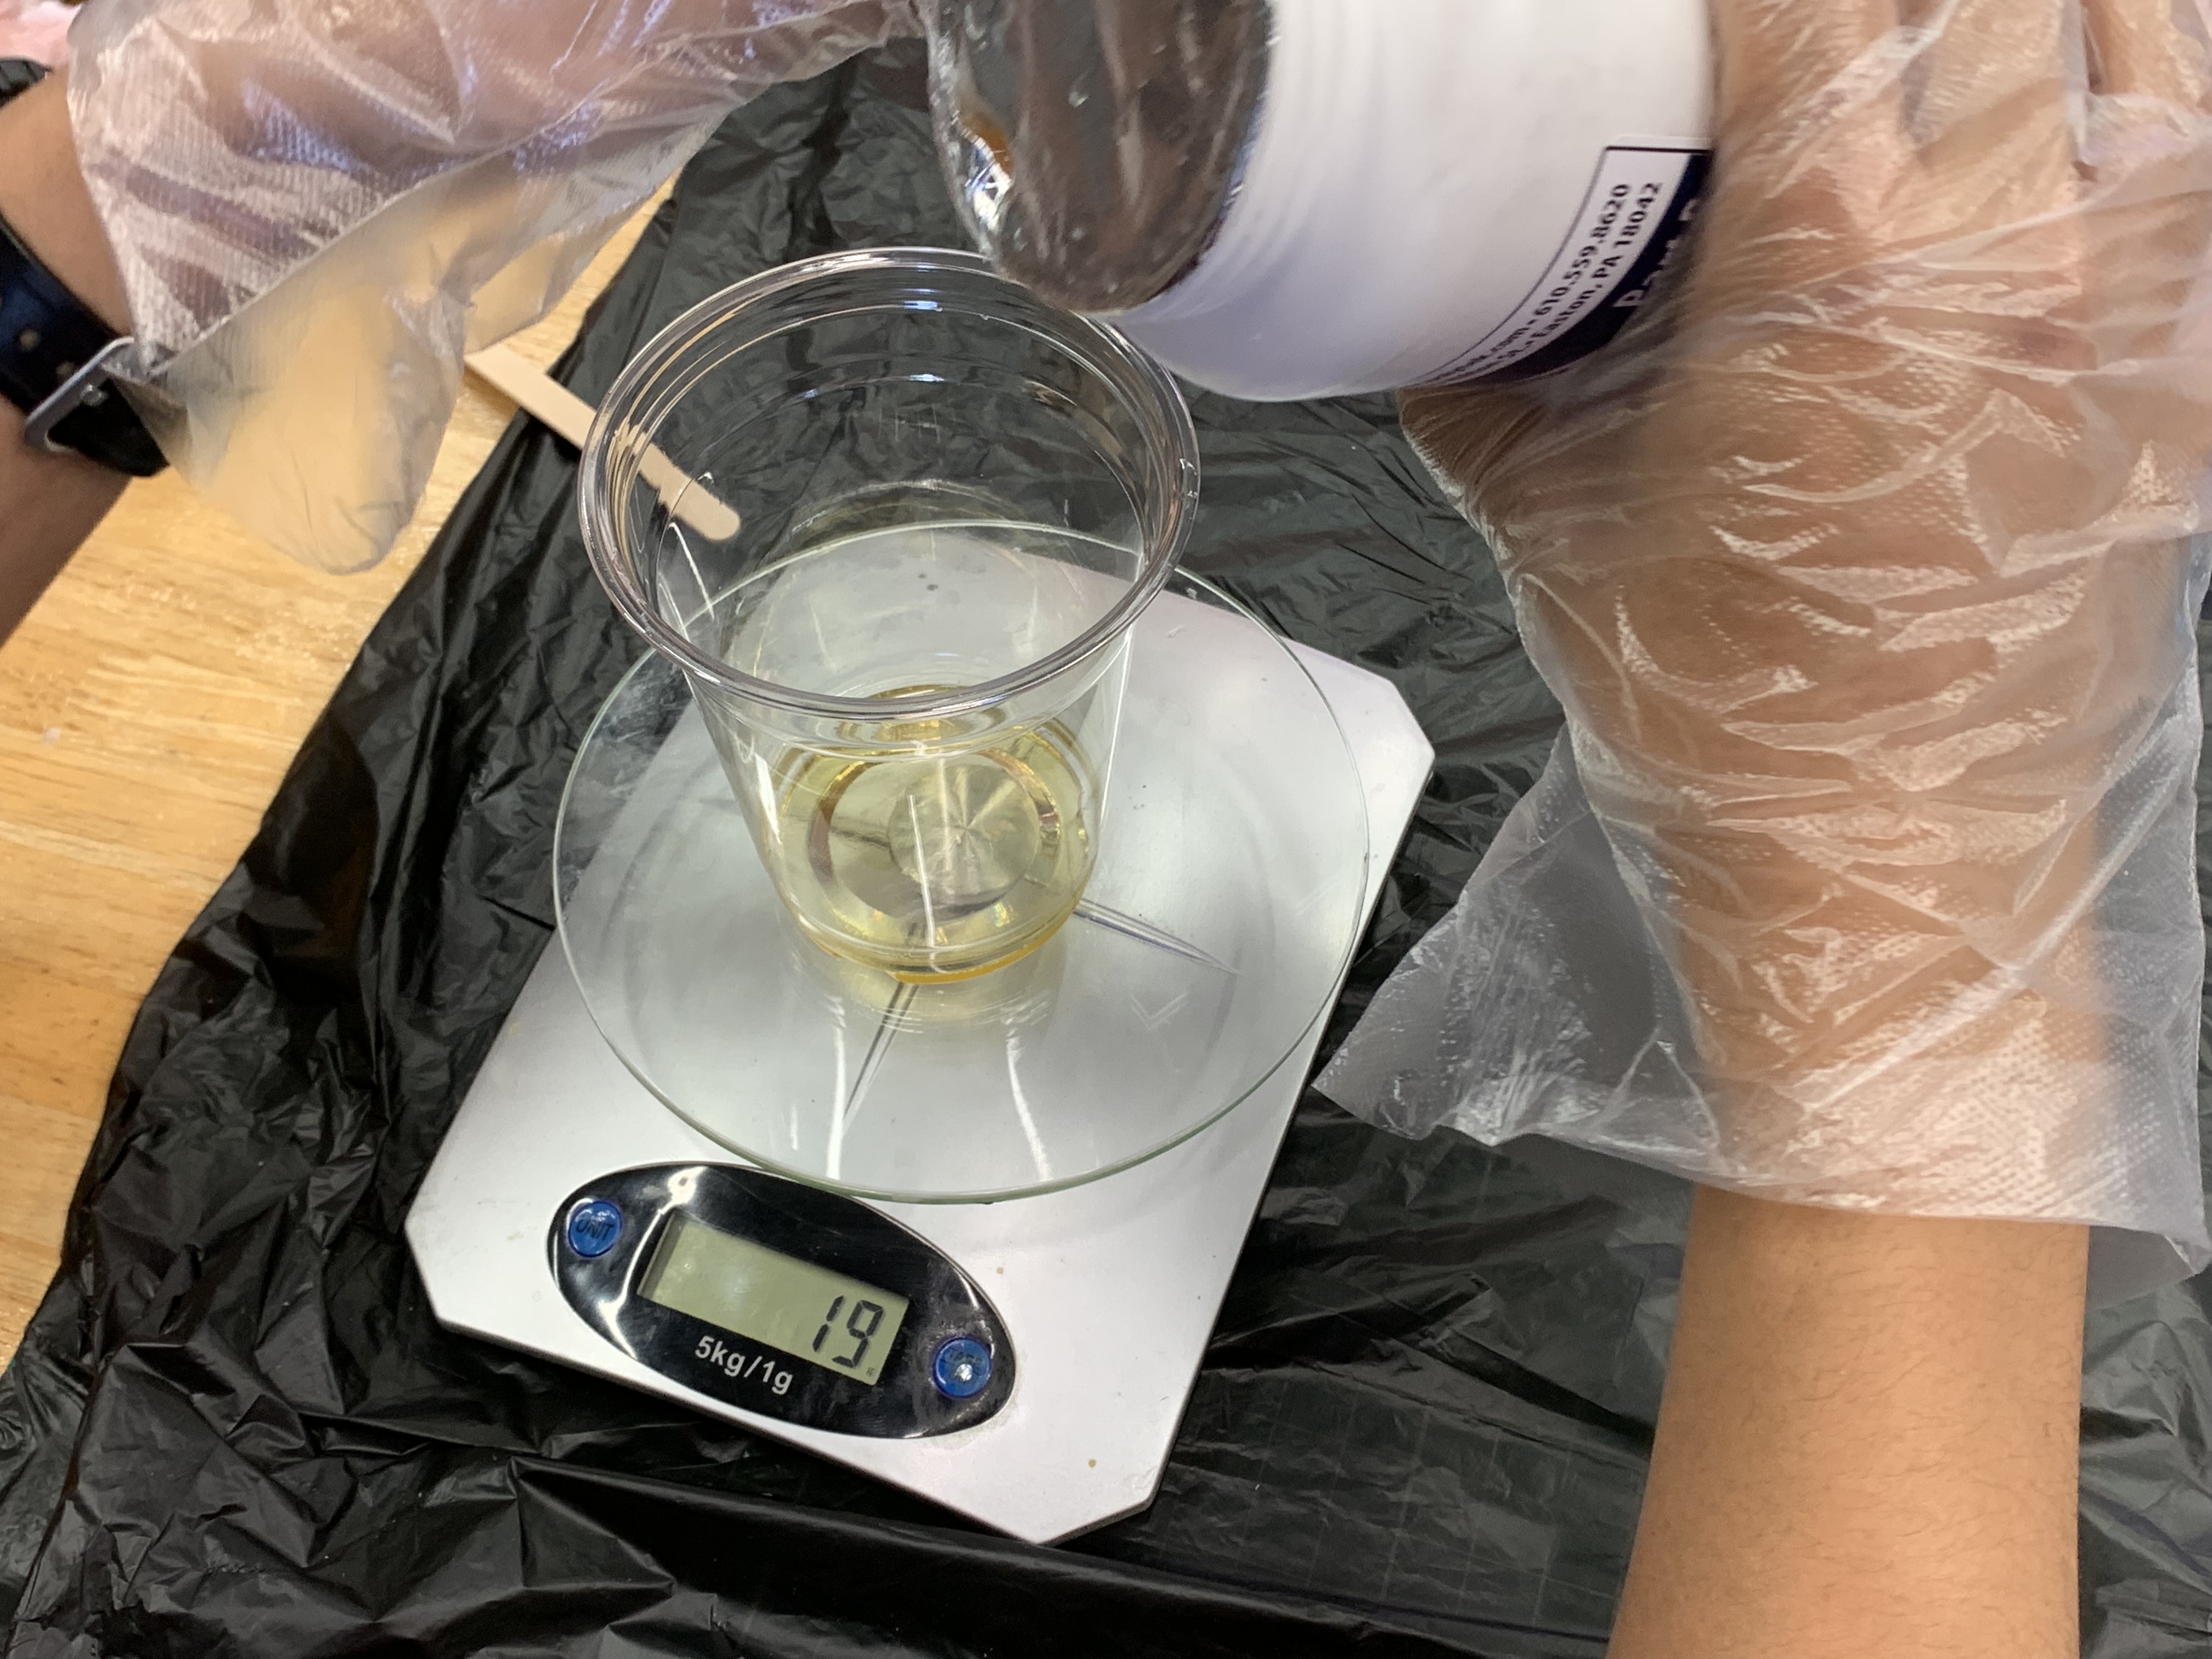
There are two solutions to mix, part A is silicon rubber, part B is a hardening agent.
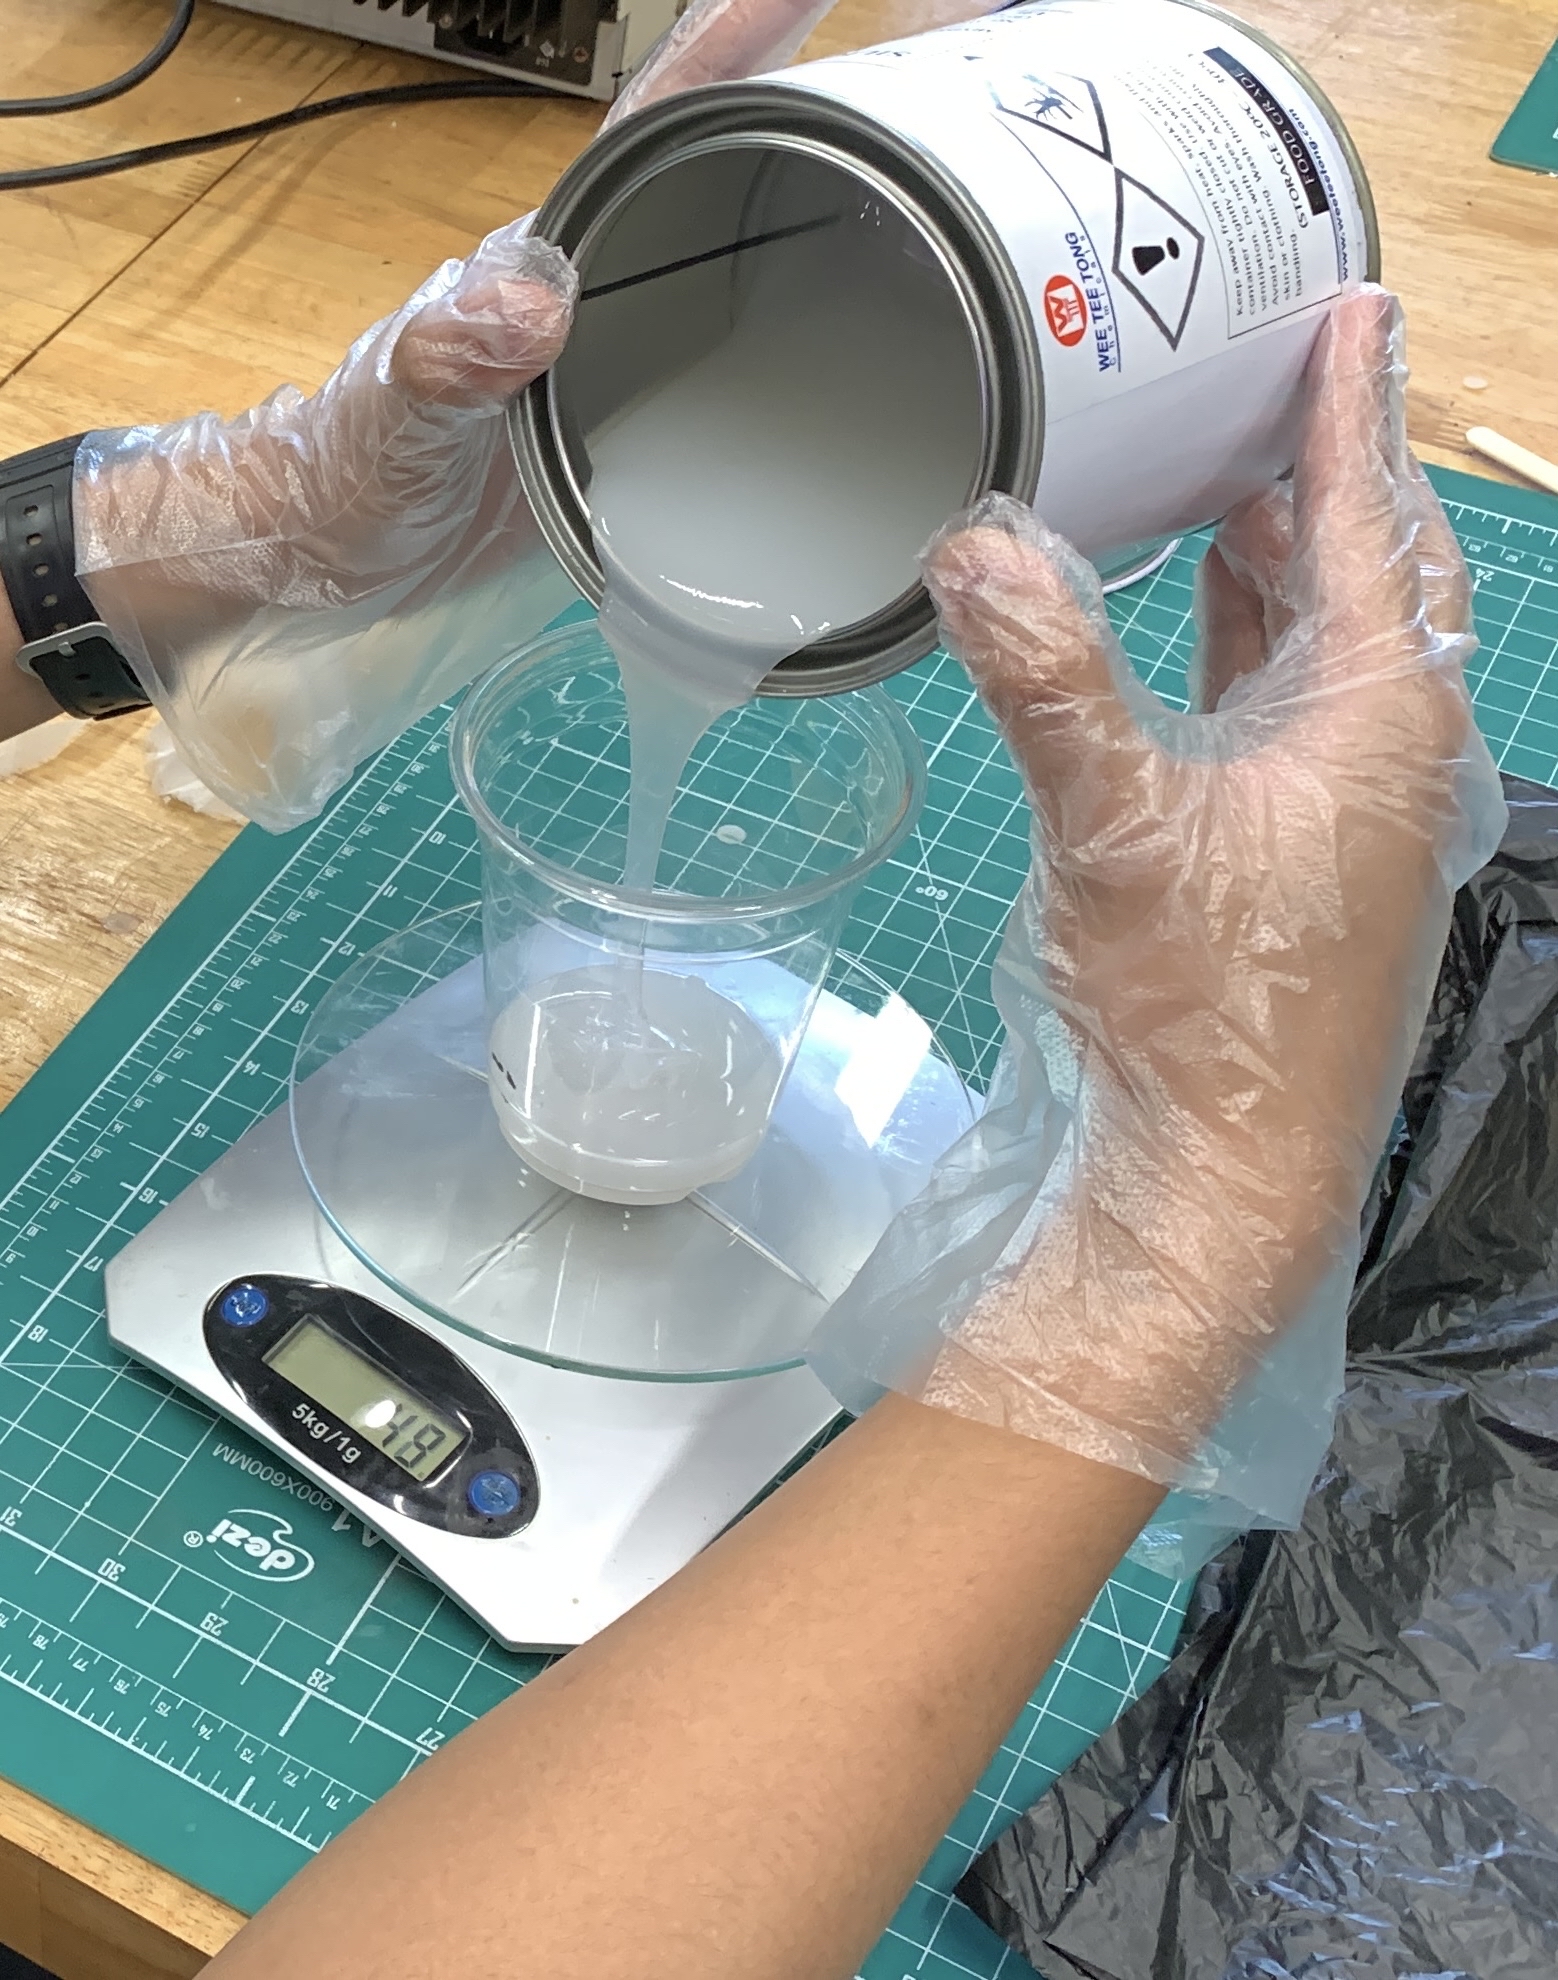
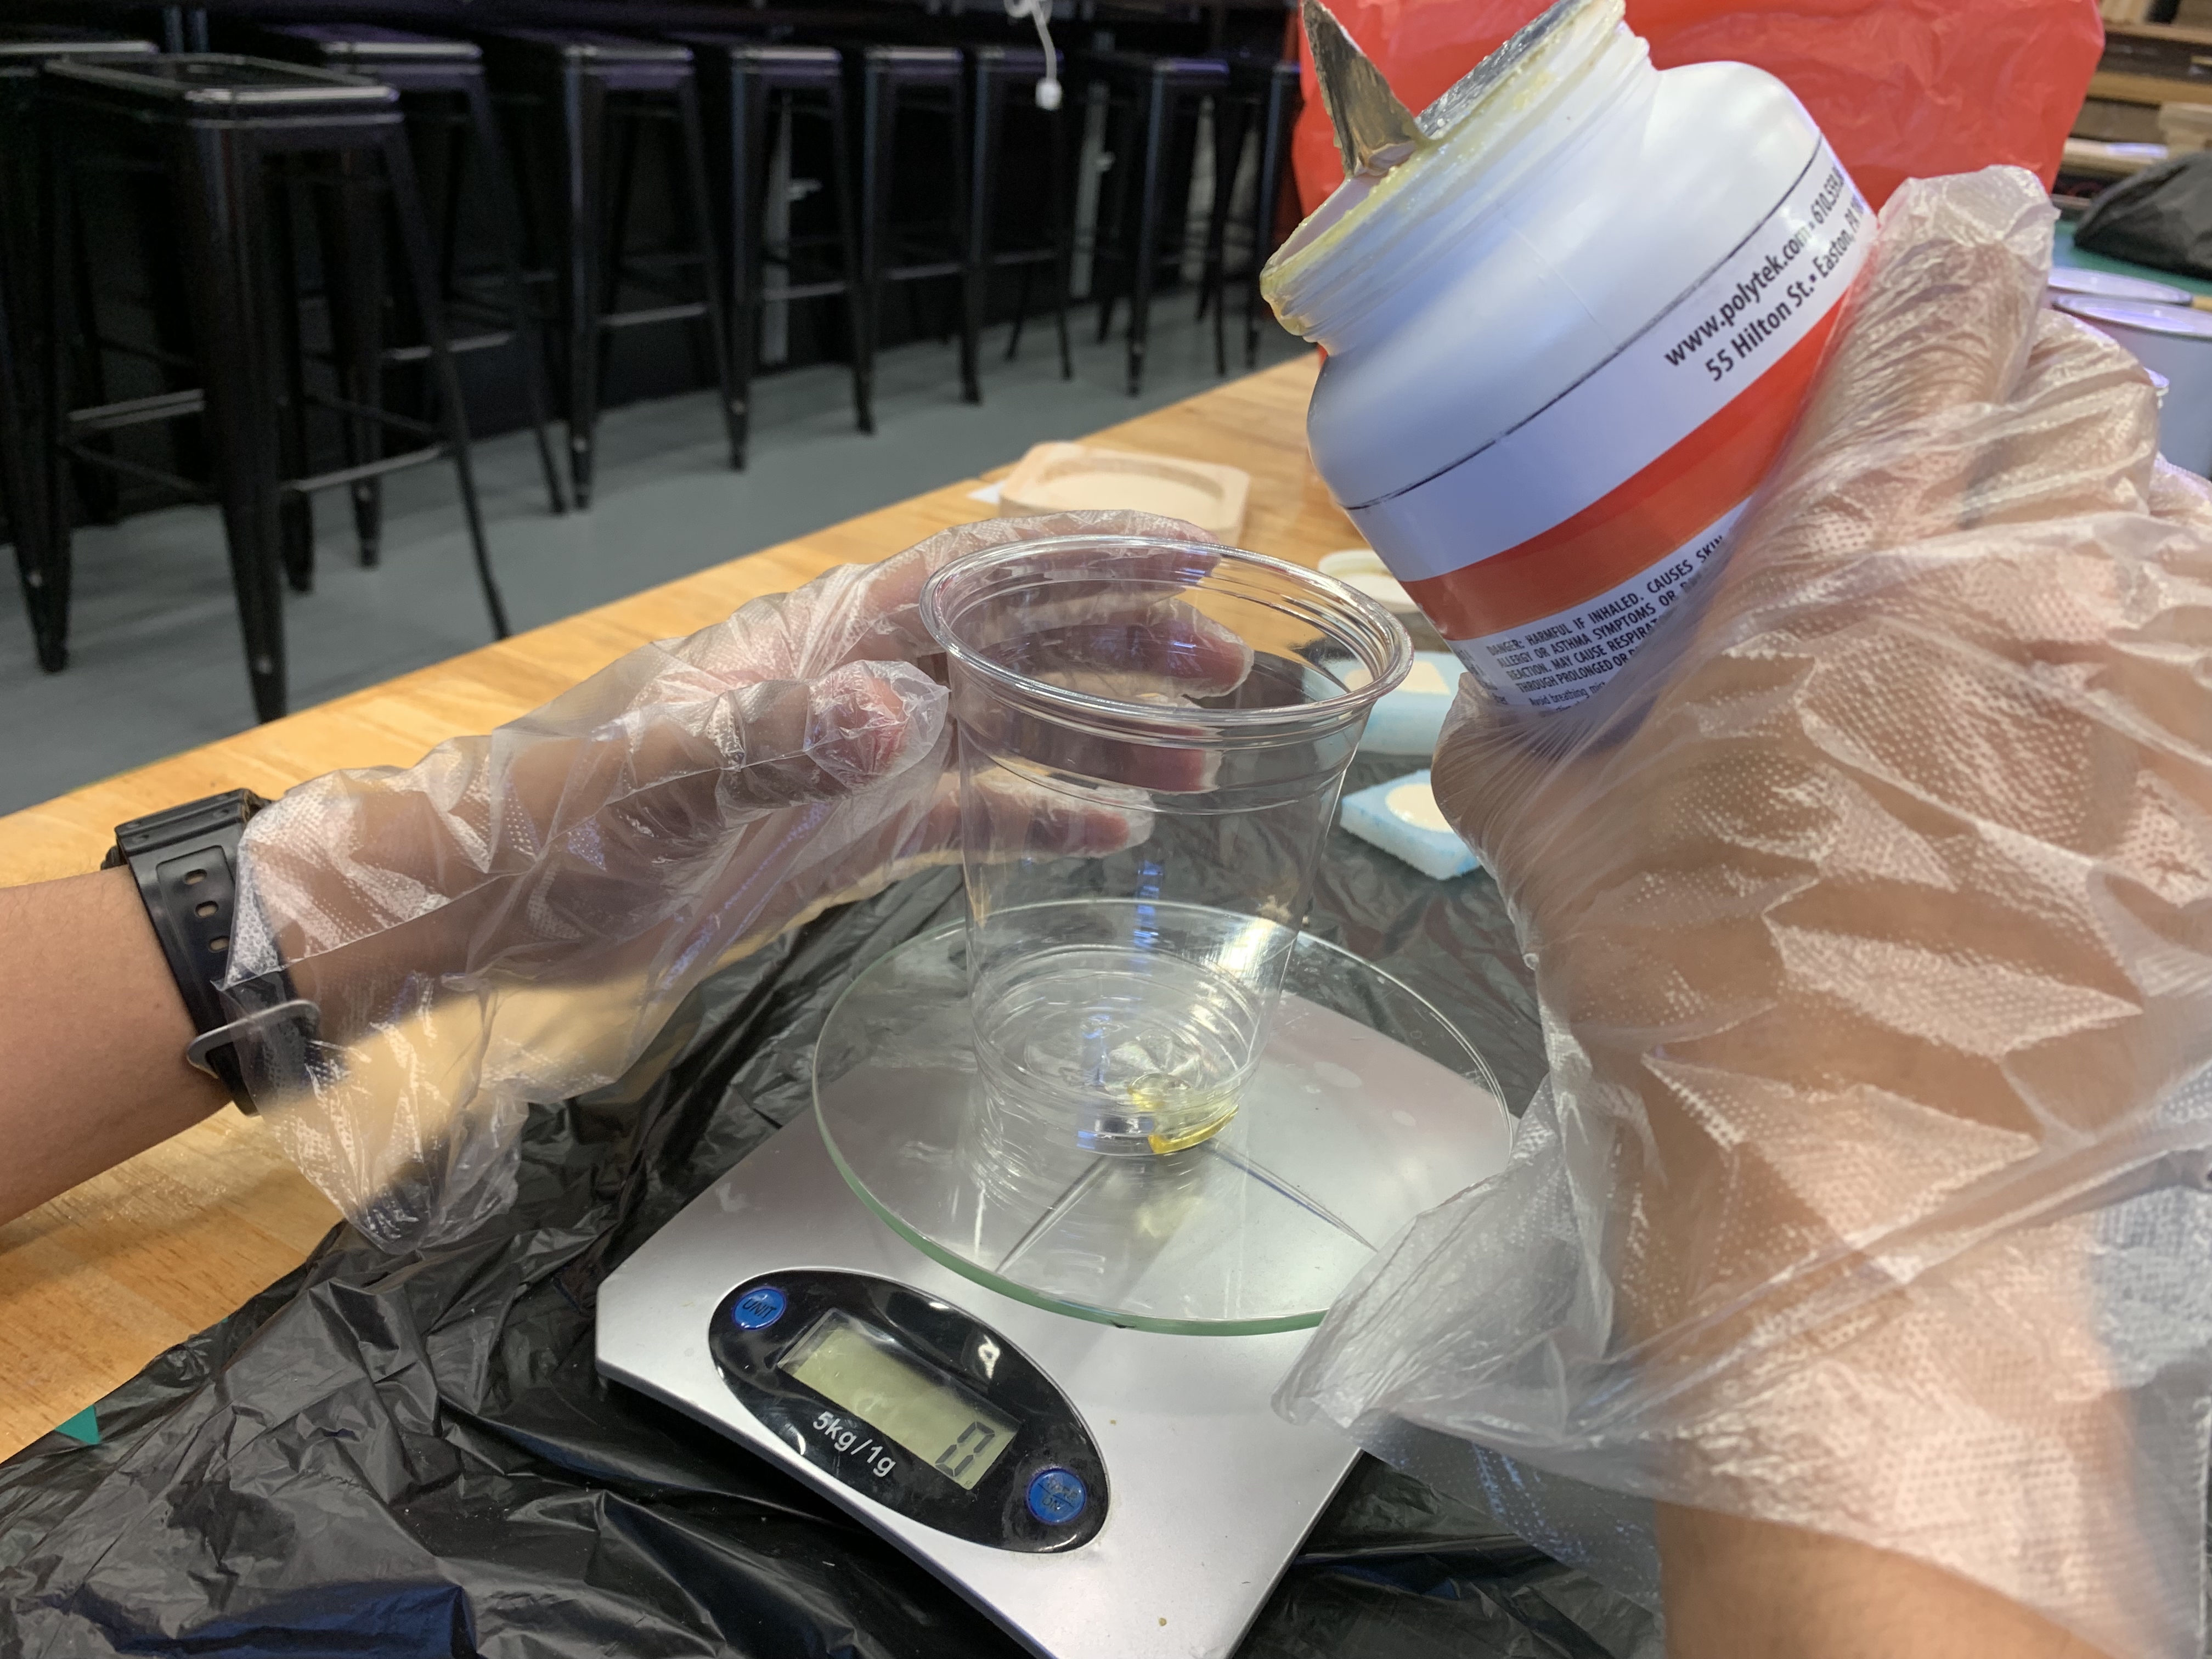
First, estimate how much of Part A is needed.
Slowly add it into the cup while ensuring the weighing scale doesn't turn off.
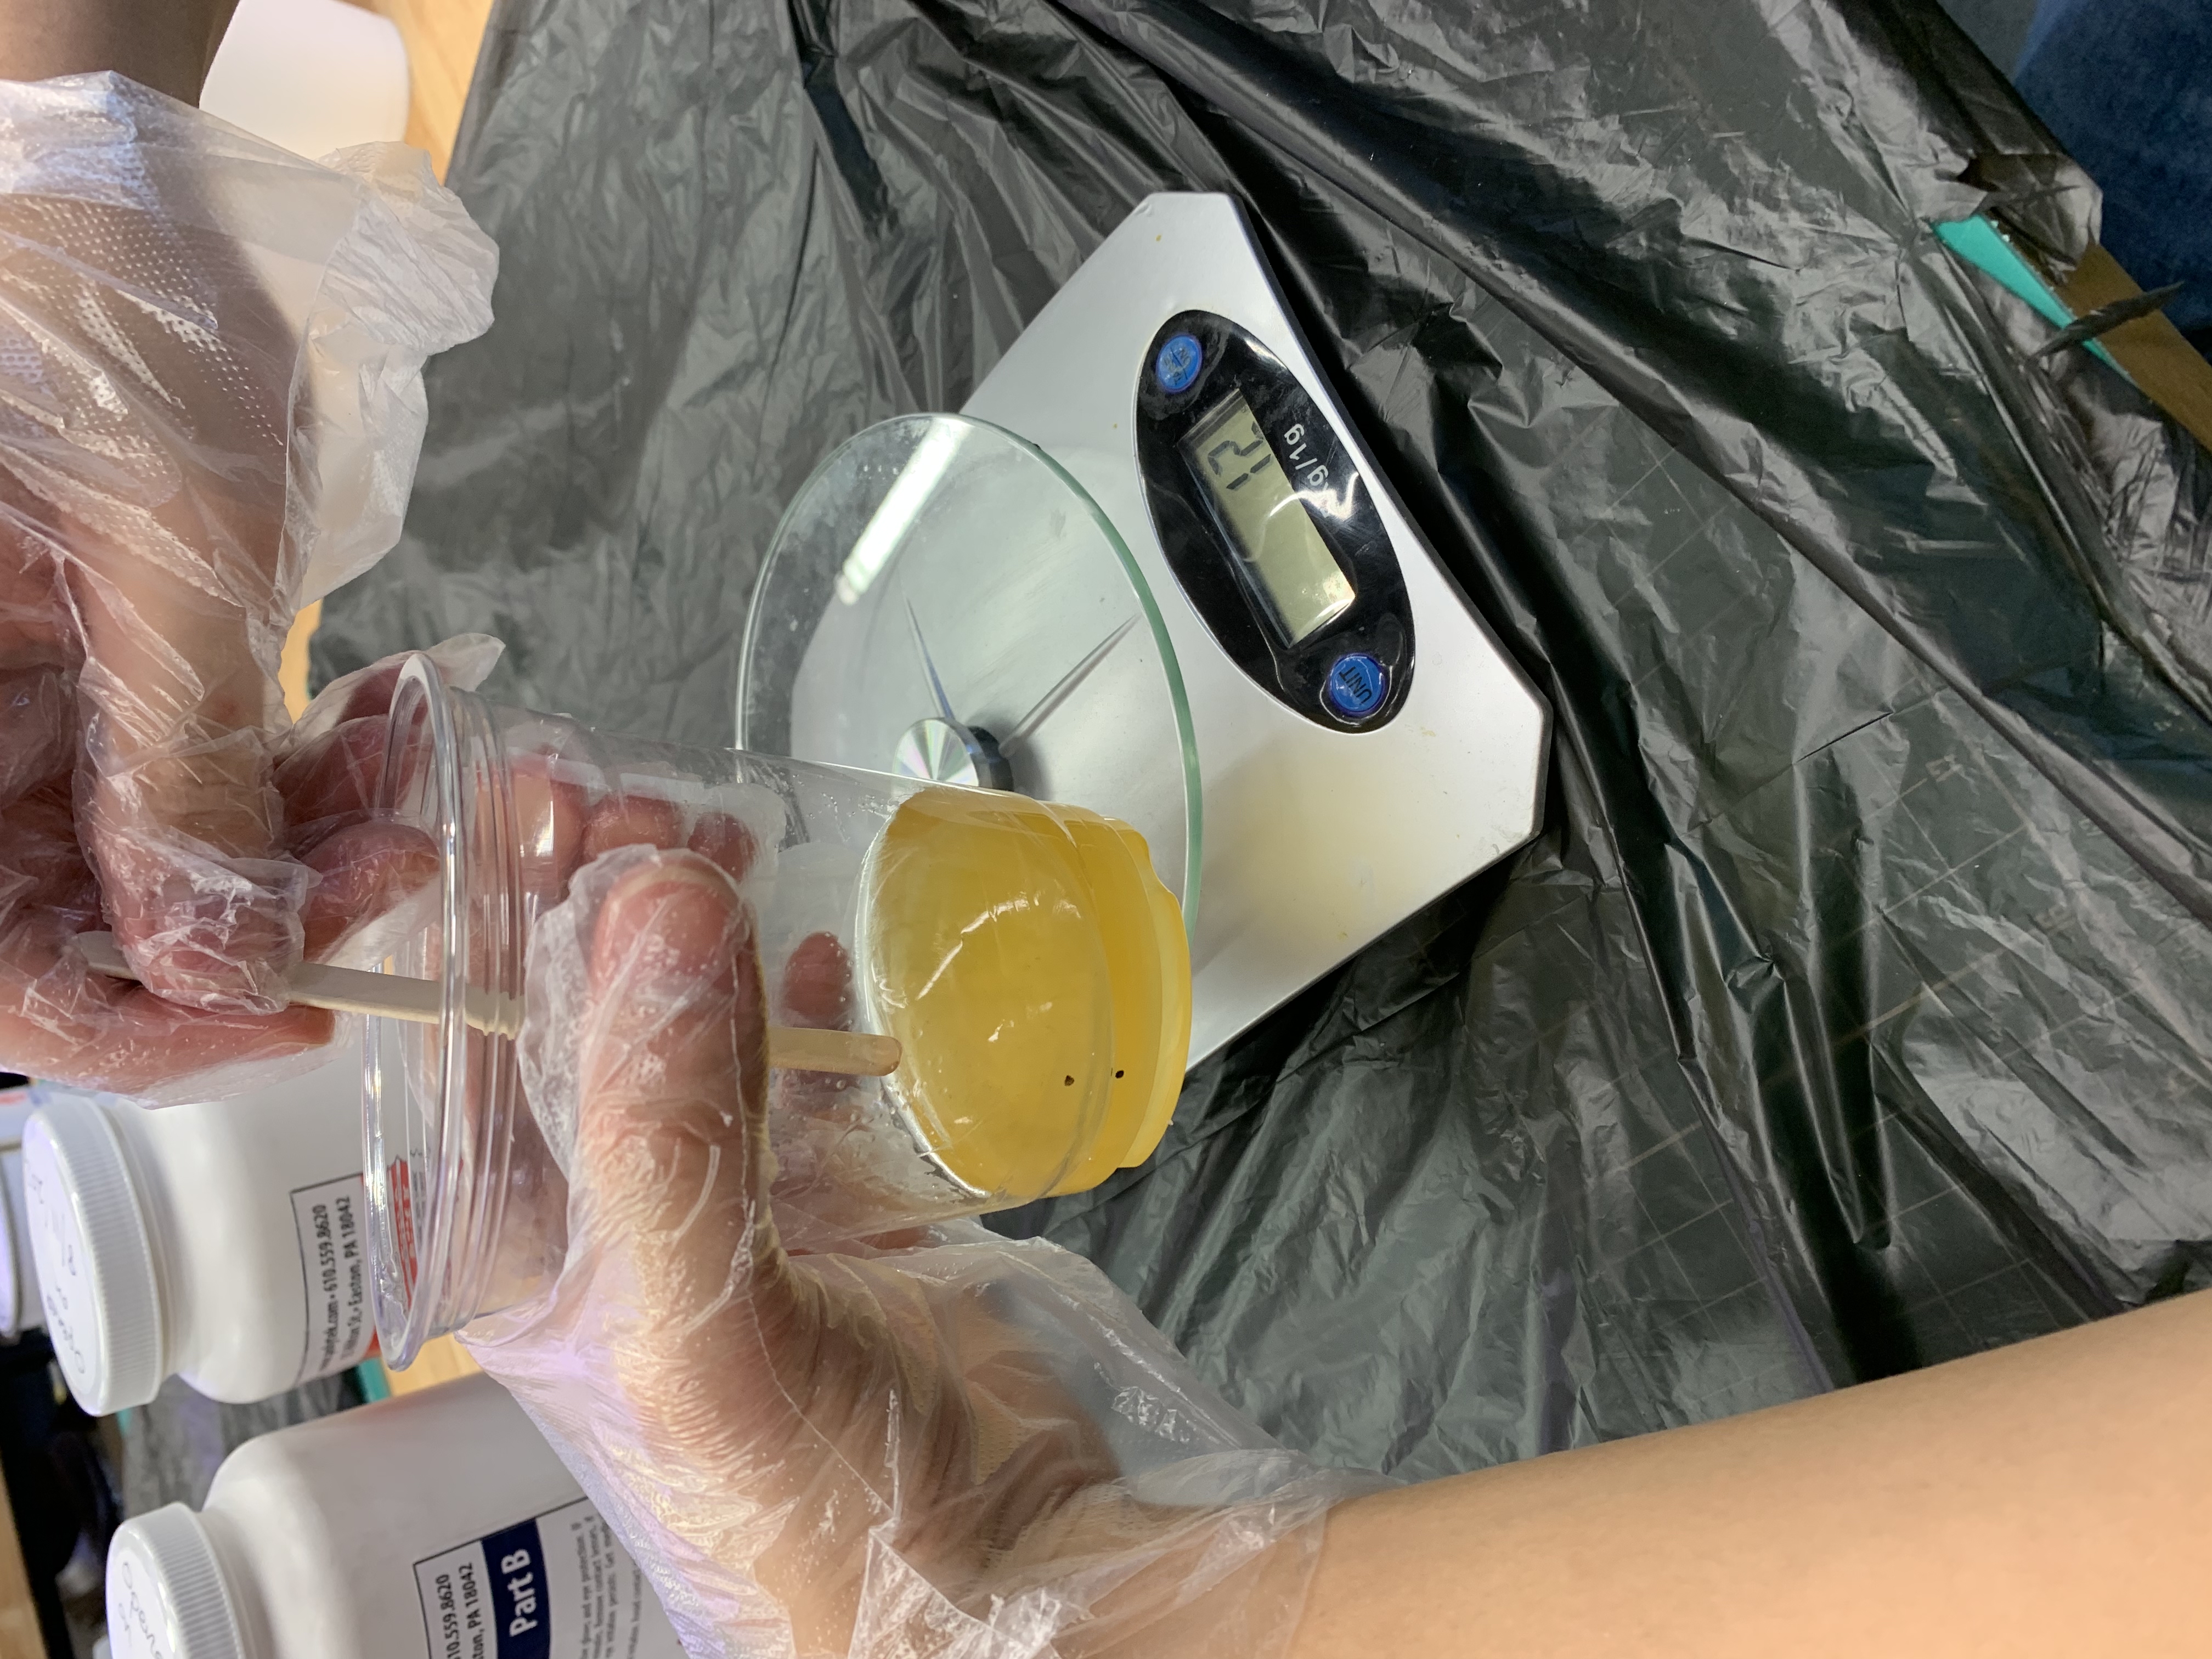
Next, add part B. Ratio is 1:1 by weight.
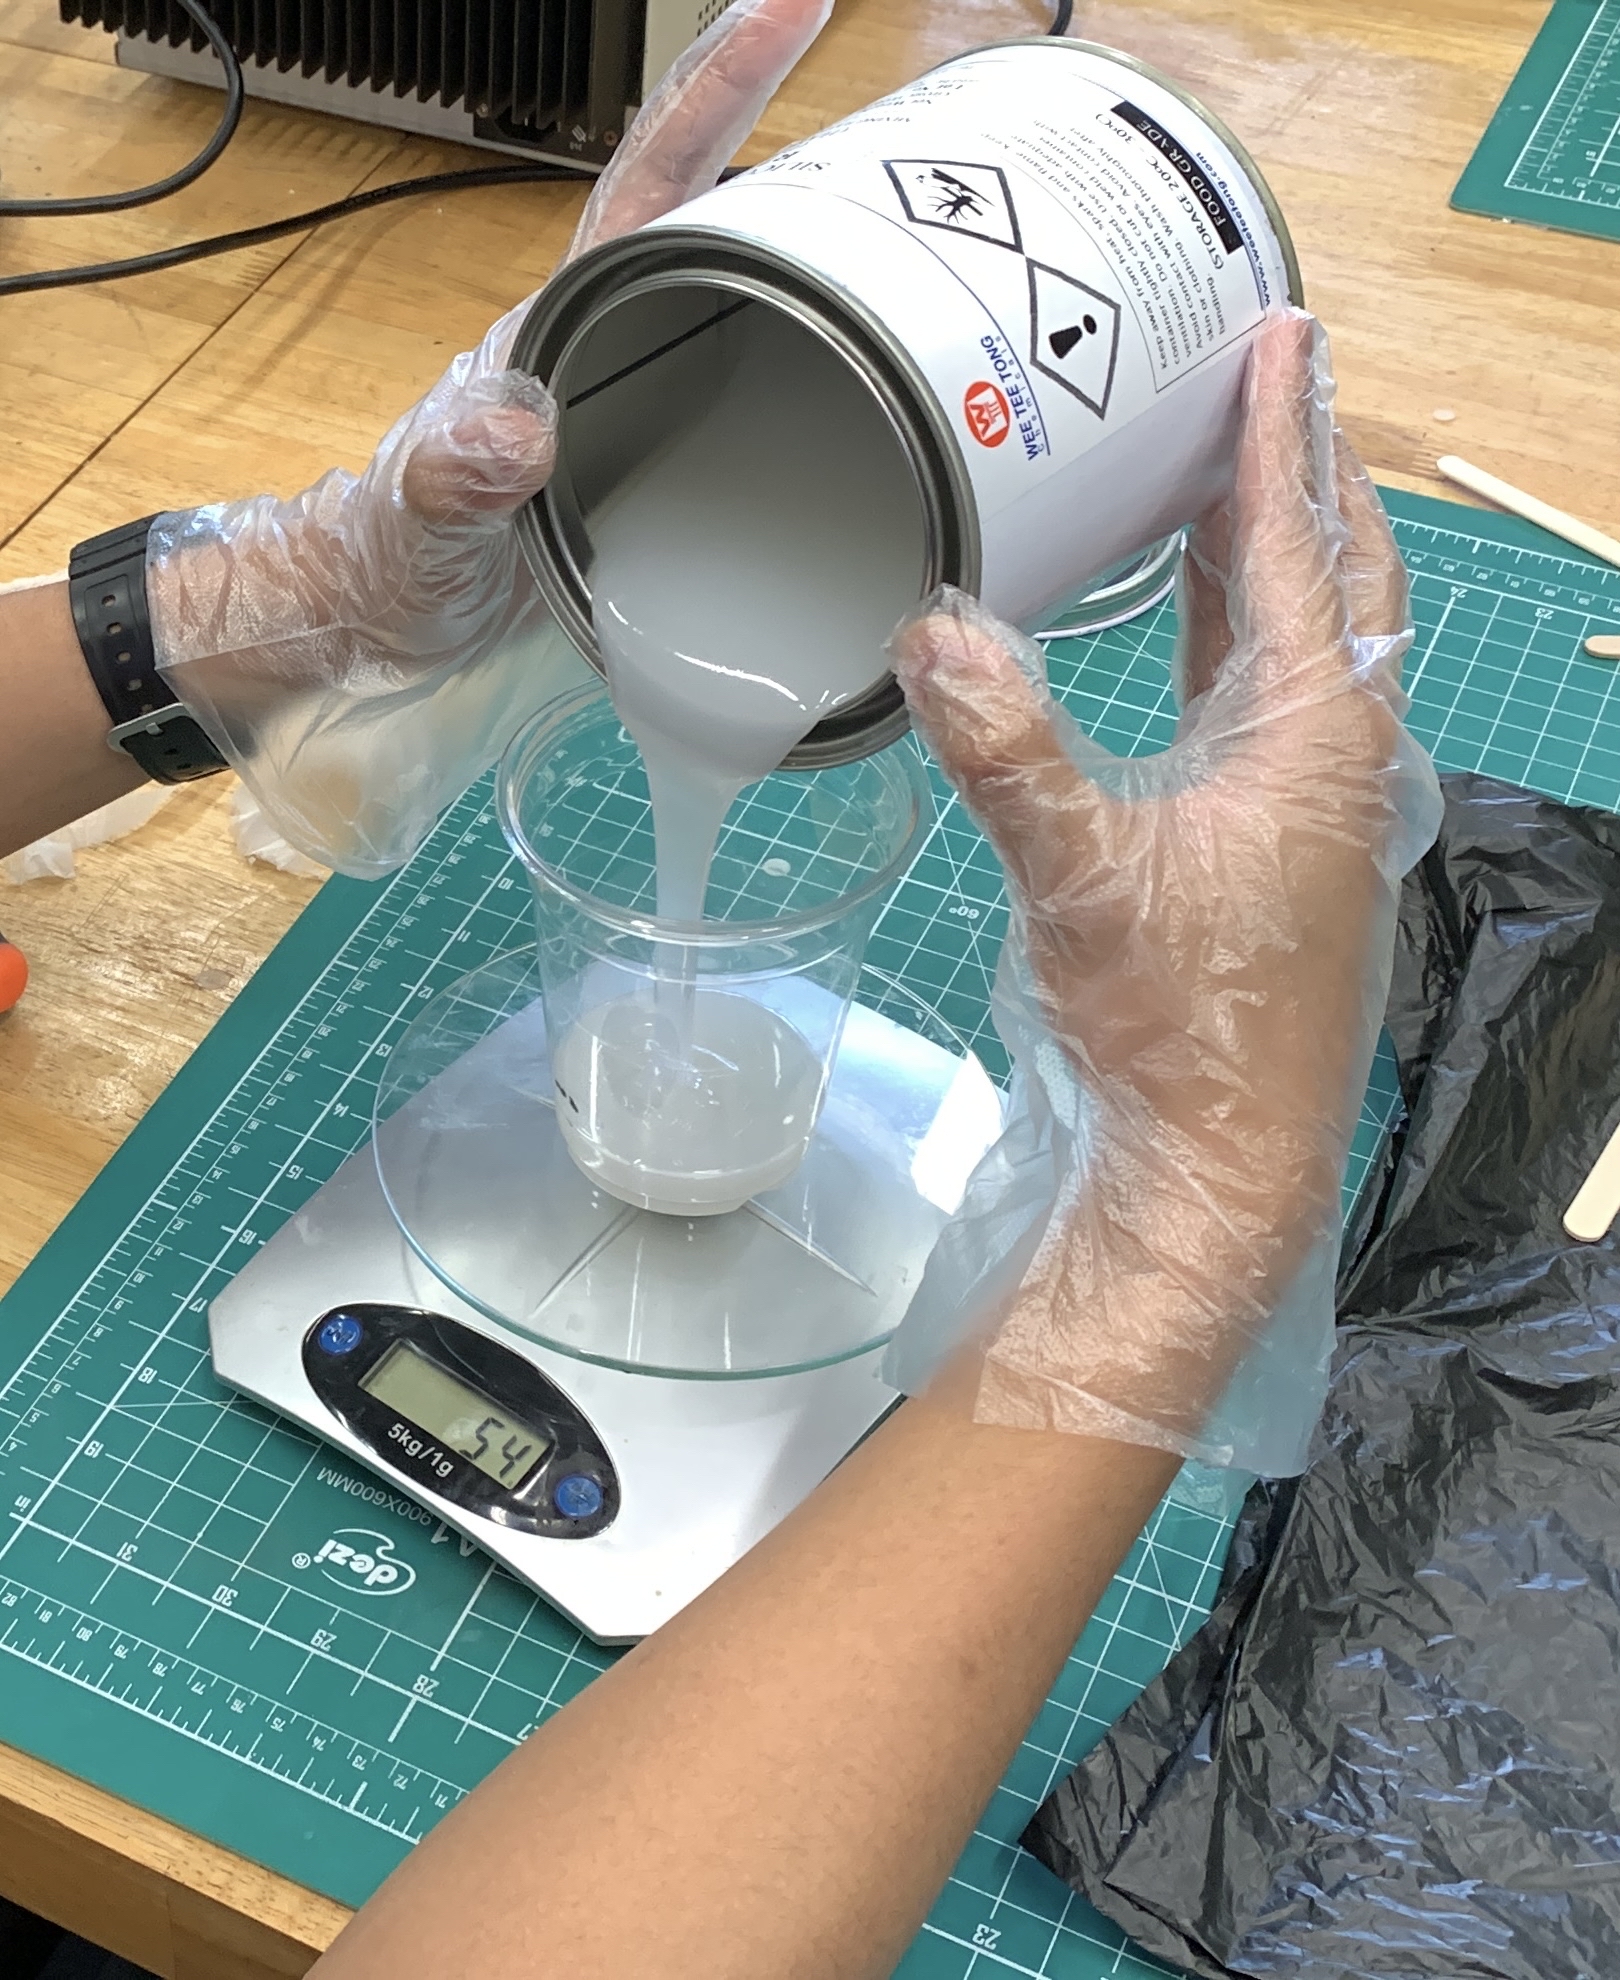
Continue stirring for a minute or two.
Due to the color of both solutions being the same, you can only go by gut feel on whether it's mixed well.
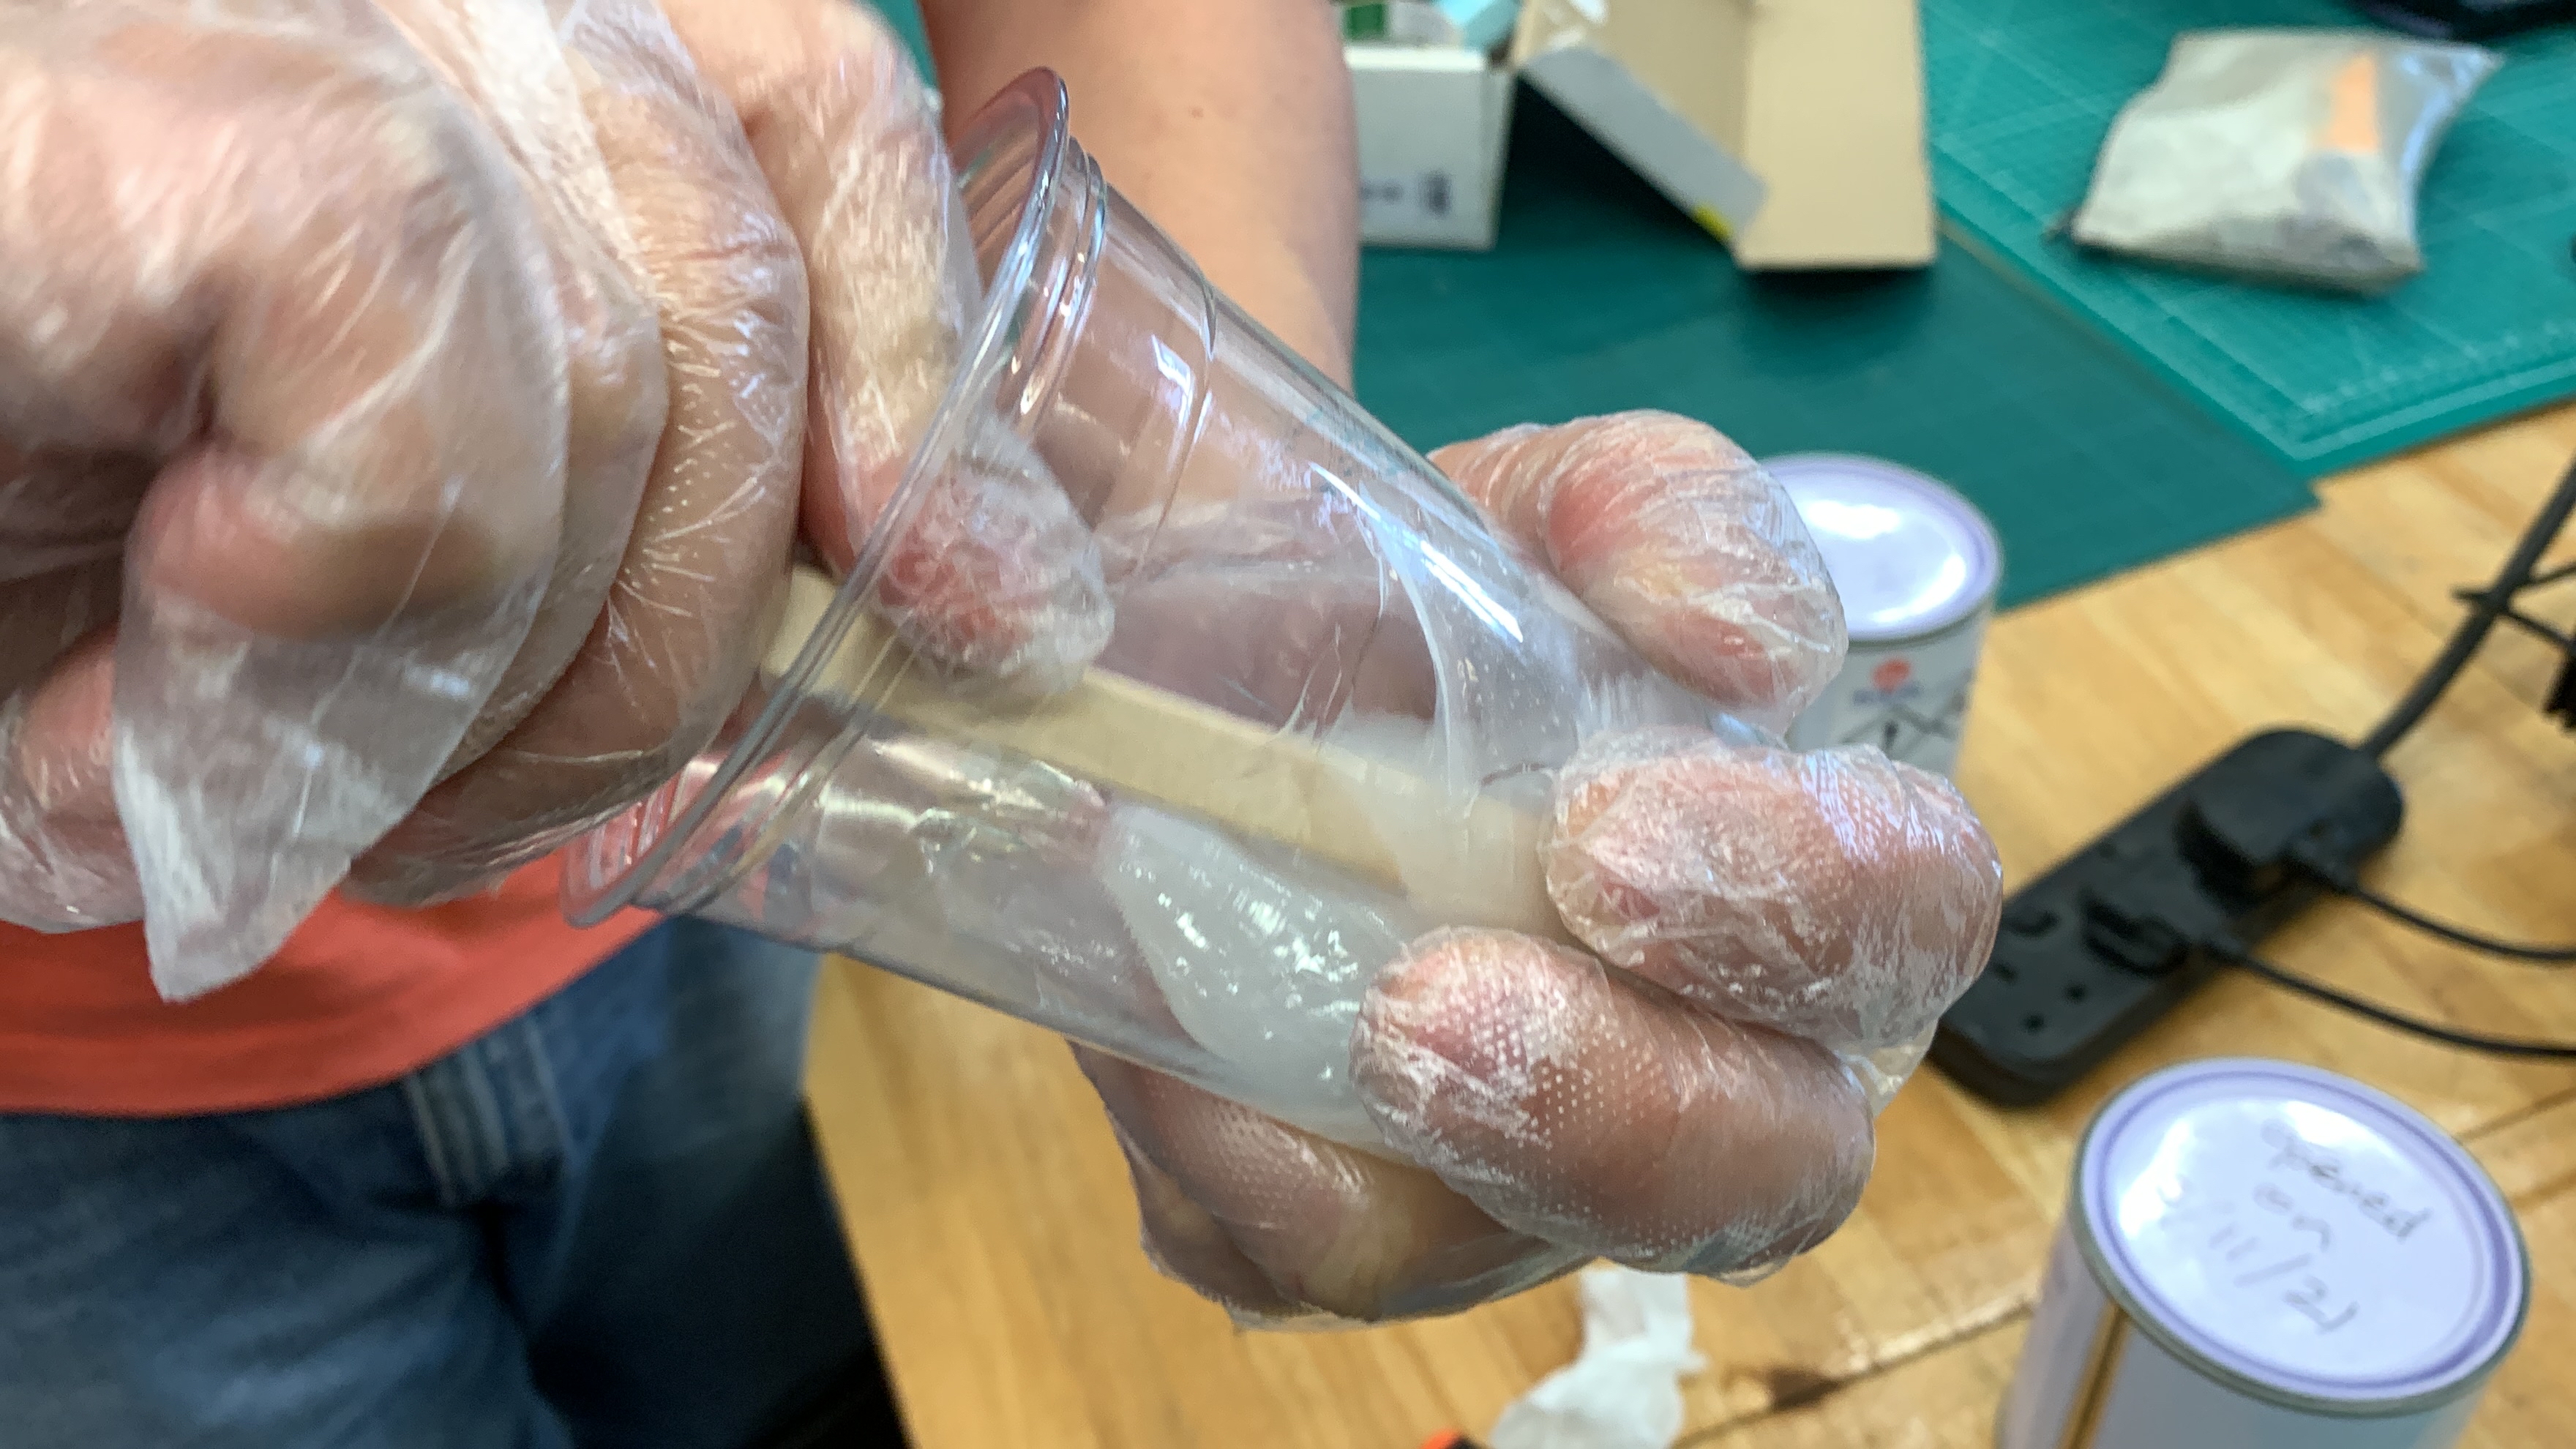
Once mixed, pour it slowly into the foam mold and let it set for around a day.
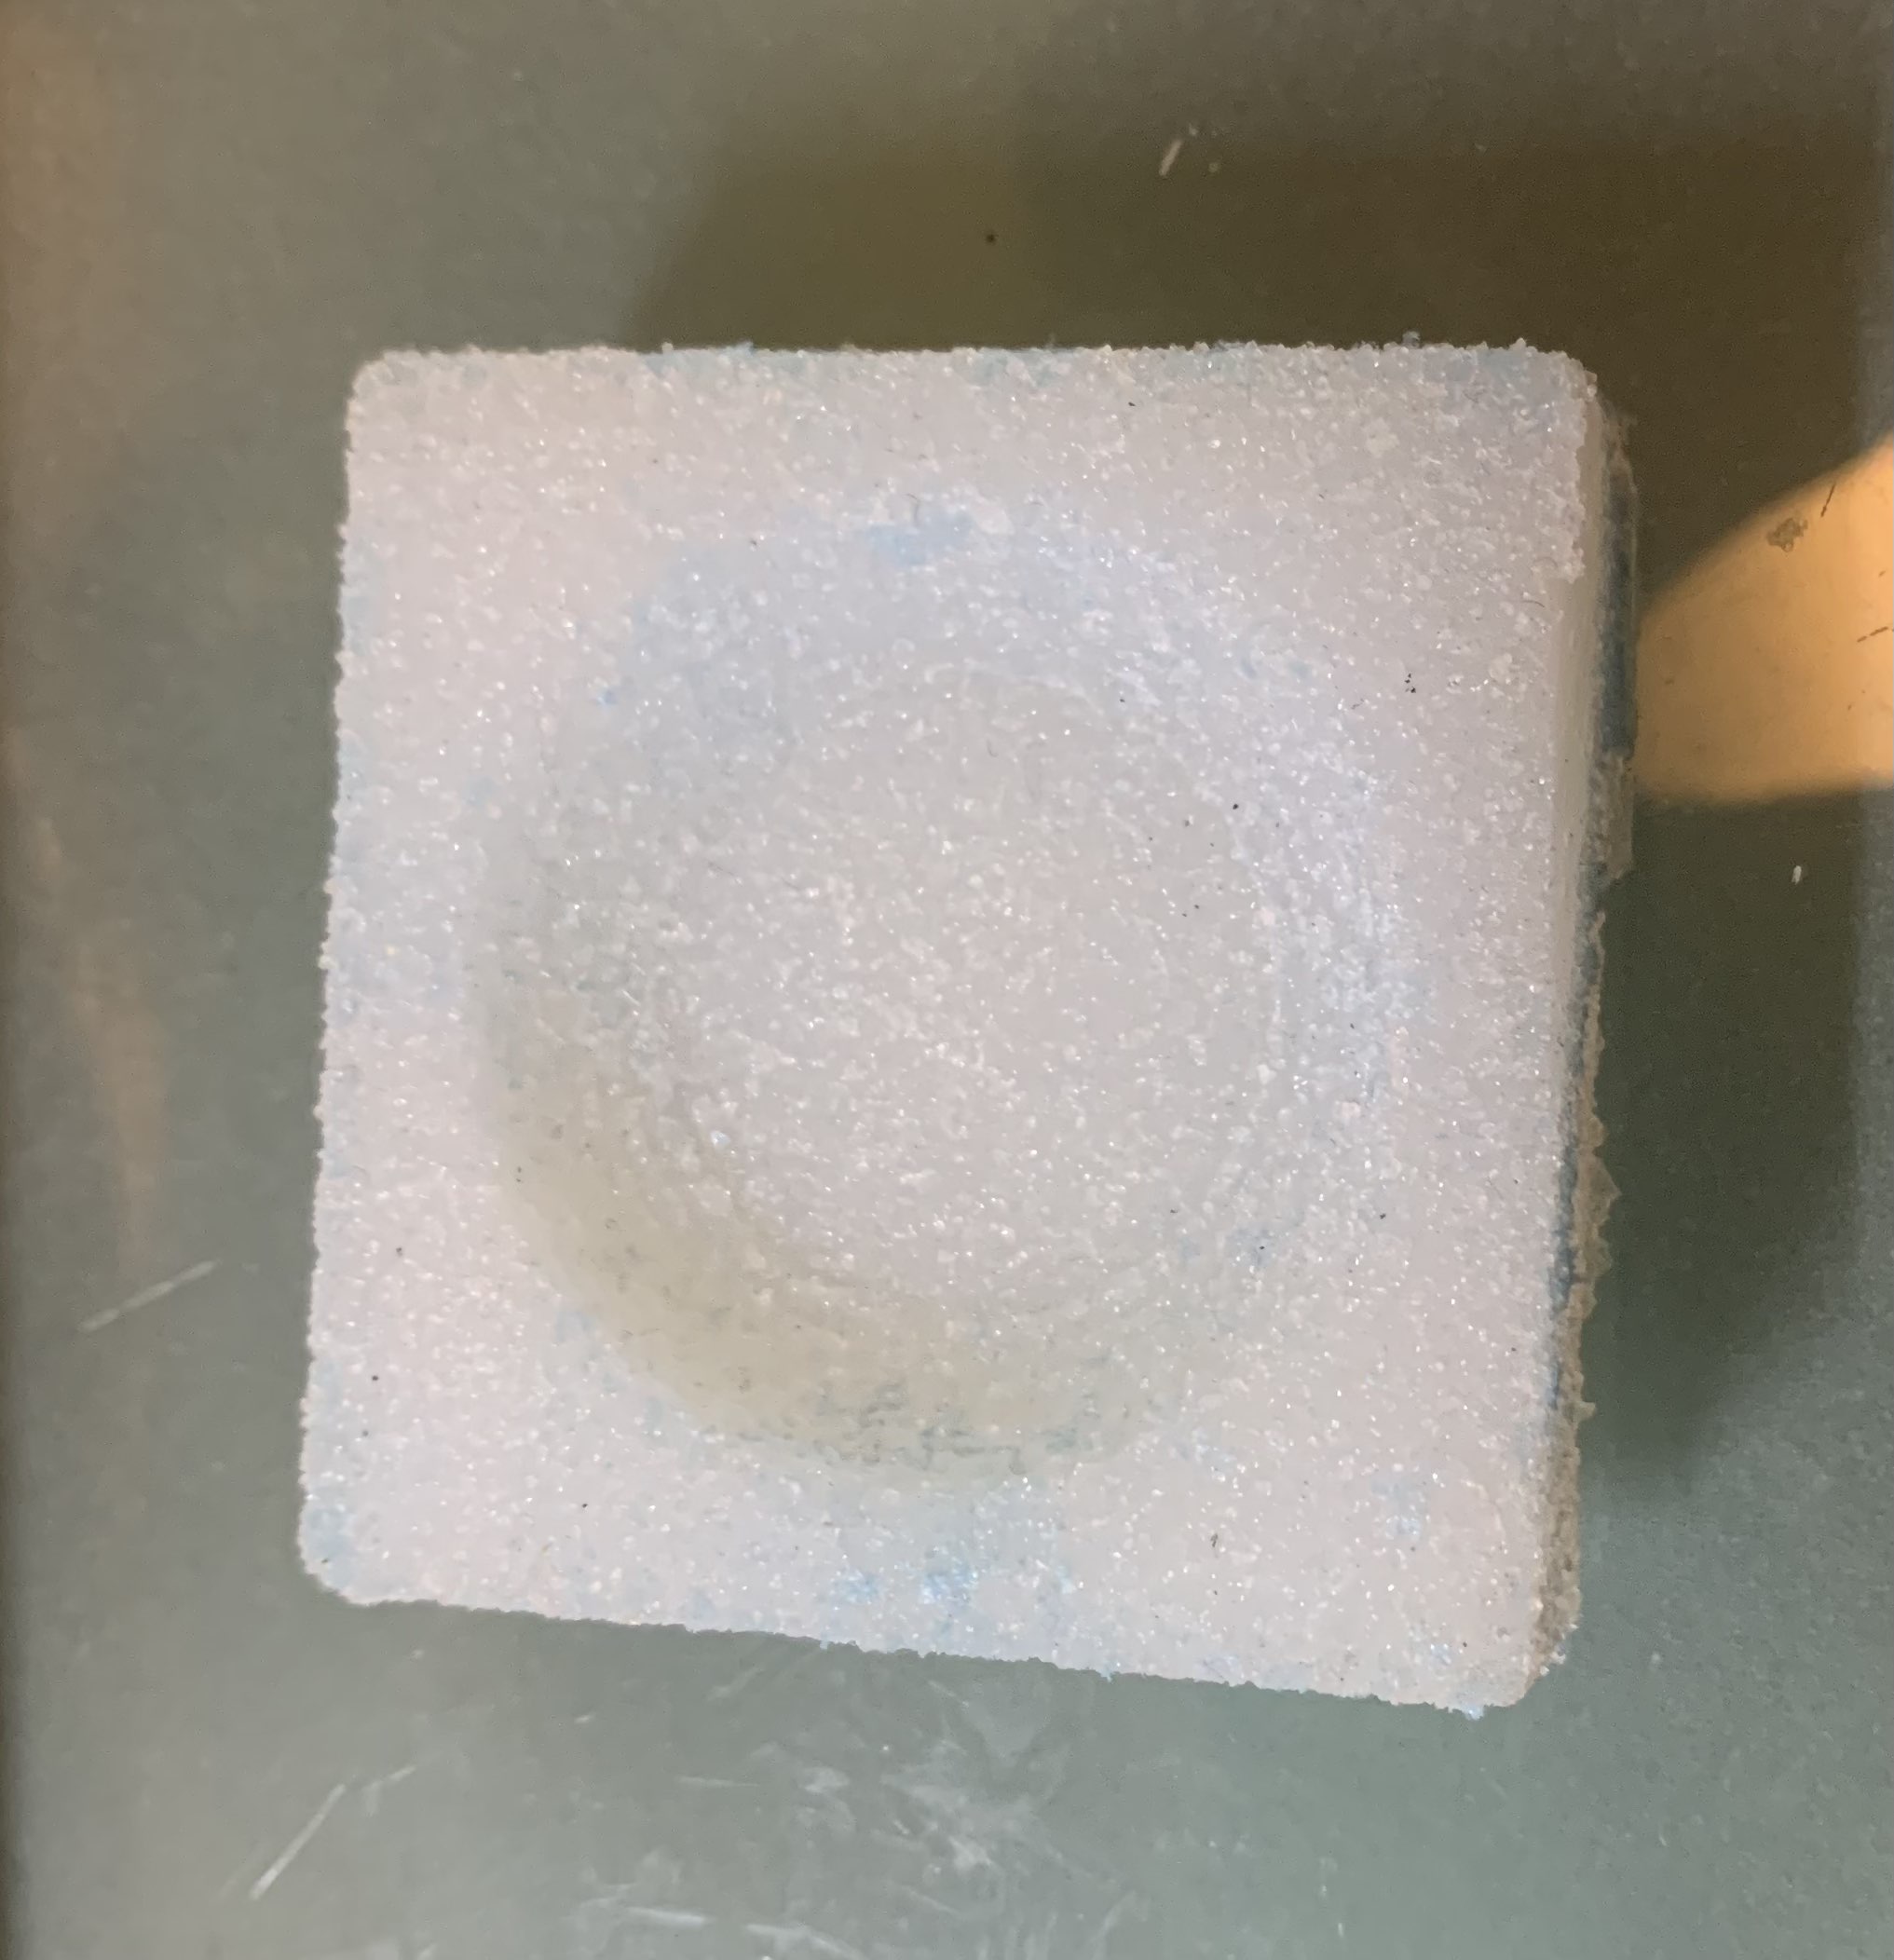
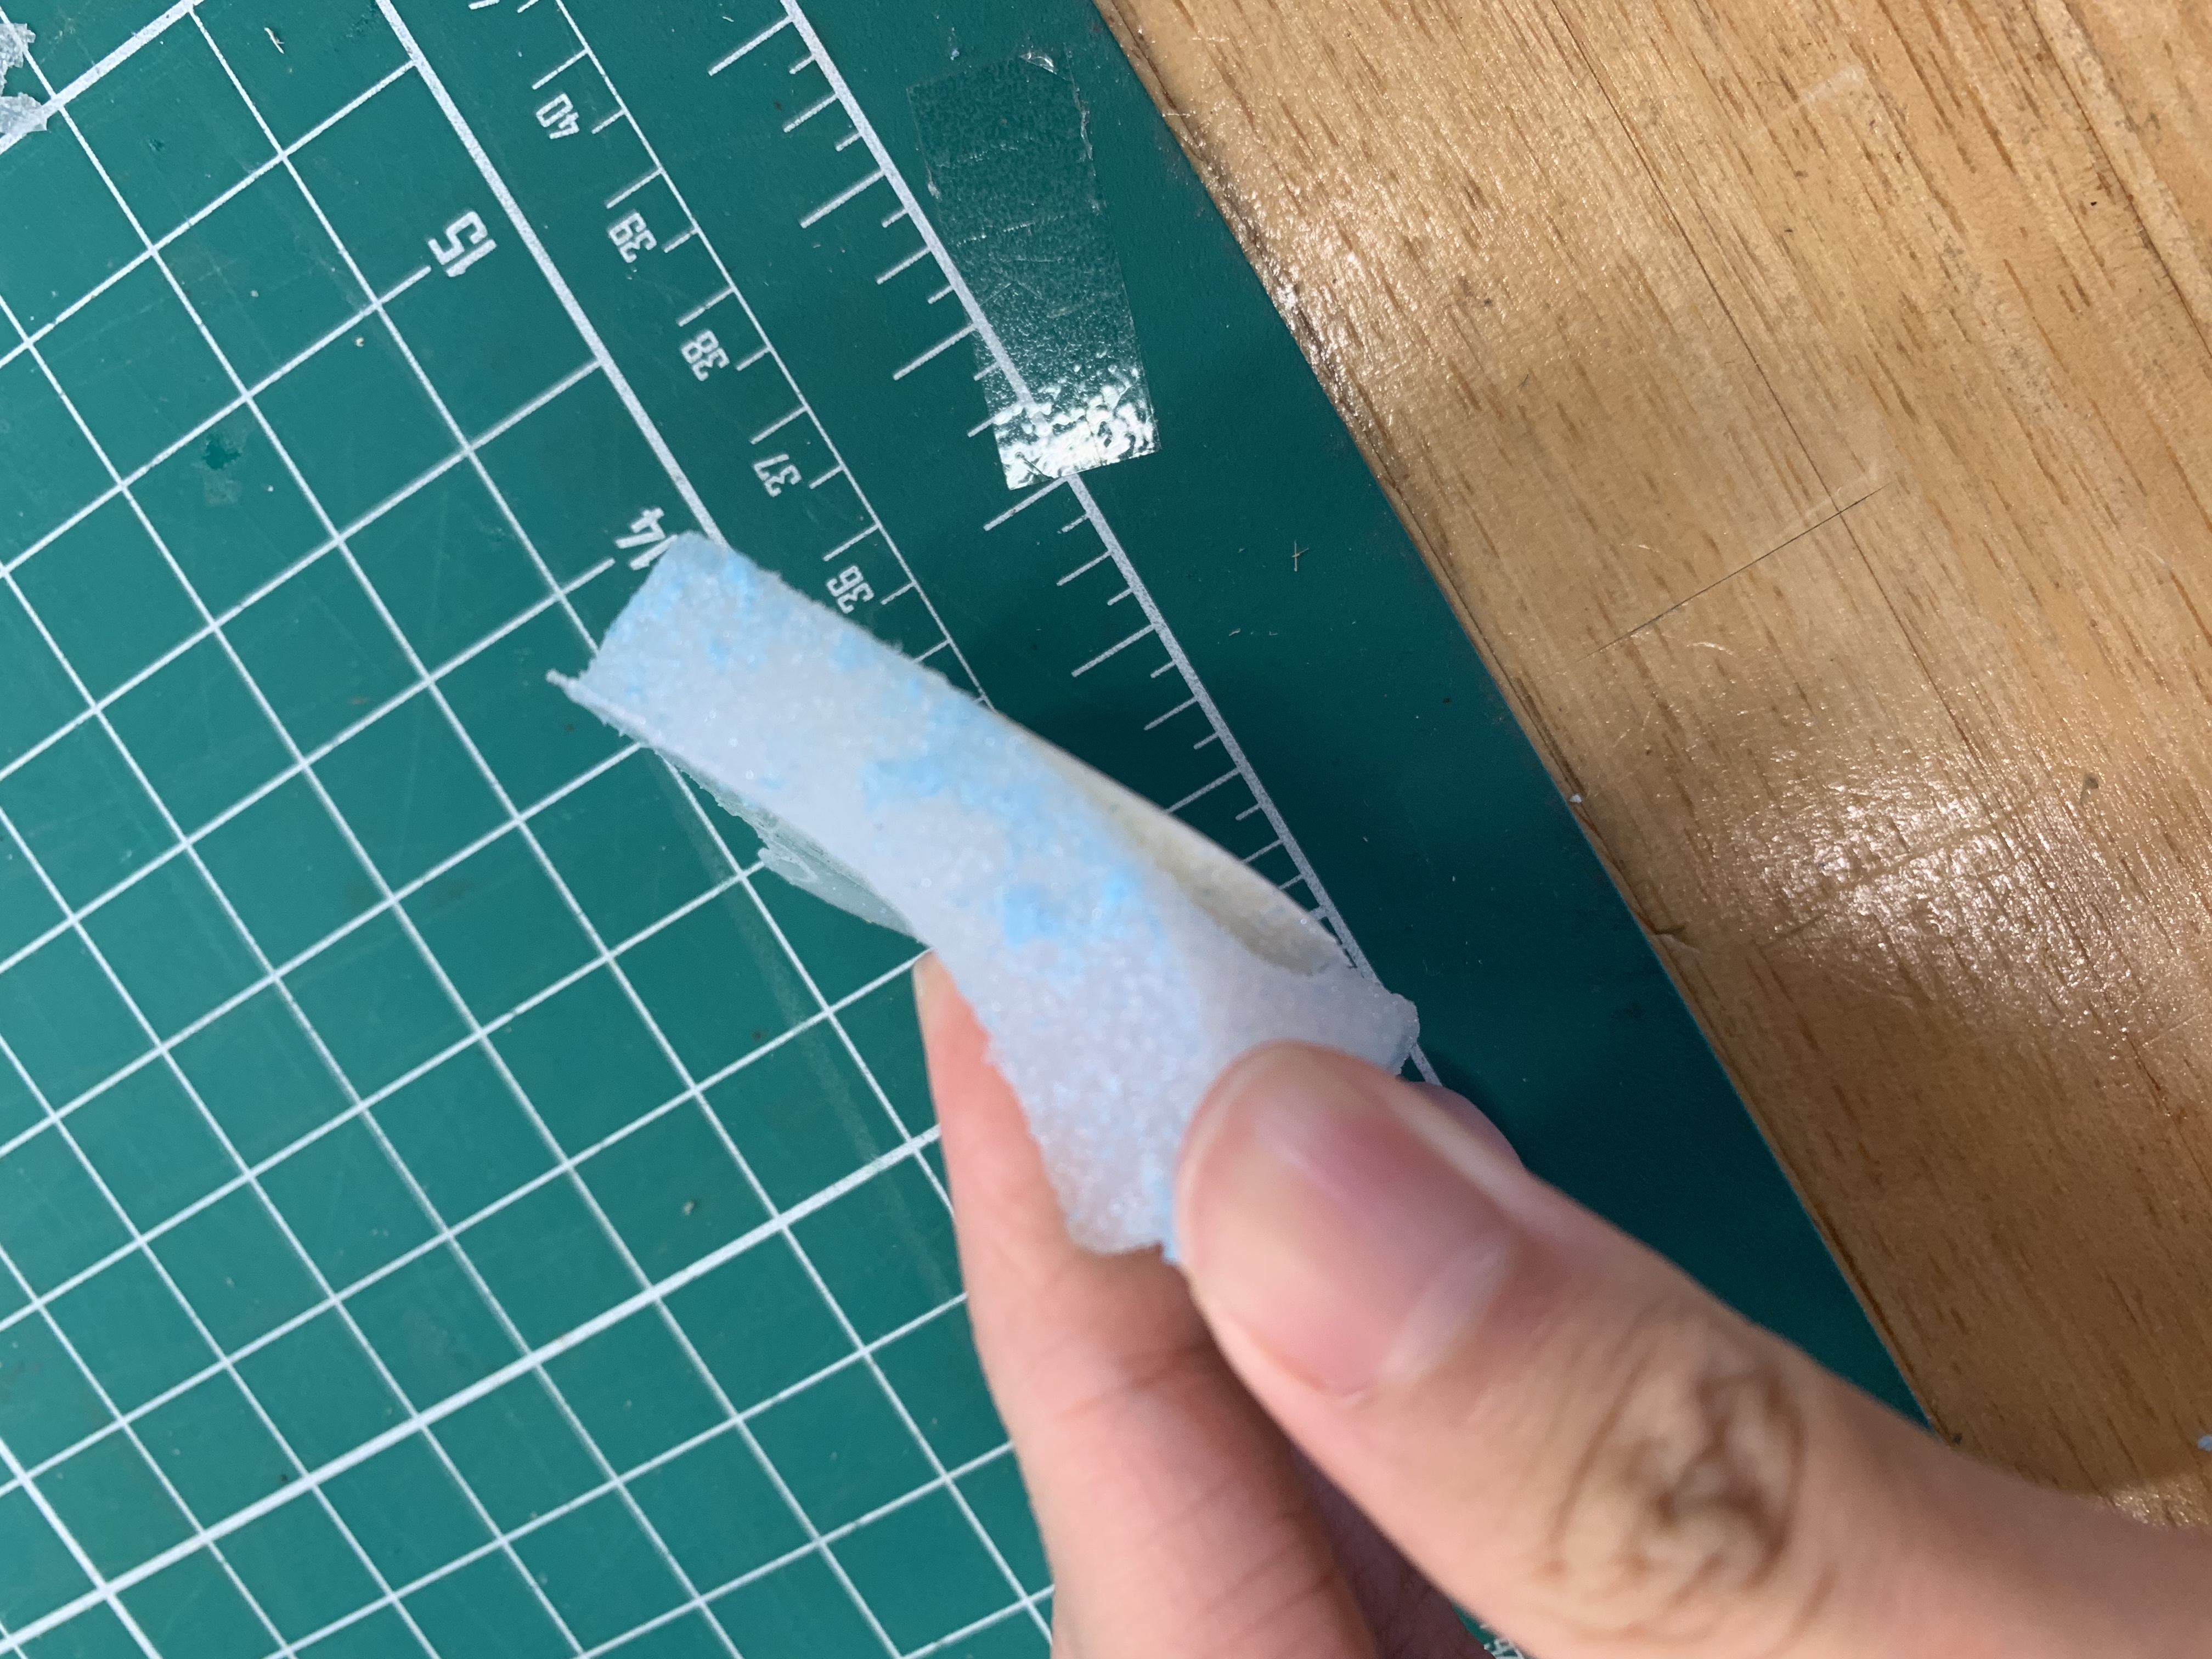
After it sets, the foam can be chipped off.
Here is the mold complete.
CASTING
With my mold set, I can create my cast.
It is similar to how I created my silicon mold, except using liquid plastic.
First, estimate how much of Part A is needed.
Slowly add it into the cup while ensuring the weighing scale doesn't turn off.
Next, add part B. Ratio is 10:9 by weight.
The pot time of liquid plastic is faster than silicon rubber, thus the mixing time is shorter.
Continue stirring till it gets hot (it heats up while mixing).
Once mixed, pour it slowly into the silicon mold and let it set for around 2 hours.

After settling it, it can be peeled off.
Here is the finished product.