2D Computer Controlled Machining
For Large Format CNC Machining, it is good for machining large (wooden) components that are 2D.
The machine available in T11C is the EAS Versatil 2500, paired alongside VCarve Pro and NC-Eas(Y) Pro.
COMPETENCY TEST
To show we can use the machine safely, we had to go through a competency test.
We have to machine out a coaster that Mr Steven Chew modelled.
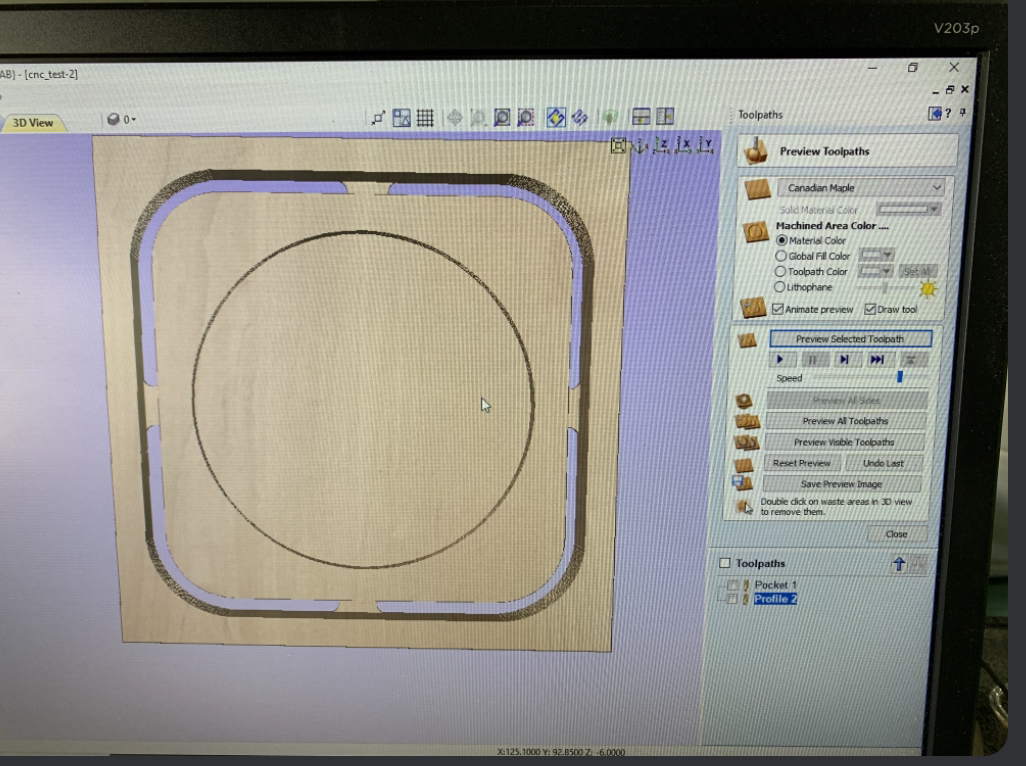
VCARVE PRO
2 types of cuts have to be made.
First is a pocket pass. This is for the inside section of the coaster.
Next is a profile pass, which is for cutting out the coaster.
Tabs have to be added for the profile pass to hold the coaster while being cut out.
MACHINING
Once the post processing is done, the tap file is opened in NC-Eas(Y) Pro.
Like any CNC Machine, the origin points have to be set before machining.
Pressing "reference move" resets the machine to the default origin point.
Time to set our X and Y axes.
To move it, you must first set the axis to move (X or Y).
Next, select the direction (+ve or -ve direction).
Finally, rotate the knob to move the machine.
Operating the machine is a bit counterintuitive, however you can think of it as a keyboard.
Move the knob slowly as inputs stack. Avoid spam-rotating the knob.
For the Z-axis, use the "tool measure" function instead. A switch is built-in, similar to the Stepcraft 420 machine.
After positioning the switch underneath the endmill, it will descend and press the switch, thus setting our z-axis.
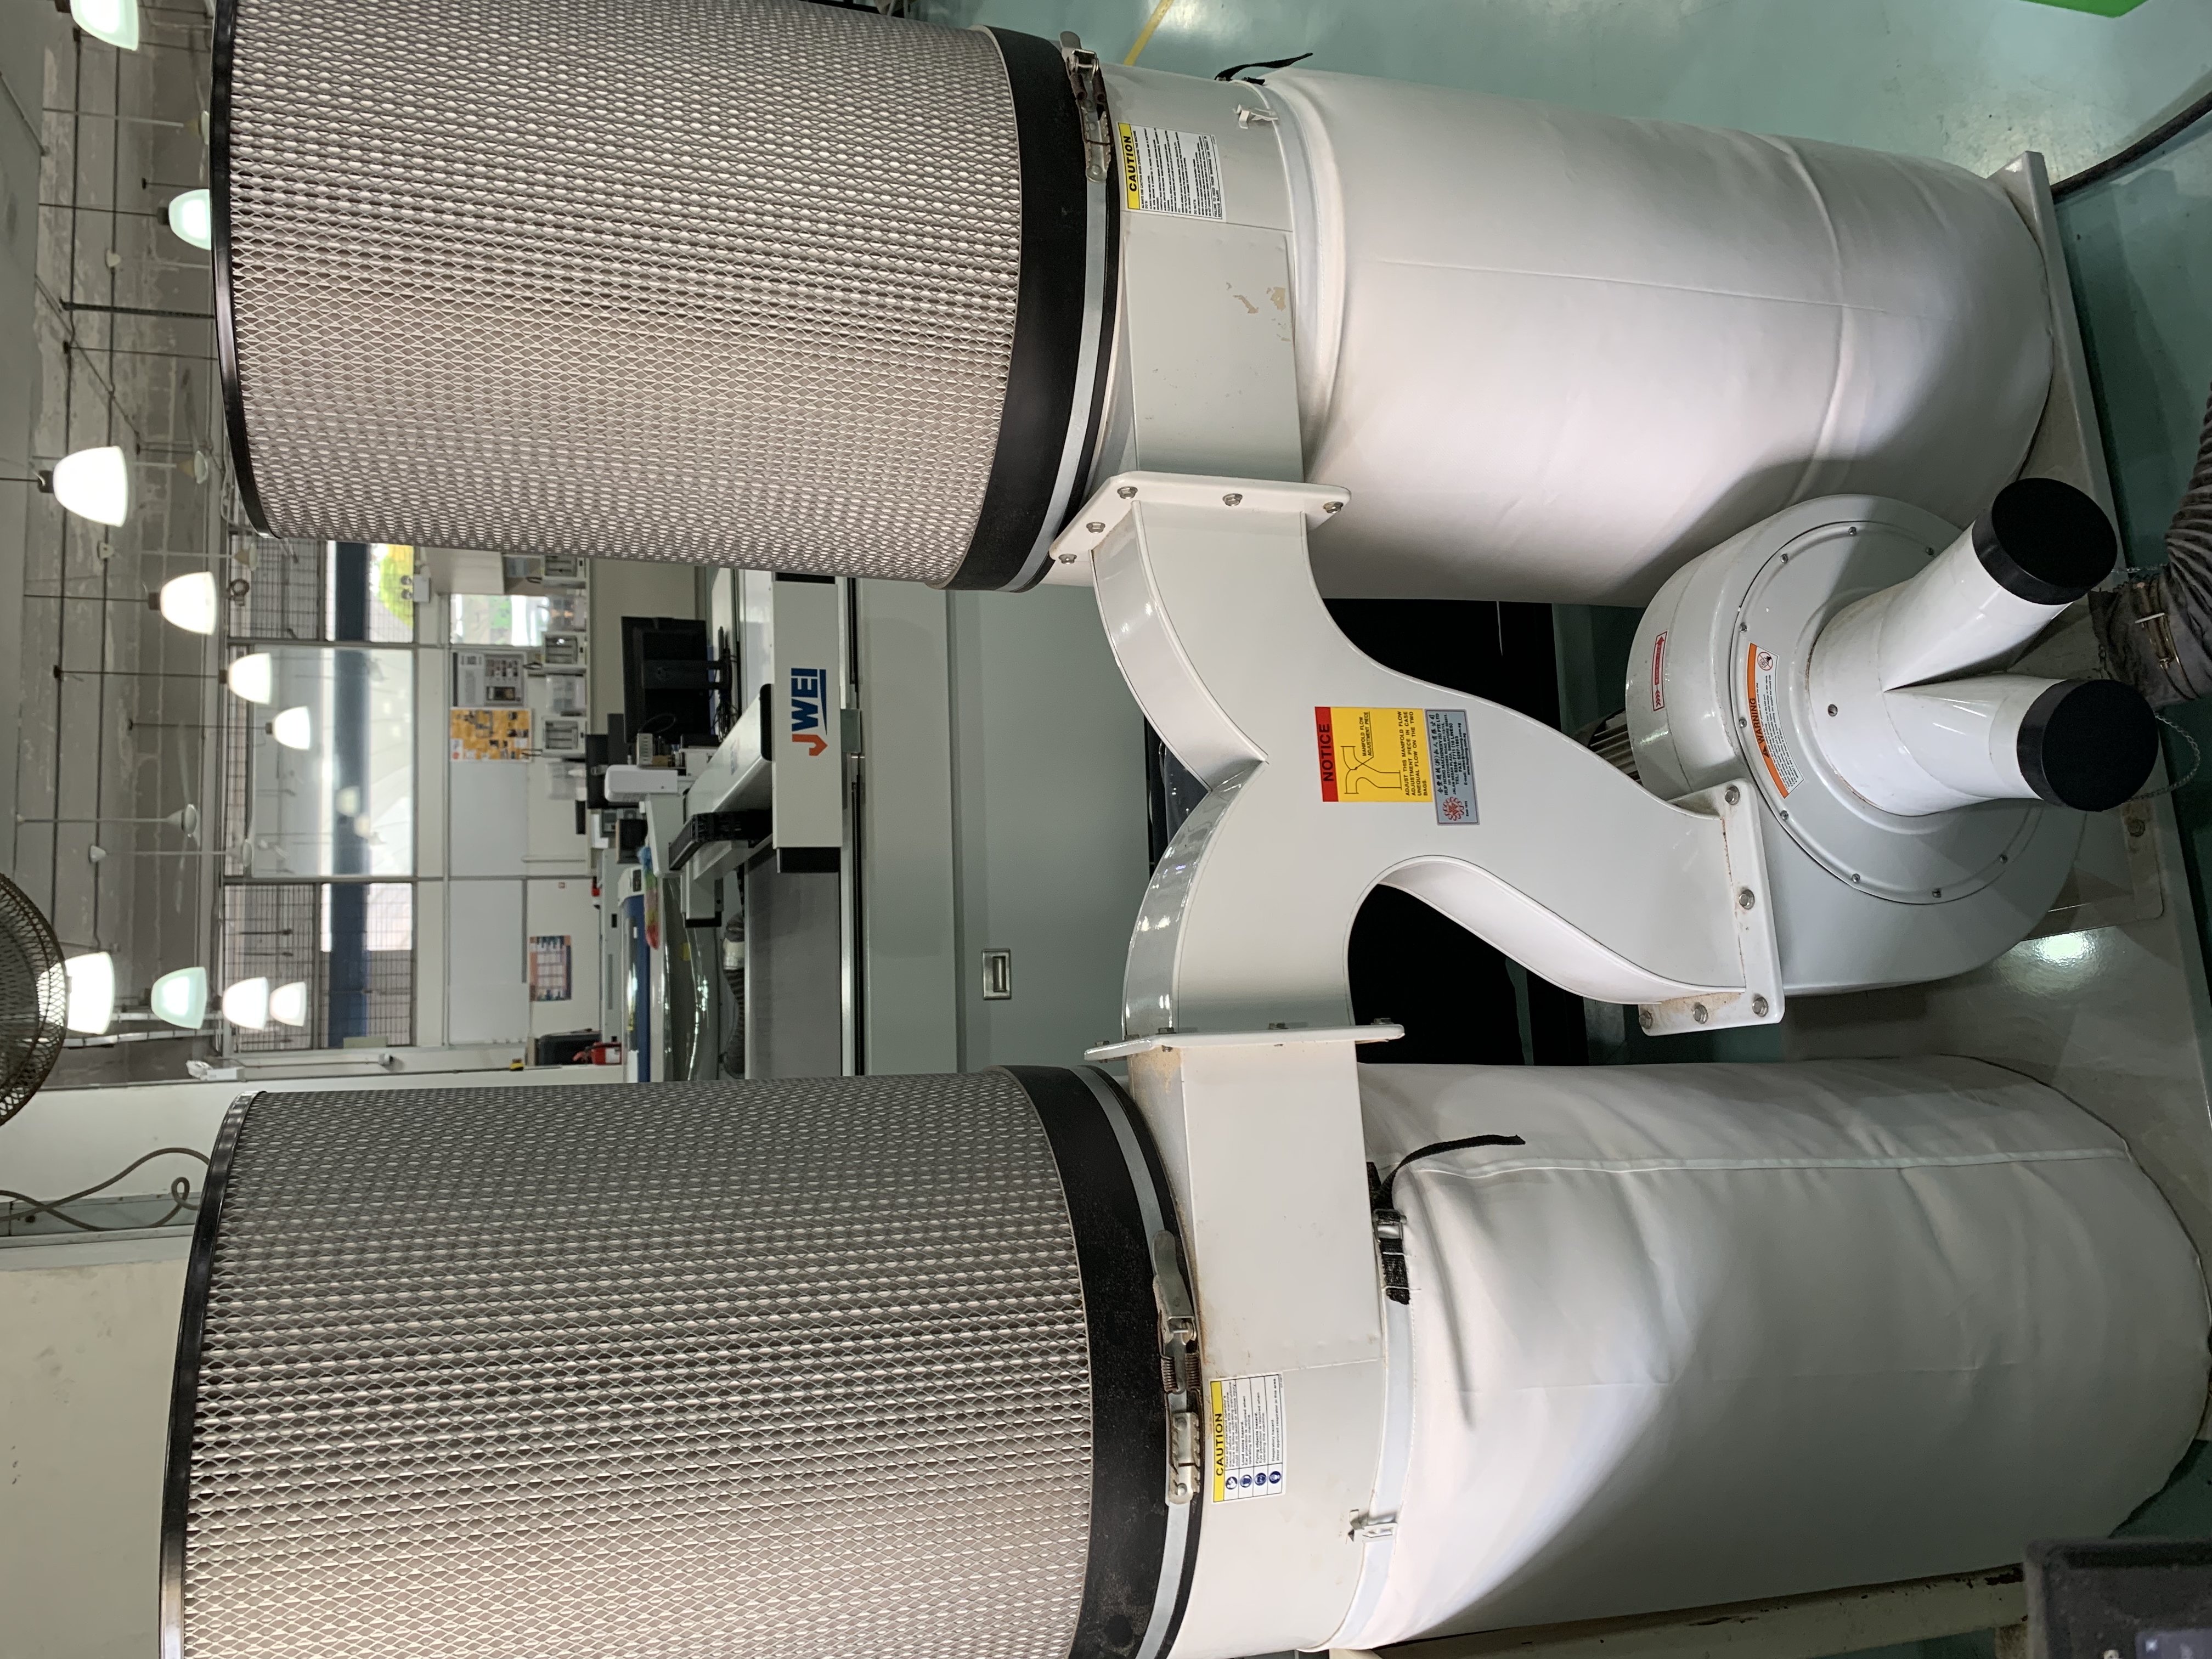
With axes set, the chip vacuum is turned on.
With that done, the coaster can be machined.
After machining, the tabs are broken using a chisel. Here is how the coaster looks like.
It is rough along the edges, thus some sanding needs to be done.
ASSIGNMENT
For this assignment, I was tasked to machine out a large piece of furniture.
To make life simple, I made a small flatpack stool.
MODELLING
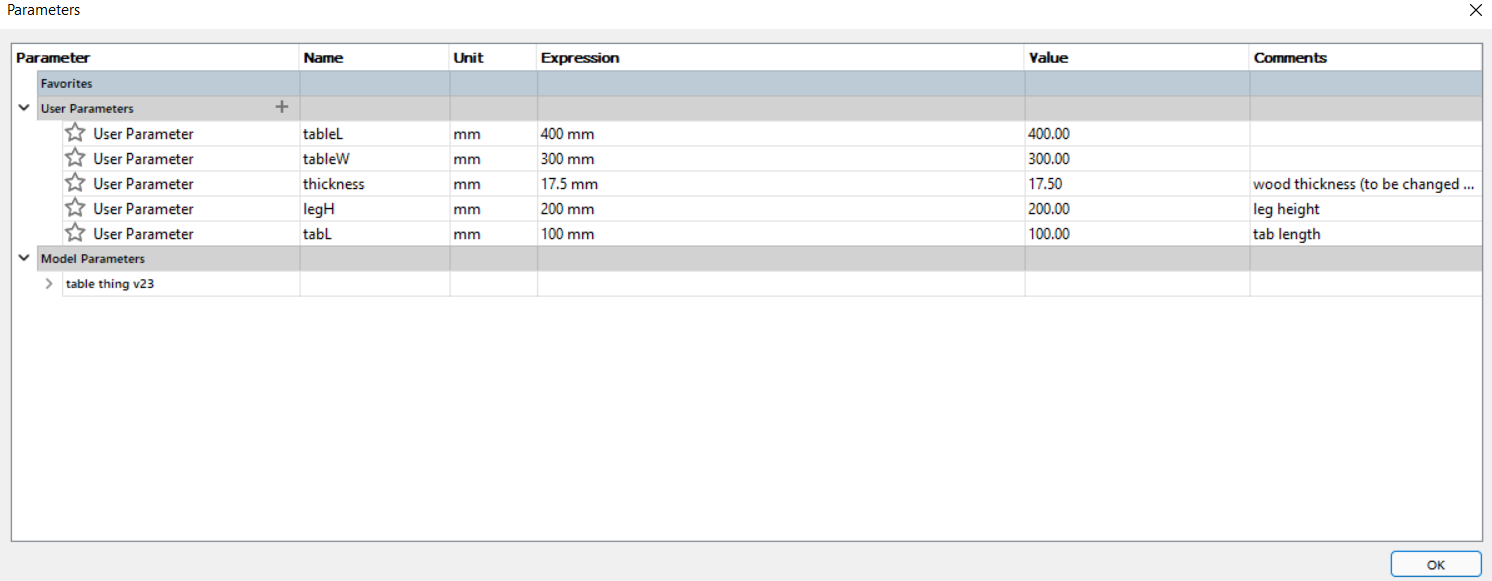
To start off, I made the lid. Due to the fact that I do not know what thickness of wood I need to use, this has to be parametric.
Here are my variables used. For thickness, I set an arbitrary value.
A simple top was drawn, with a cross shaped tab in the middle. This will be where the legs are inserted.
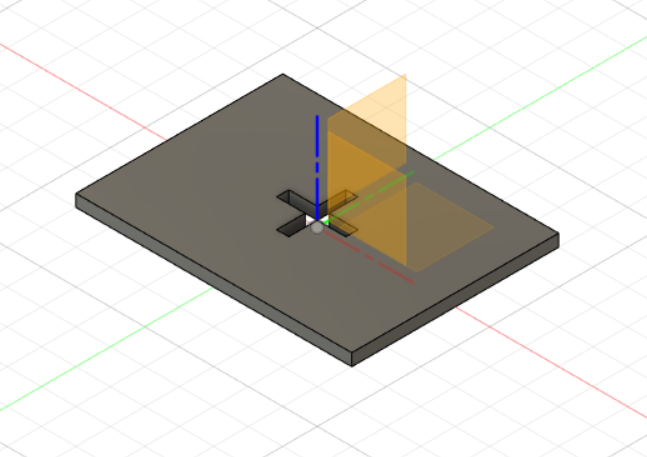
The top was extruded to the set thickness (which will be changed). The edge is filleted to avoid sharp edges.
Time for the legs.
A simple sketch was made. Note the bottom is a slot as the second leg has to be slot for balancing.
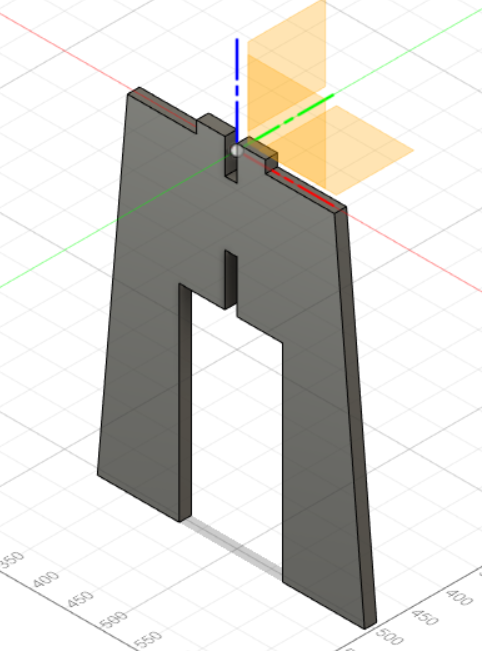
Same extrusion applies.
Finally, the last leg.
Like the other pieces, it is extruded to my set thickness.
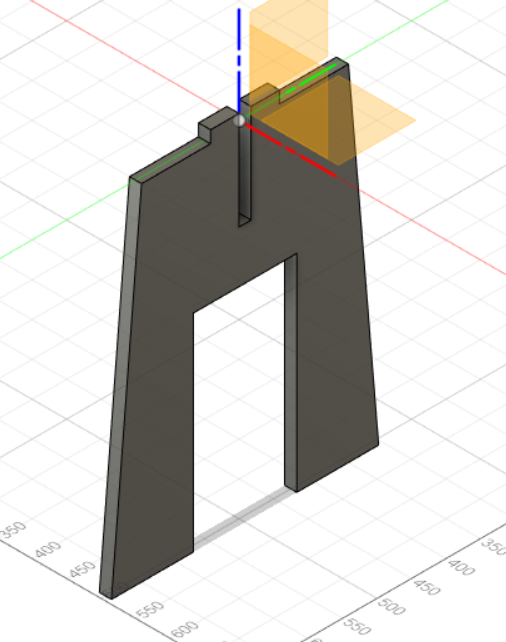
Before exporting, the legs are filleted.
With the model done, just before machining, I adjusted the thickness and exported each face to a DXF file.
VCARVE
Before machining, the files are loaded into VCarve Pro to prepare the DXF Files.
After adding the files into VCarve Pro, we have to check all the vectors are grouped.
Due to the nature of the CNC machine, any slots machined that go through insertion will not be cut properly if left as it is.
To resolve this, a 'dogbone' fillet is added in VCarve Pro to our files after being added and grouped.
Now, we can process our files.
Since our flatpack furniture is just cut out (full cut), profile cutting is used.
The endmill used is 6mm in diameter.
Next, we have to add tabs. Tabs are added to hold the cut part, ensuring it does not shift around while cuttiing.
Normally around 4 tabs is enough, however for large pieces like mine, it is good to add more.
MACHINING
Once the post processing is done, the tap file is opened in NC-Eas(Y) Pro.
Like any CNC Machine, the origin points have to be set before machining.
Pressing "reference move" resets the machine to the default origin point.
Time to set our X and Y axes.
To move it, you must first set the axis to move (X or Y).
Next, select the direction (+ve or -ve direction).
Finally, rotate the knob to move the machine.
Operating the machine is a bit counterintuitive, however you can think of it as a keyboard.
Move the knob slowly as inputs stack. Avoid spam-rotating the knob.
For the Z-axis, use the "tool measure" function instead. A switch is built-in, similar to the Stepcraft 420 machine.
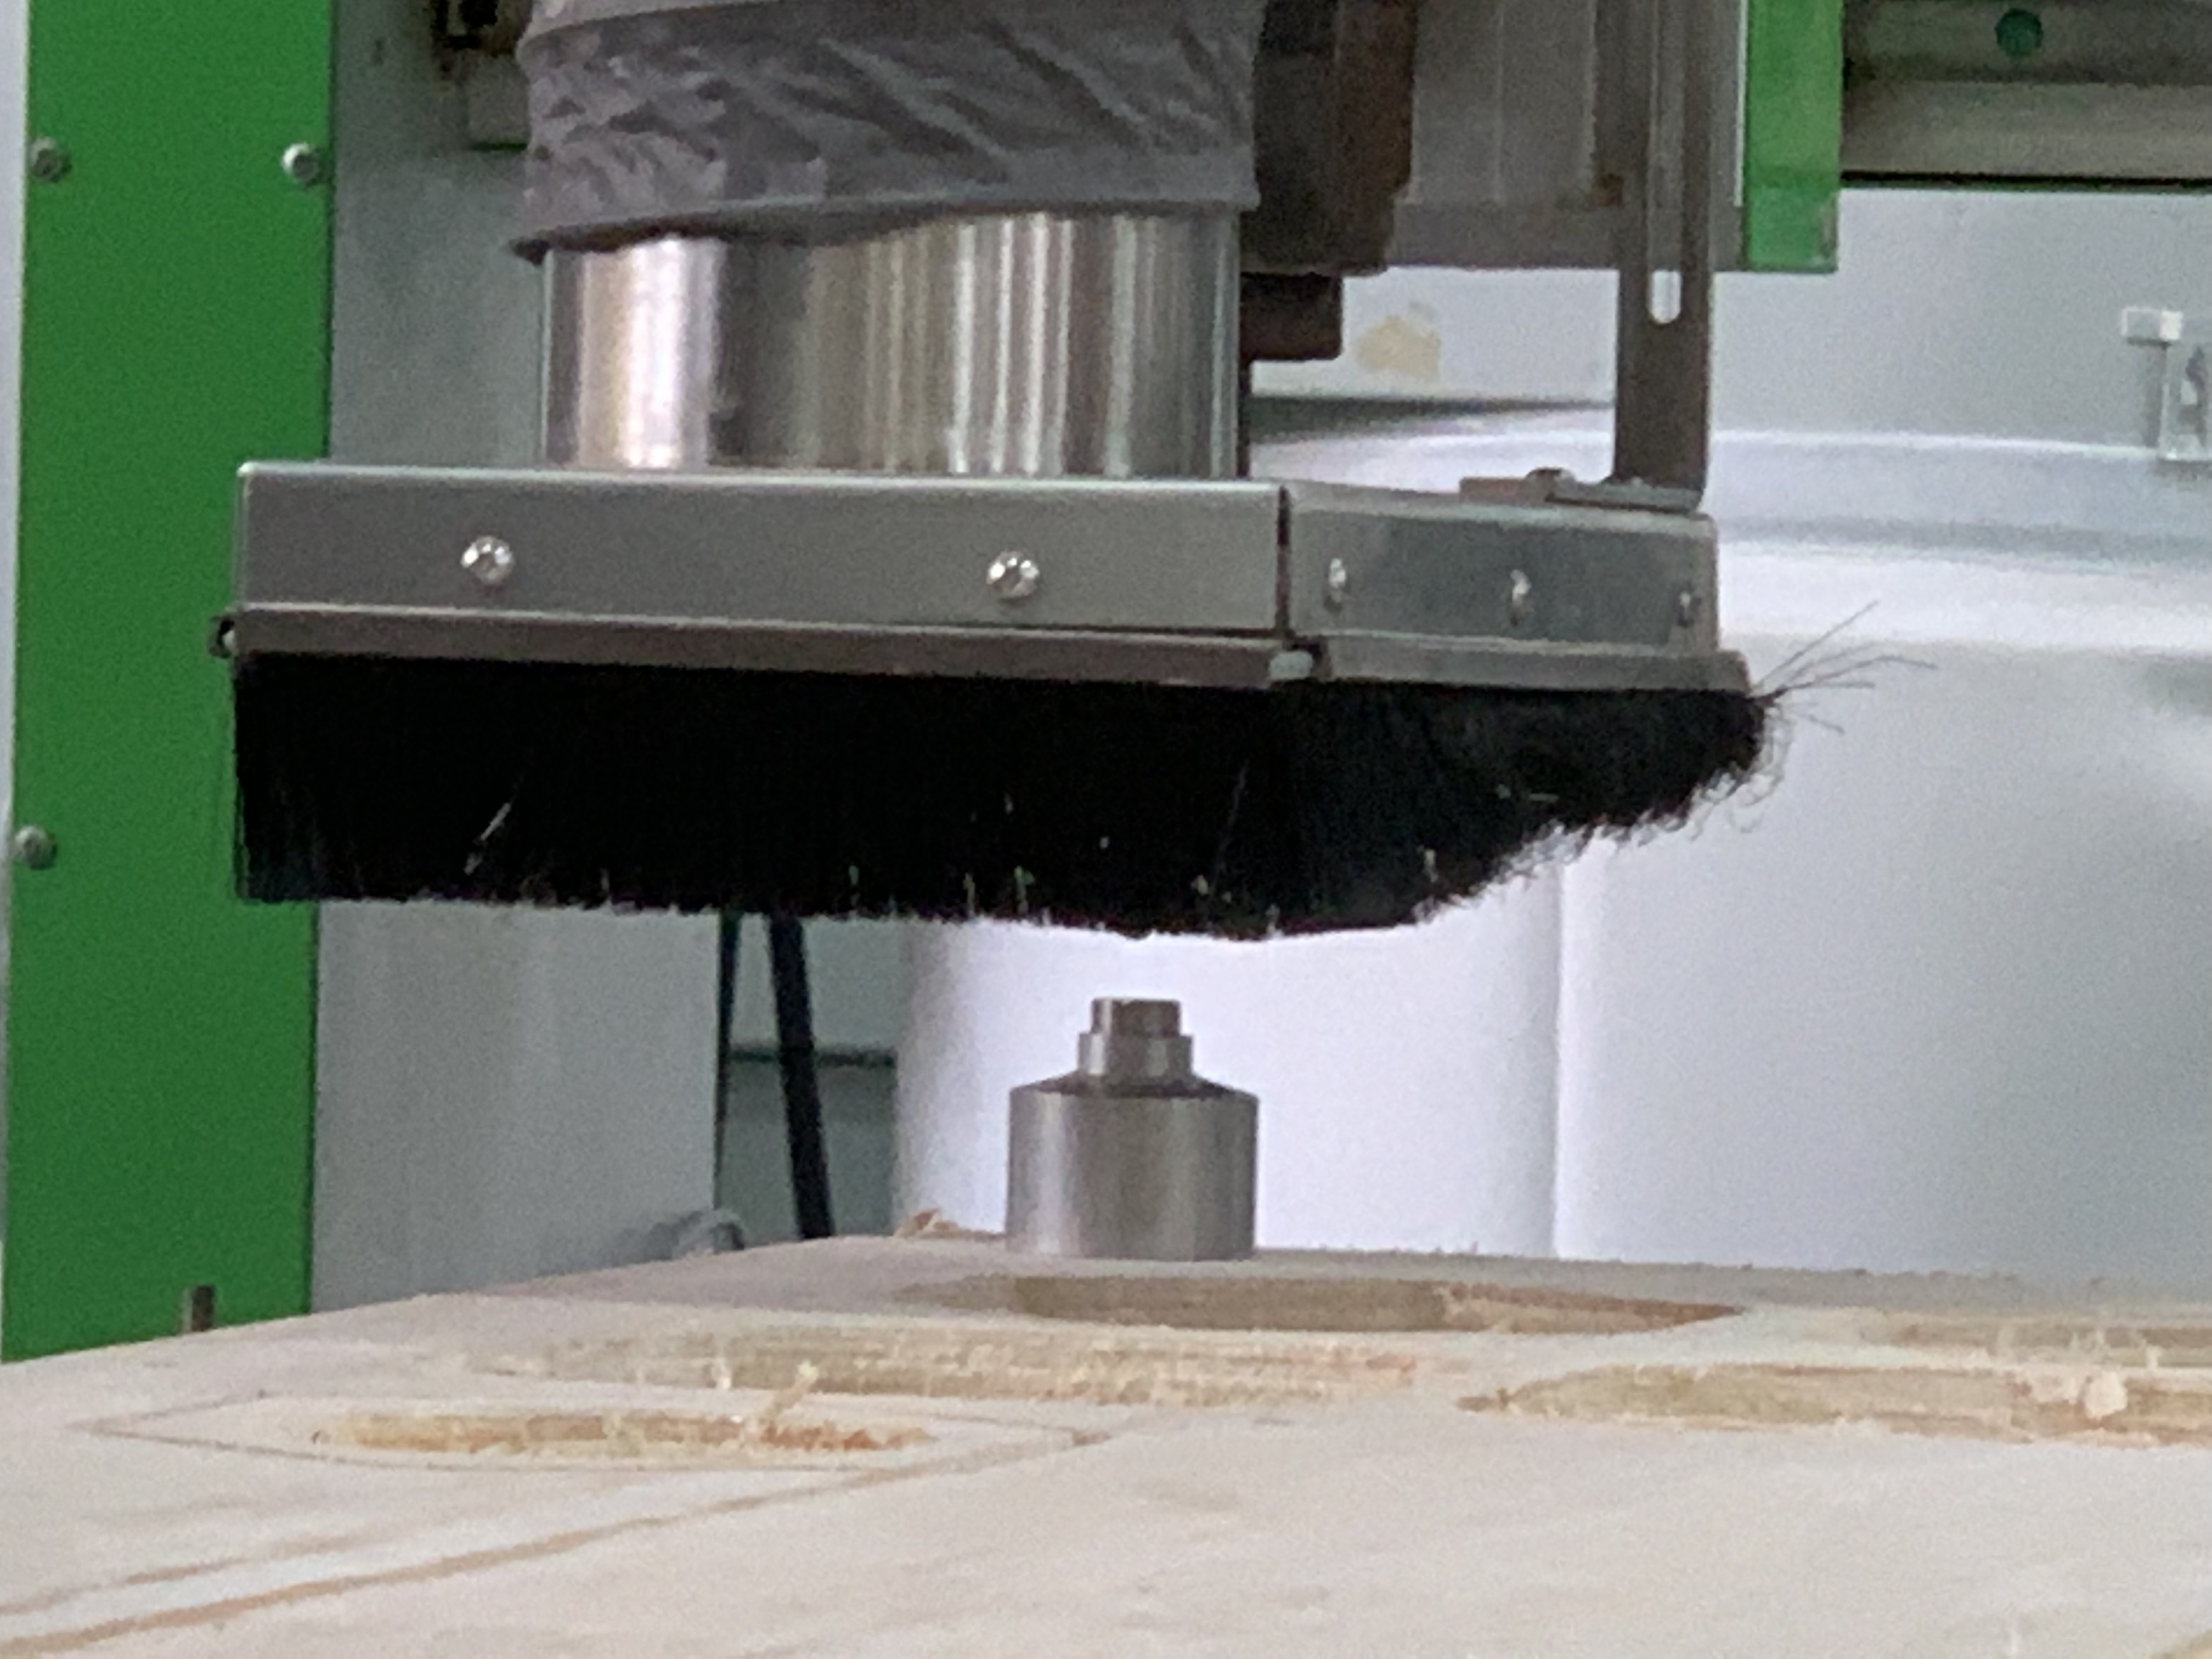
After positioning the switch underneath the endmill, it will descend and press the switch, thus setting our z-axis.
With axes set, the chip vacuum is turned on.
With that done, we can finally machine our stool.
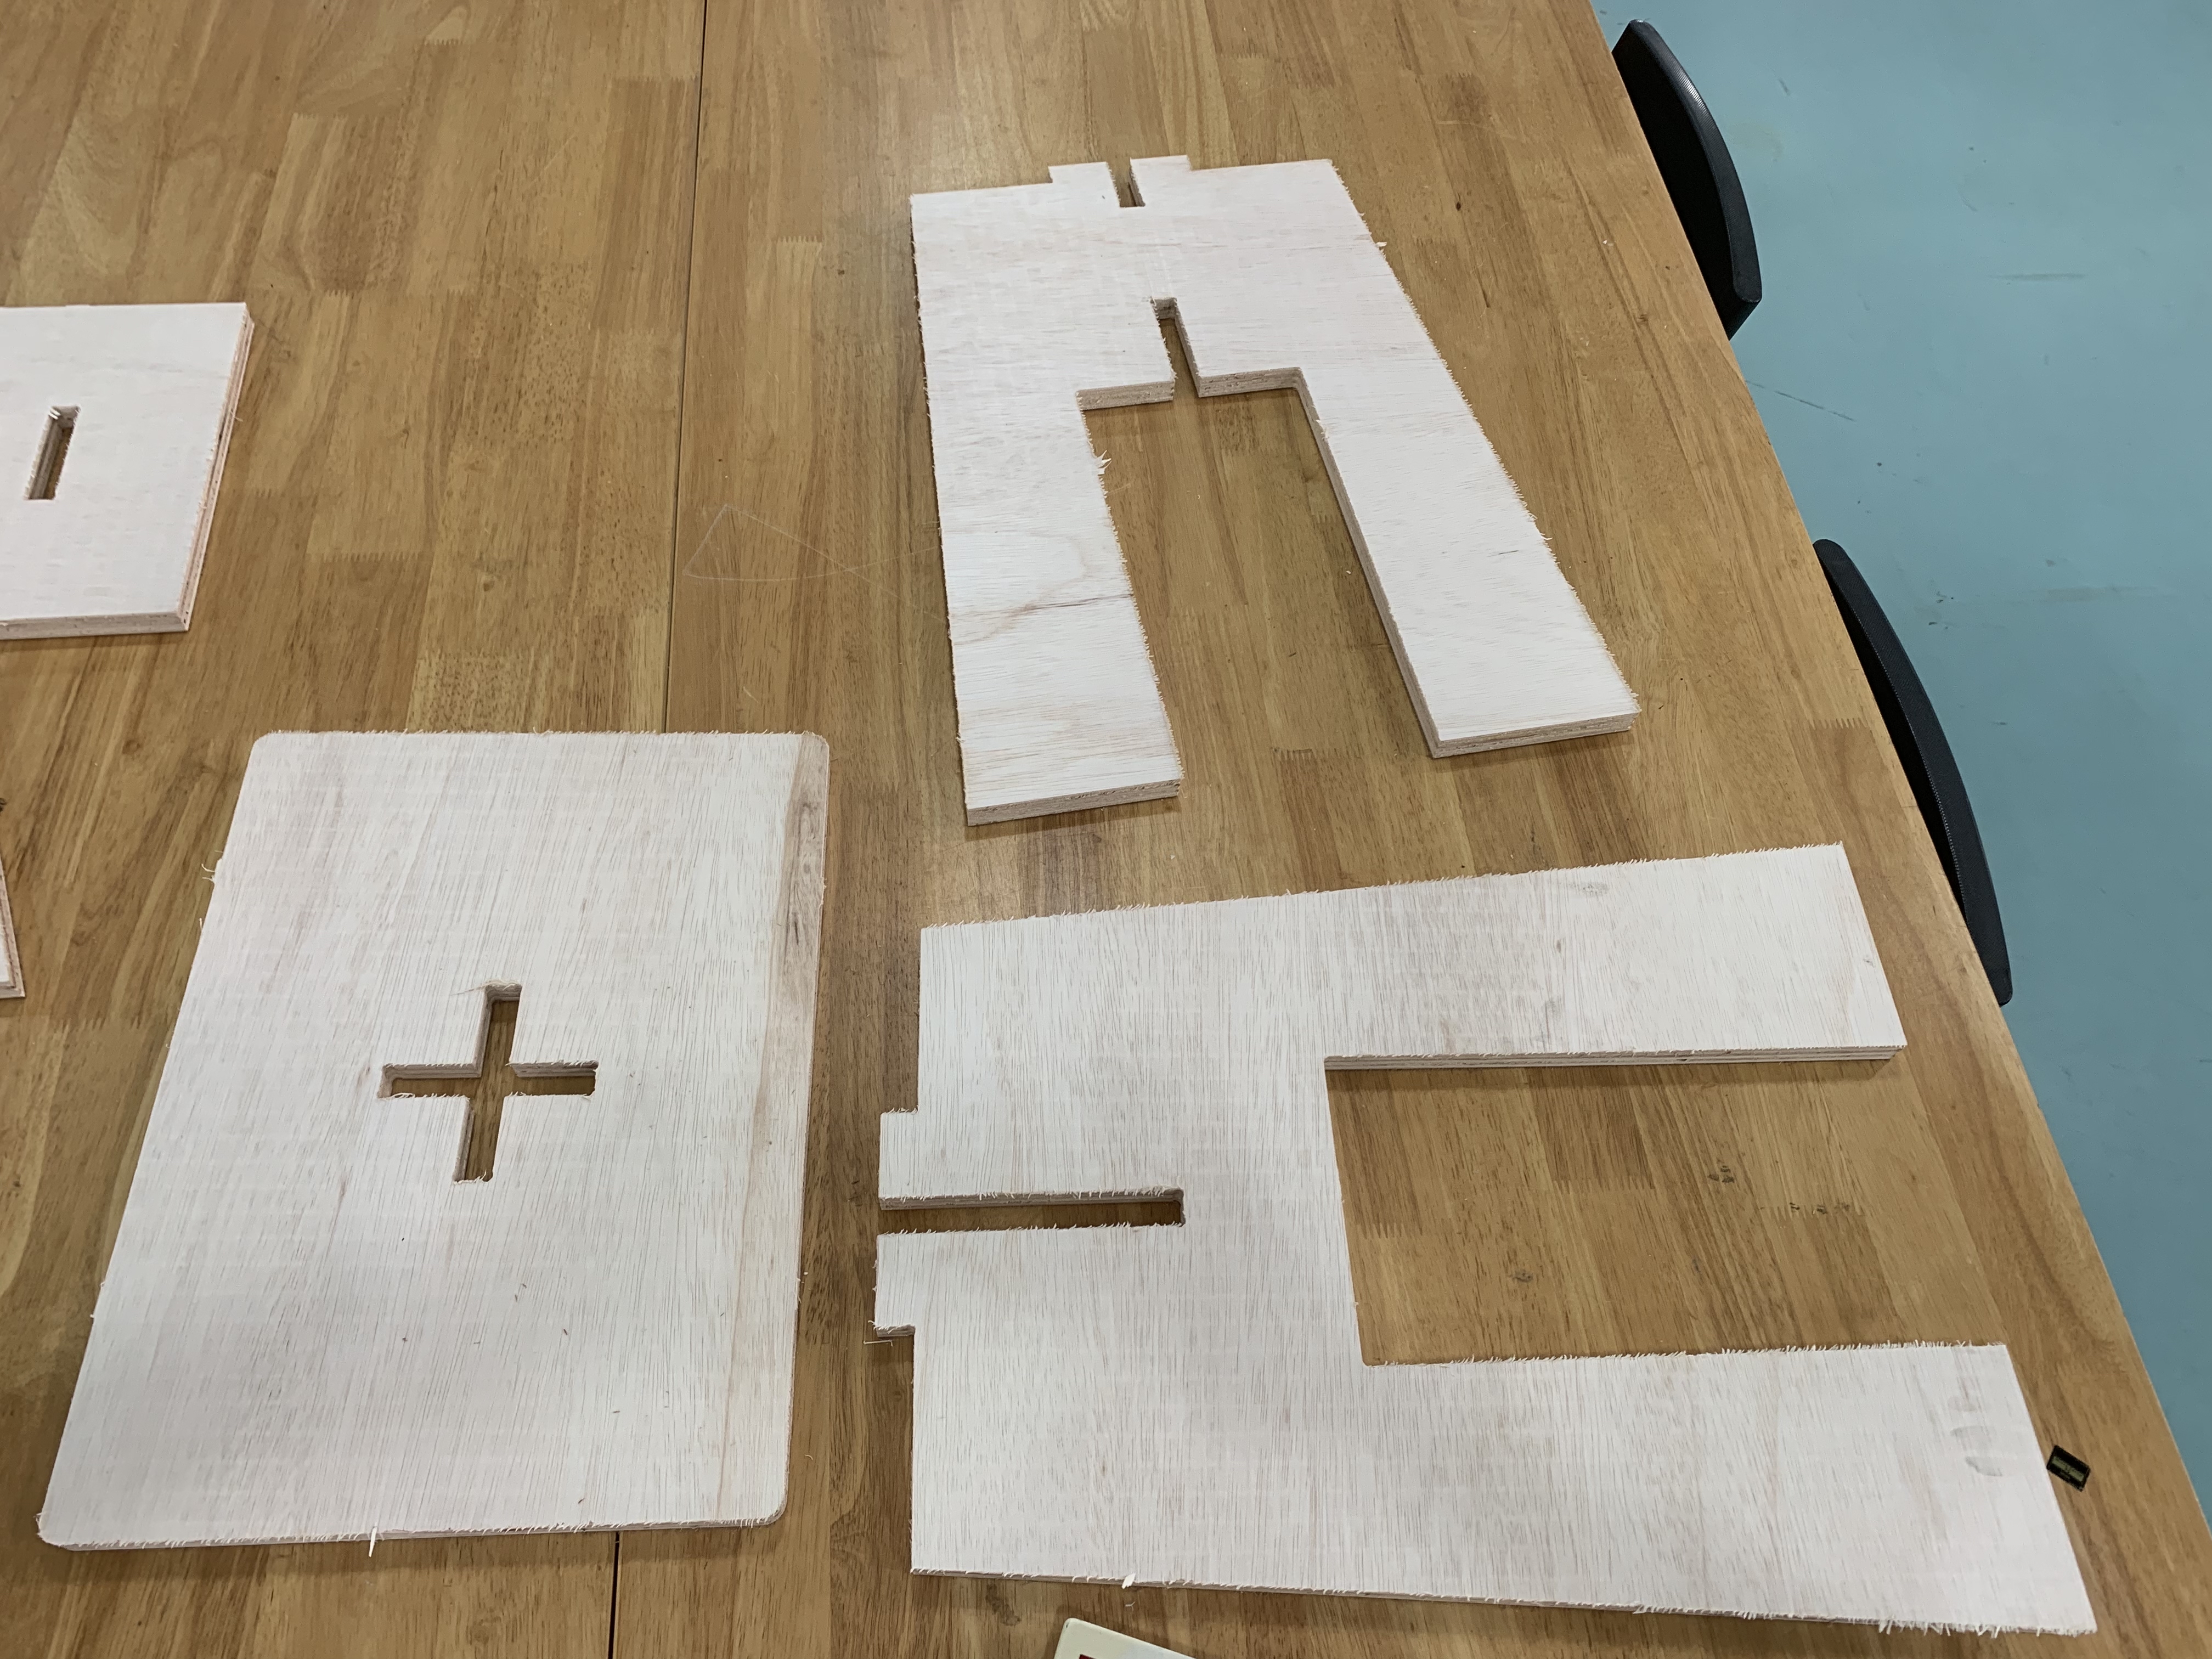
ASSEMBLY
After the machining, a chisel is used to separate the pieces needed.
Here is the unassembled stool. Some post-machining work needs to be done, mainly sanding the edges.