MODELLING
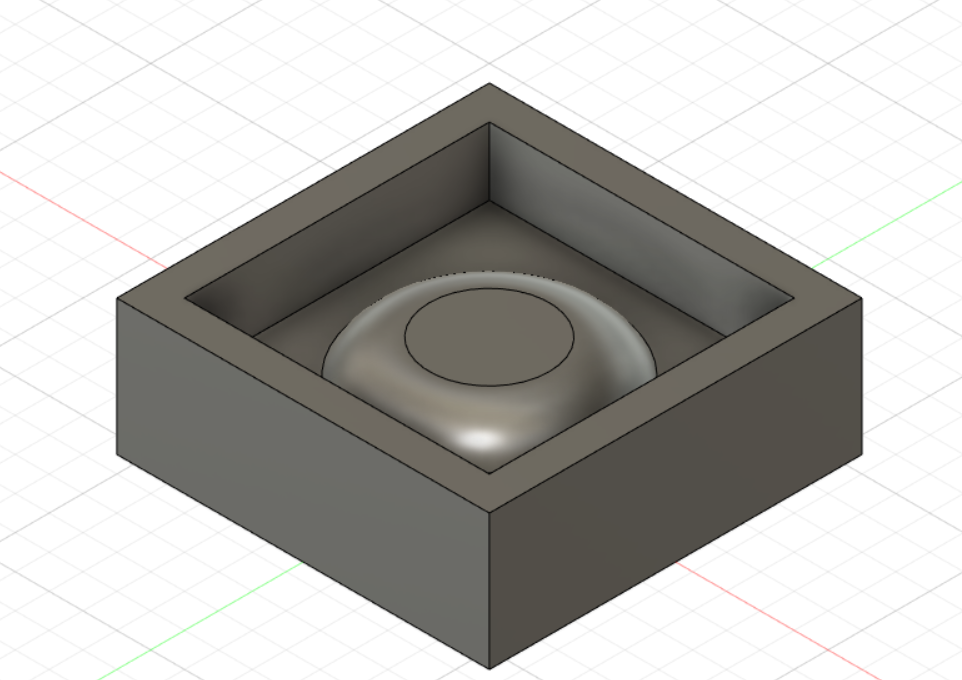
I decided to make something simple for this assignment. This will be machined out for my assignment in Molding and Casting.
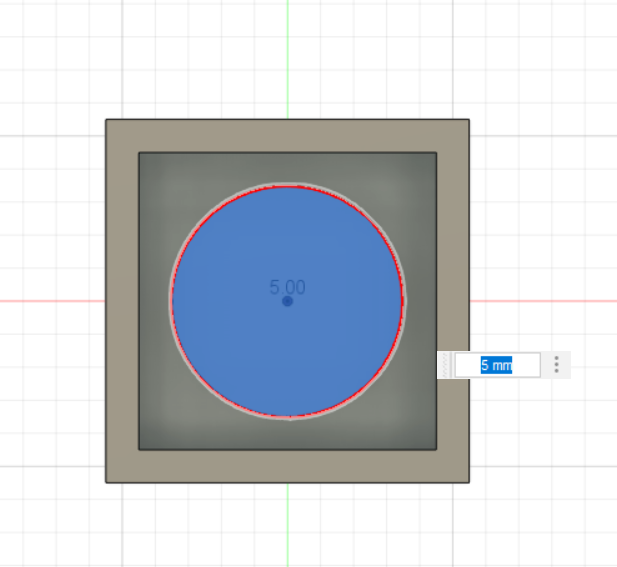
First, I made the outer perimeter.
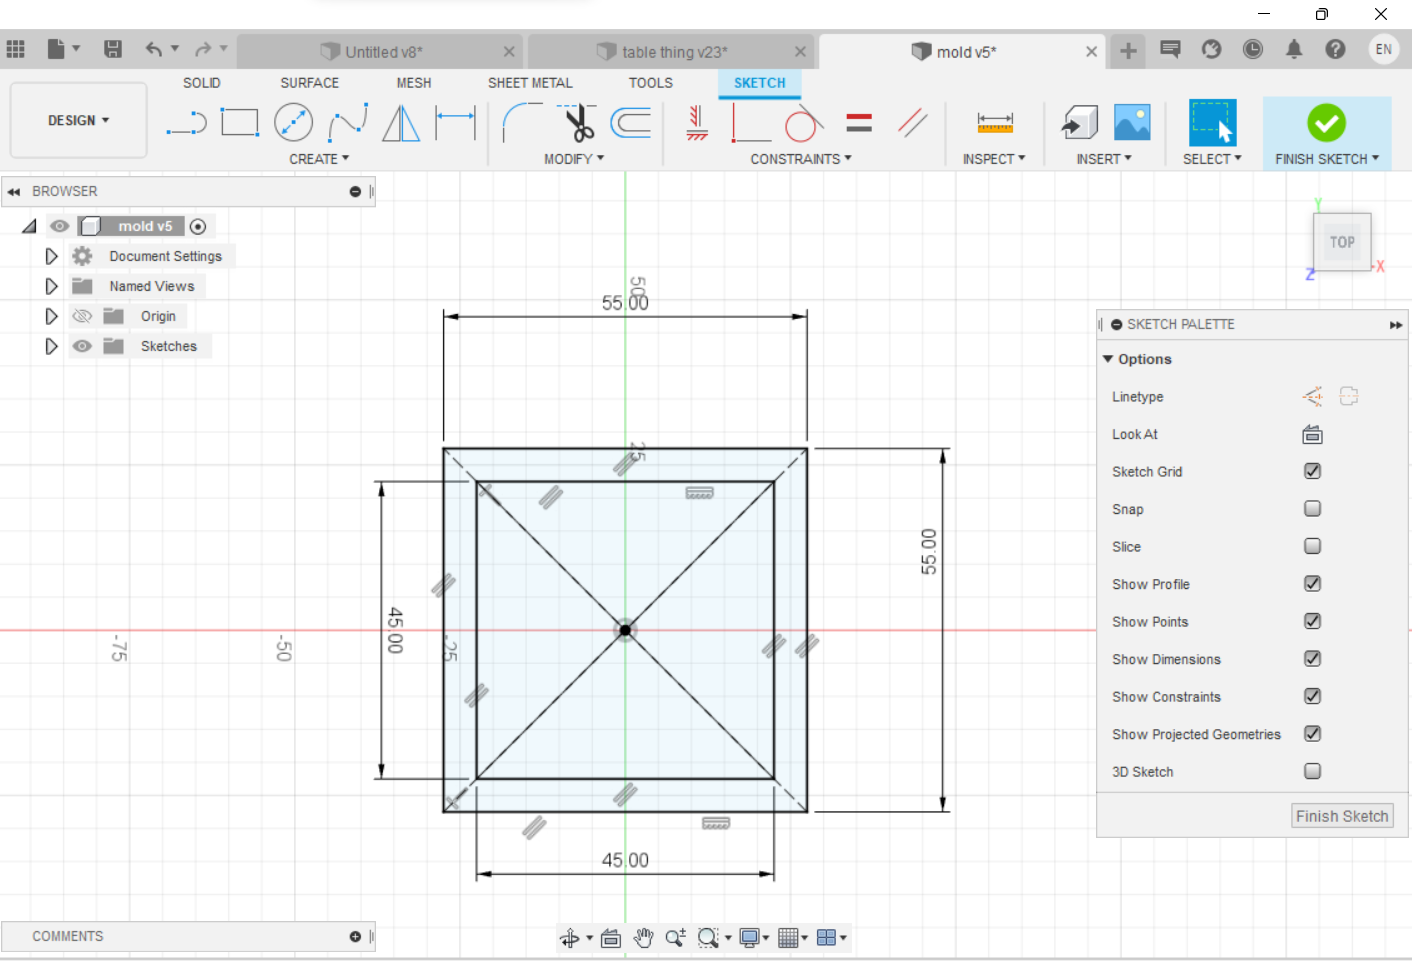
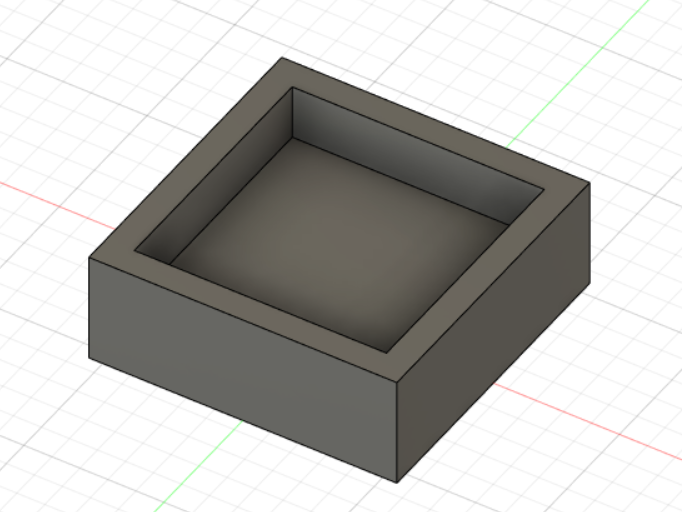
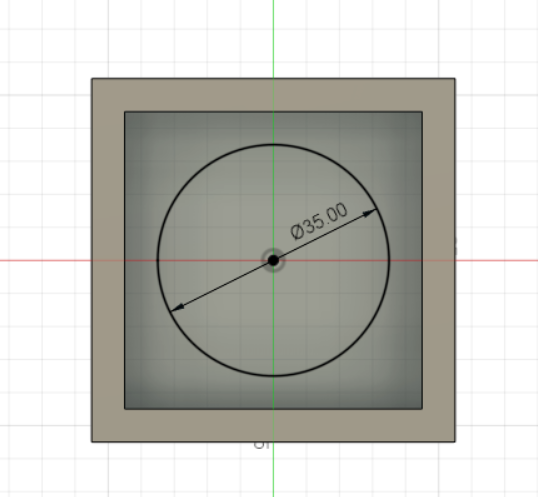
To make it a 3D machined product, I filleted the edges to make it look like a hemisphere with a flat top.
TOOLPATH GENERATION
Head to the Design tab, and switch to Manufacturing.
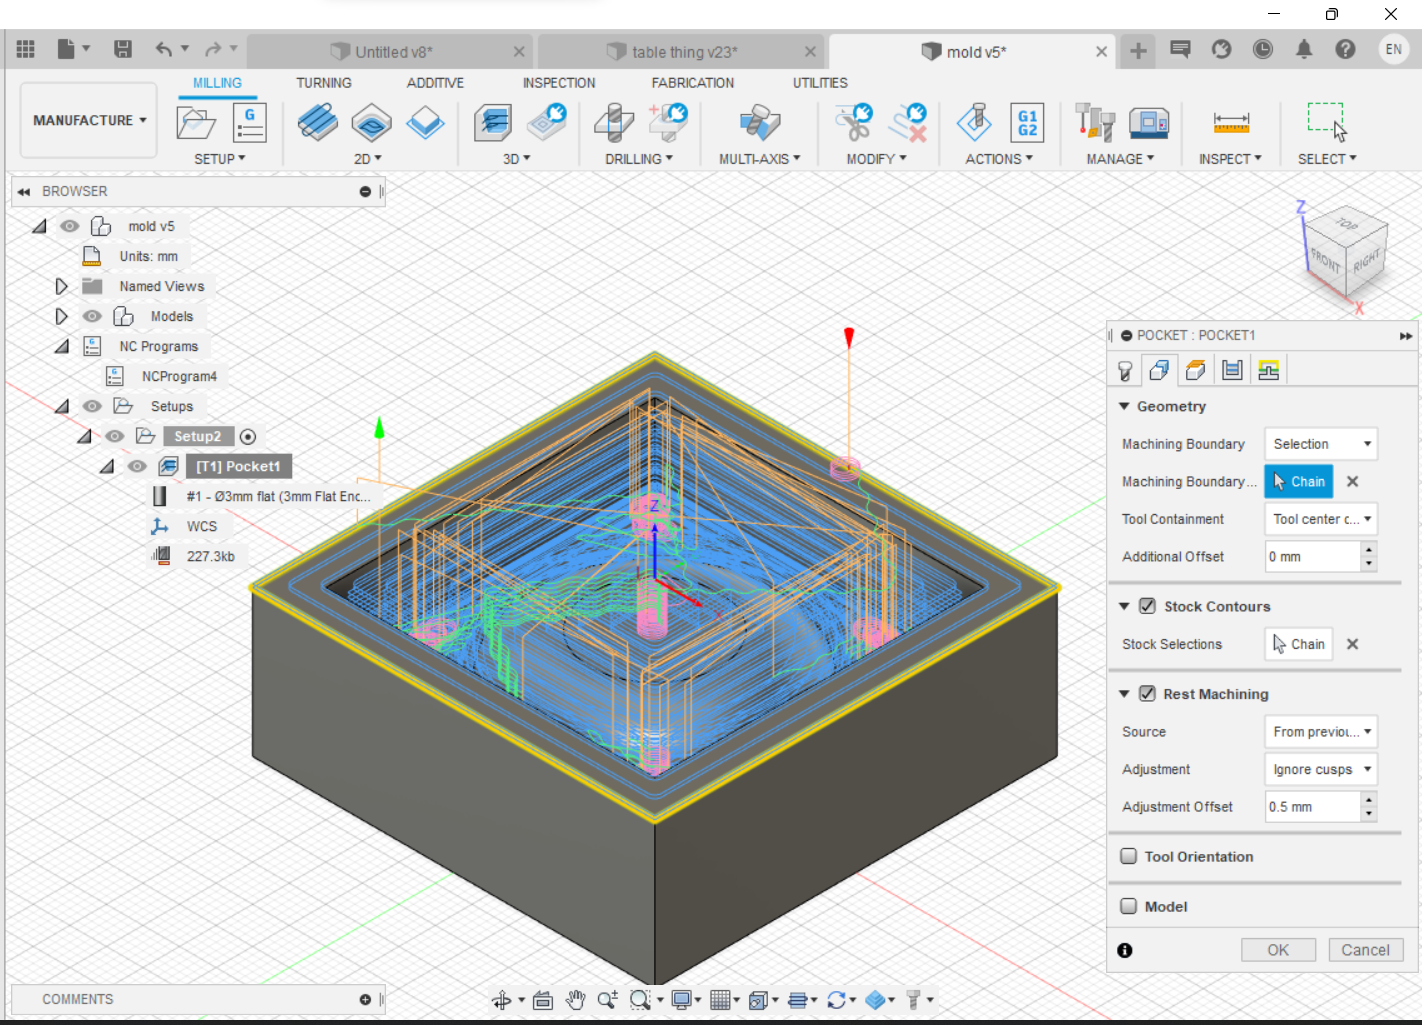
Here, we can generate our toolpath to machine the mold.
Before we start, we need to install the correct post-processor for the job. The Stepcraft-UCCNC post processor is used.
It can be found in Fusion 360's Post Library.
With that installed, we can generate the toolpath for our mold.
Since its not fully cutting through the foam, pocket clearing is done.
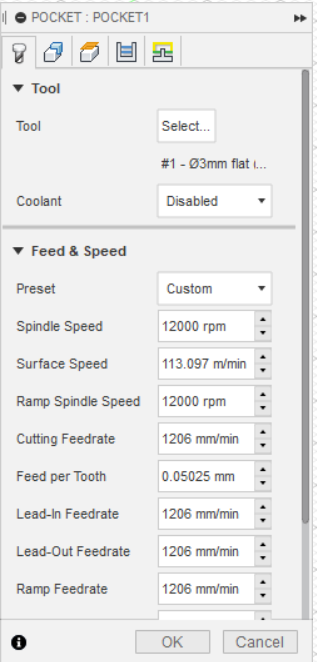
Spindle speed is not necessary to change since that is manually decided by the Stepcraft 420 machine. For machining, a diameter 3 endmill is used.
Here are my settings:
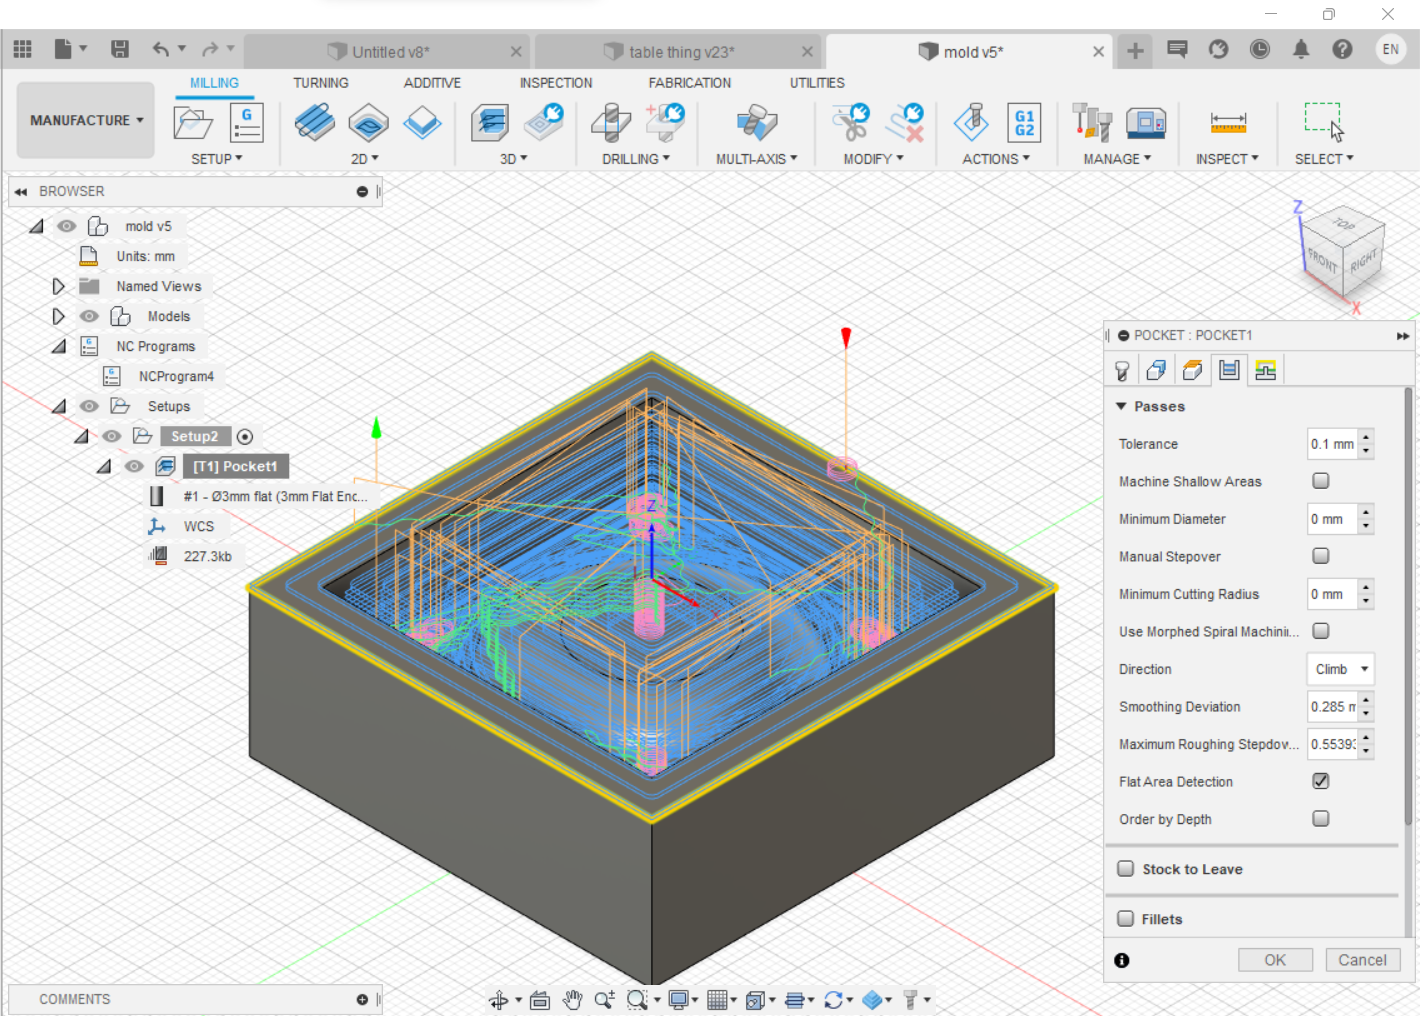
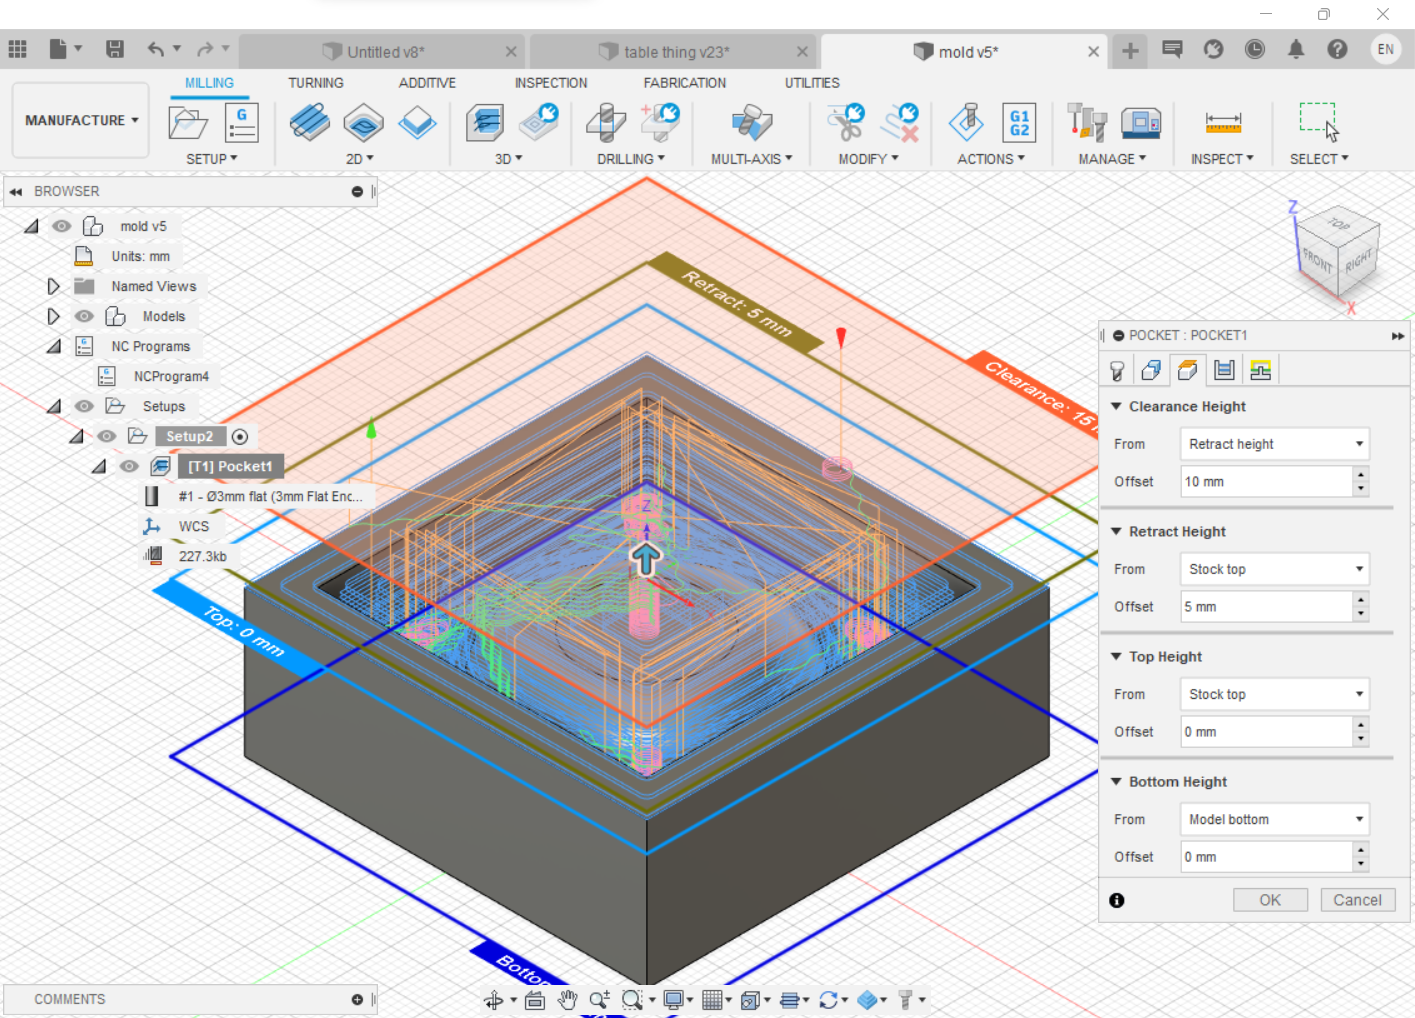
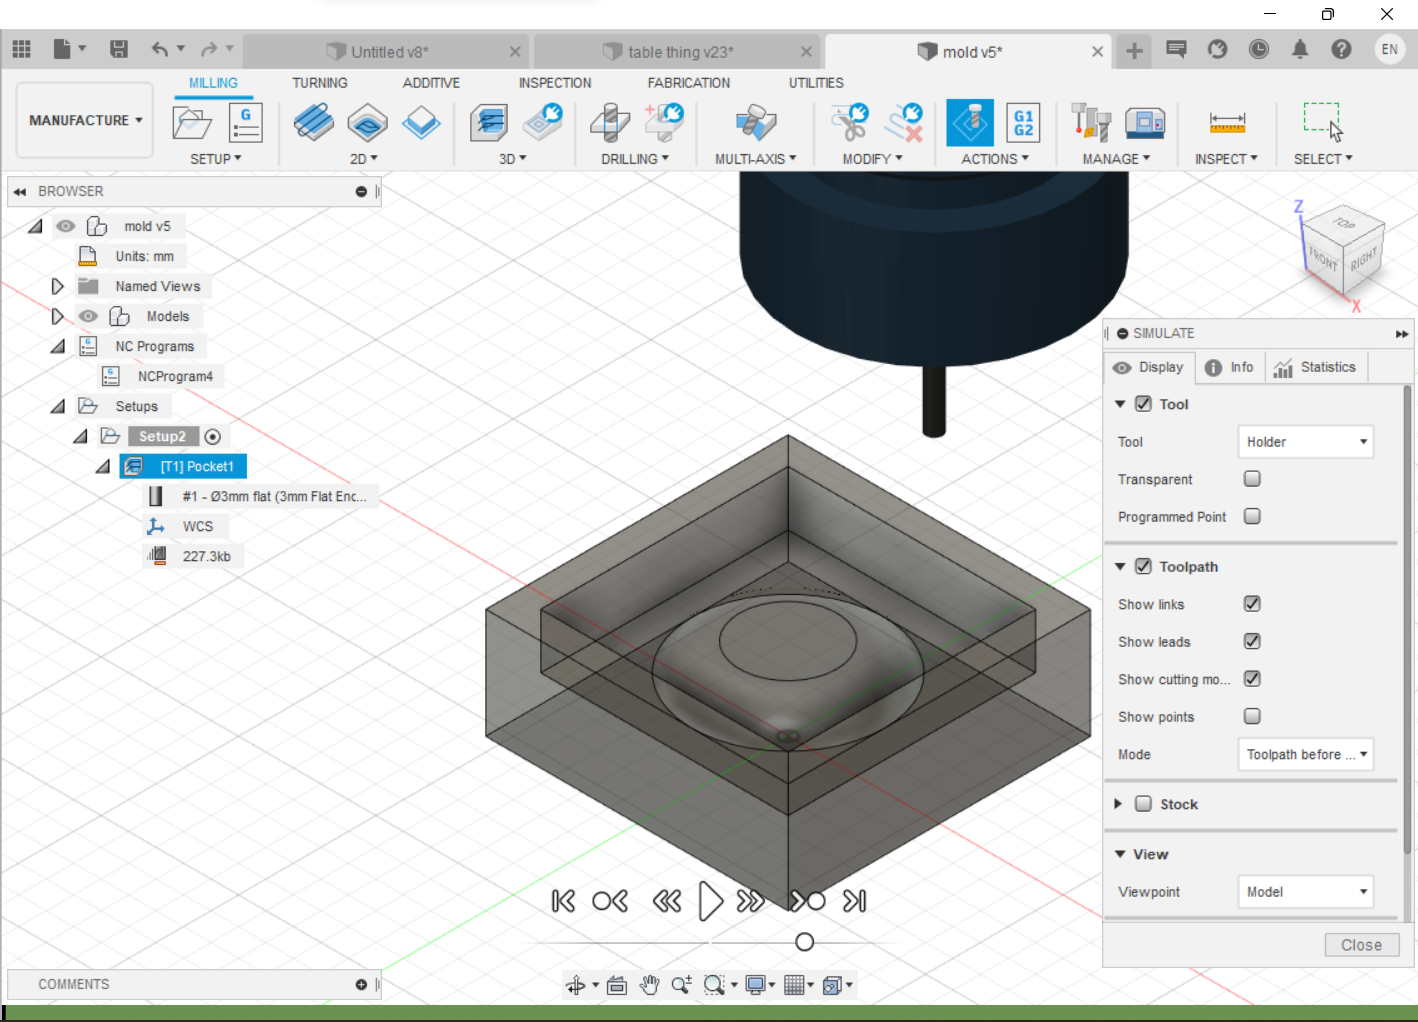
With the settings done, it's time to generate and simulate the toolpath.
MACHINING MOLD
Unlike PCB manufacturing, in Fusion 360 you can directly convert the toolpath into an NC file. Thus, mods is not needed.
However, the remaining steps afterwards is the same. Import the file, tape down the foam, set the axes and start cycle.
For setting the axes, you can do a rough 'X' cut along the top since the set height of the model is lower than the foam.
Hence, rough estimations will suffice.
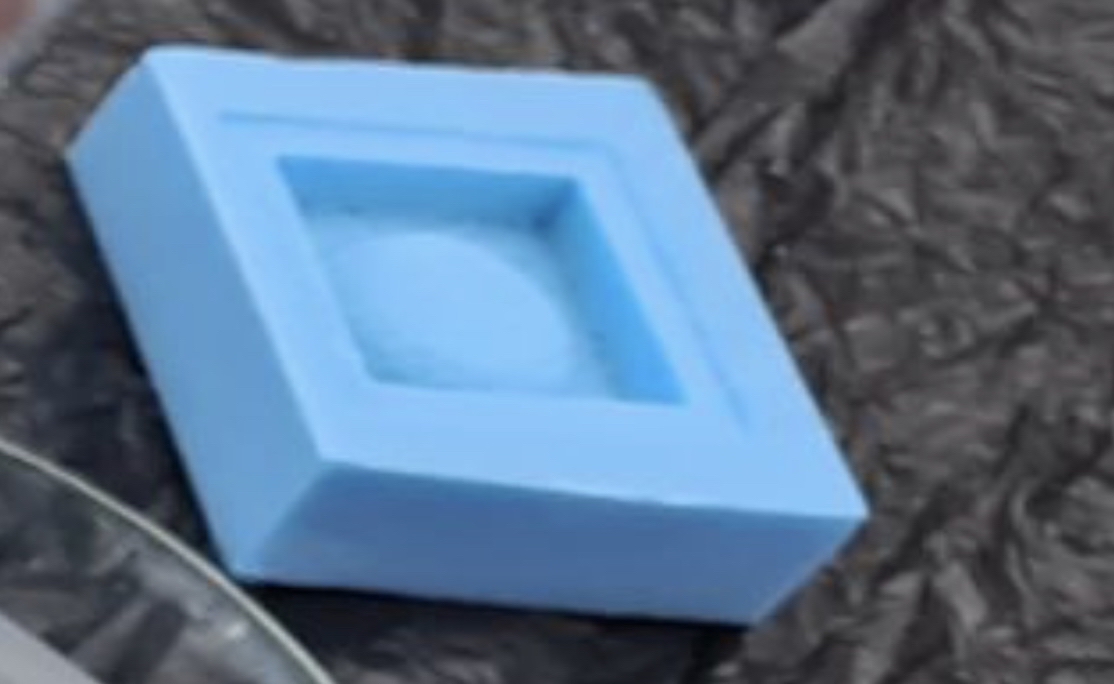
Here is what the finished machined foam looks like.