Laser Cutting
An assignment given was to create a laser cuttable box with a movable lid. It had to meet the following requirements:
- Design must be parametric in nature.
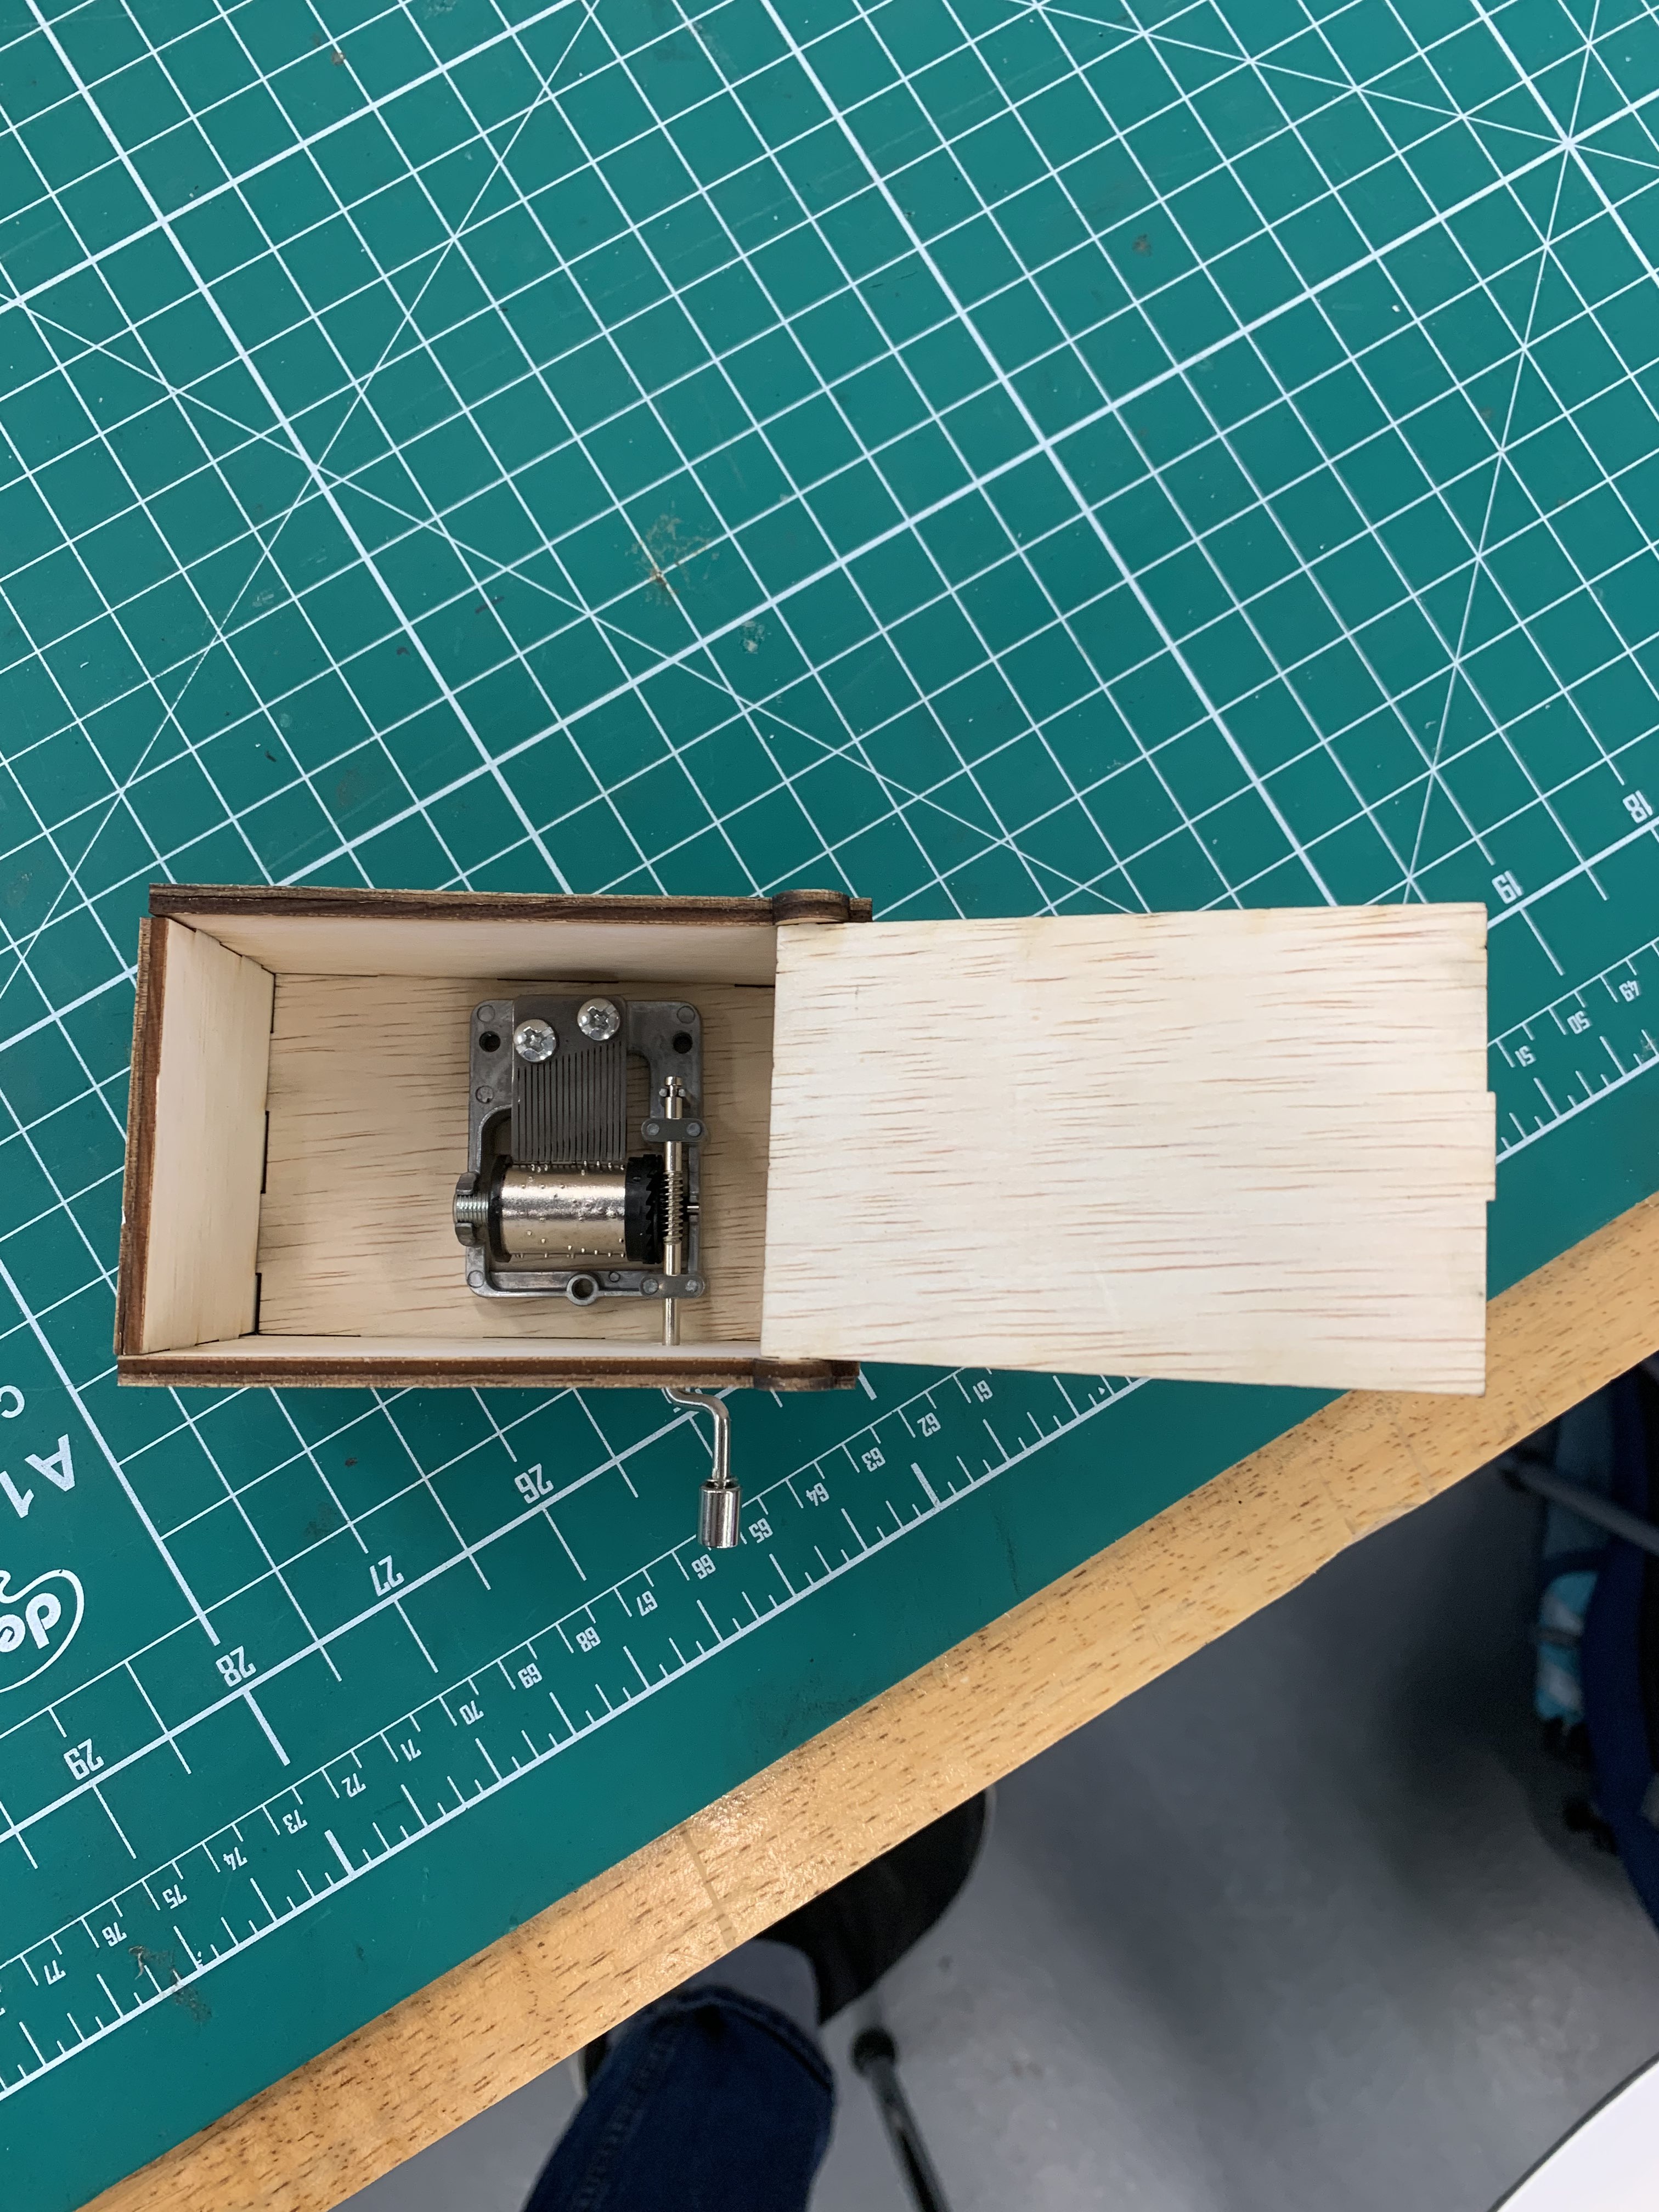
- Box must be large enough to store a musical hand crank.
- Box must come with a movable lid.
- No external nails/hinges to be used to assemble the box.
- Box must be laser cut (plywood)
- Must be decorated in some manner.
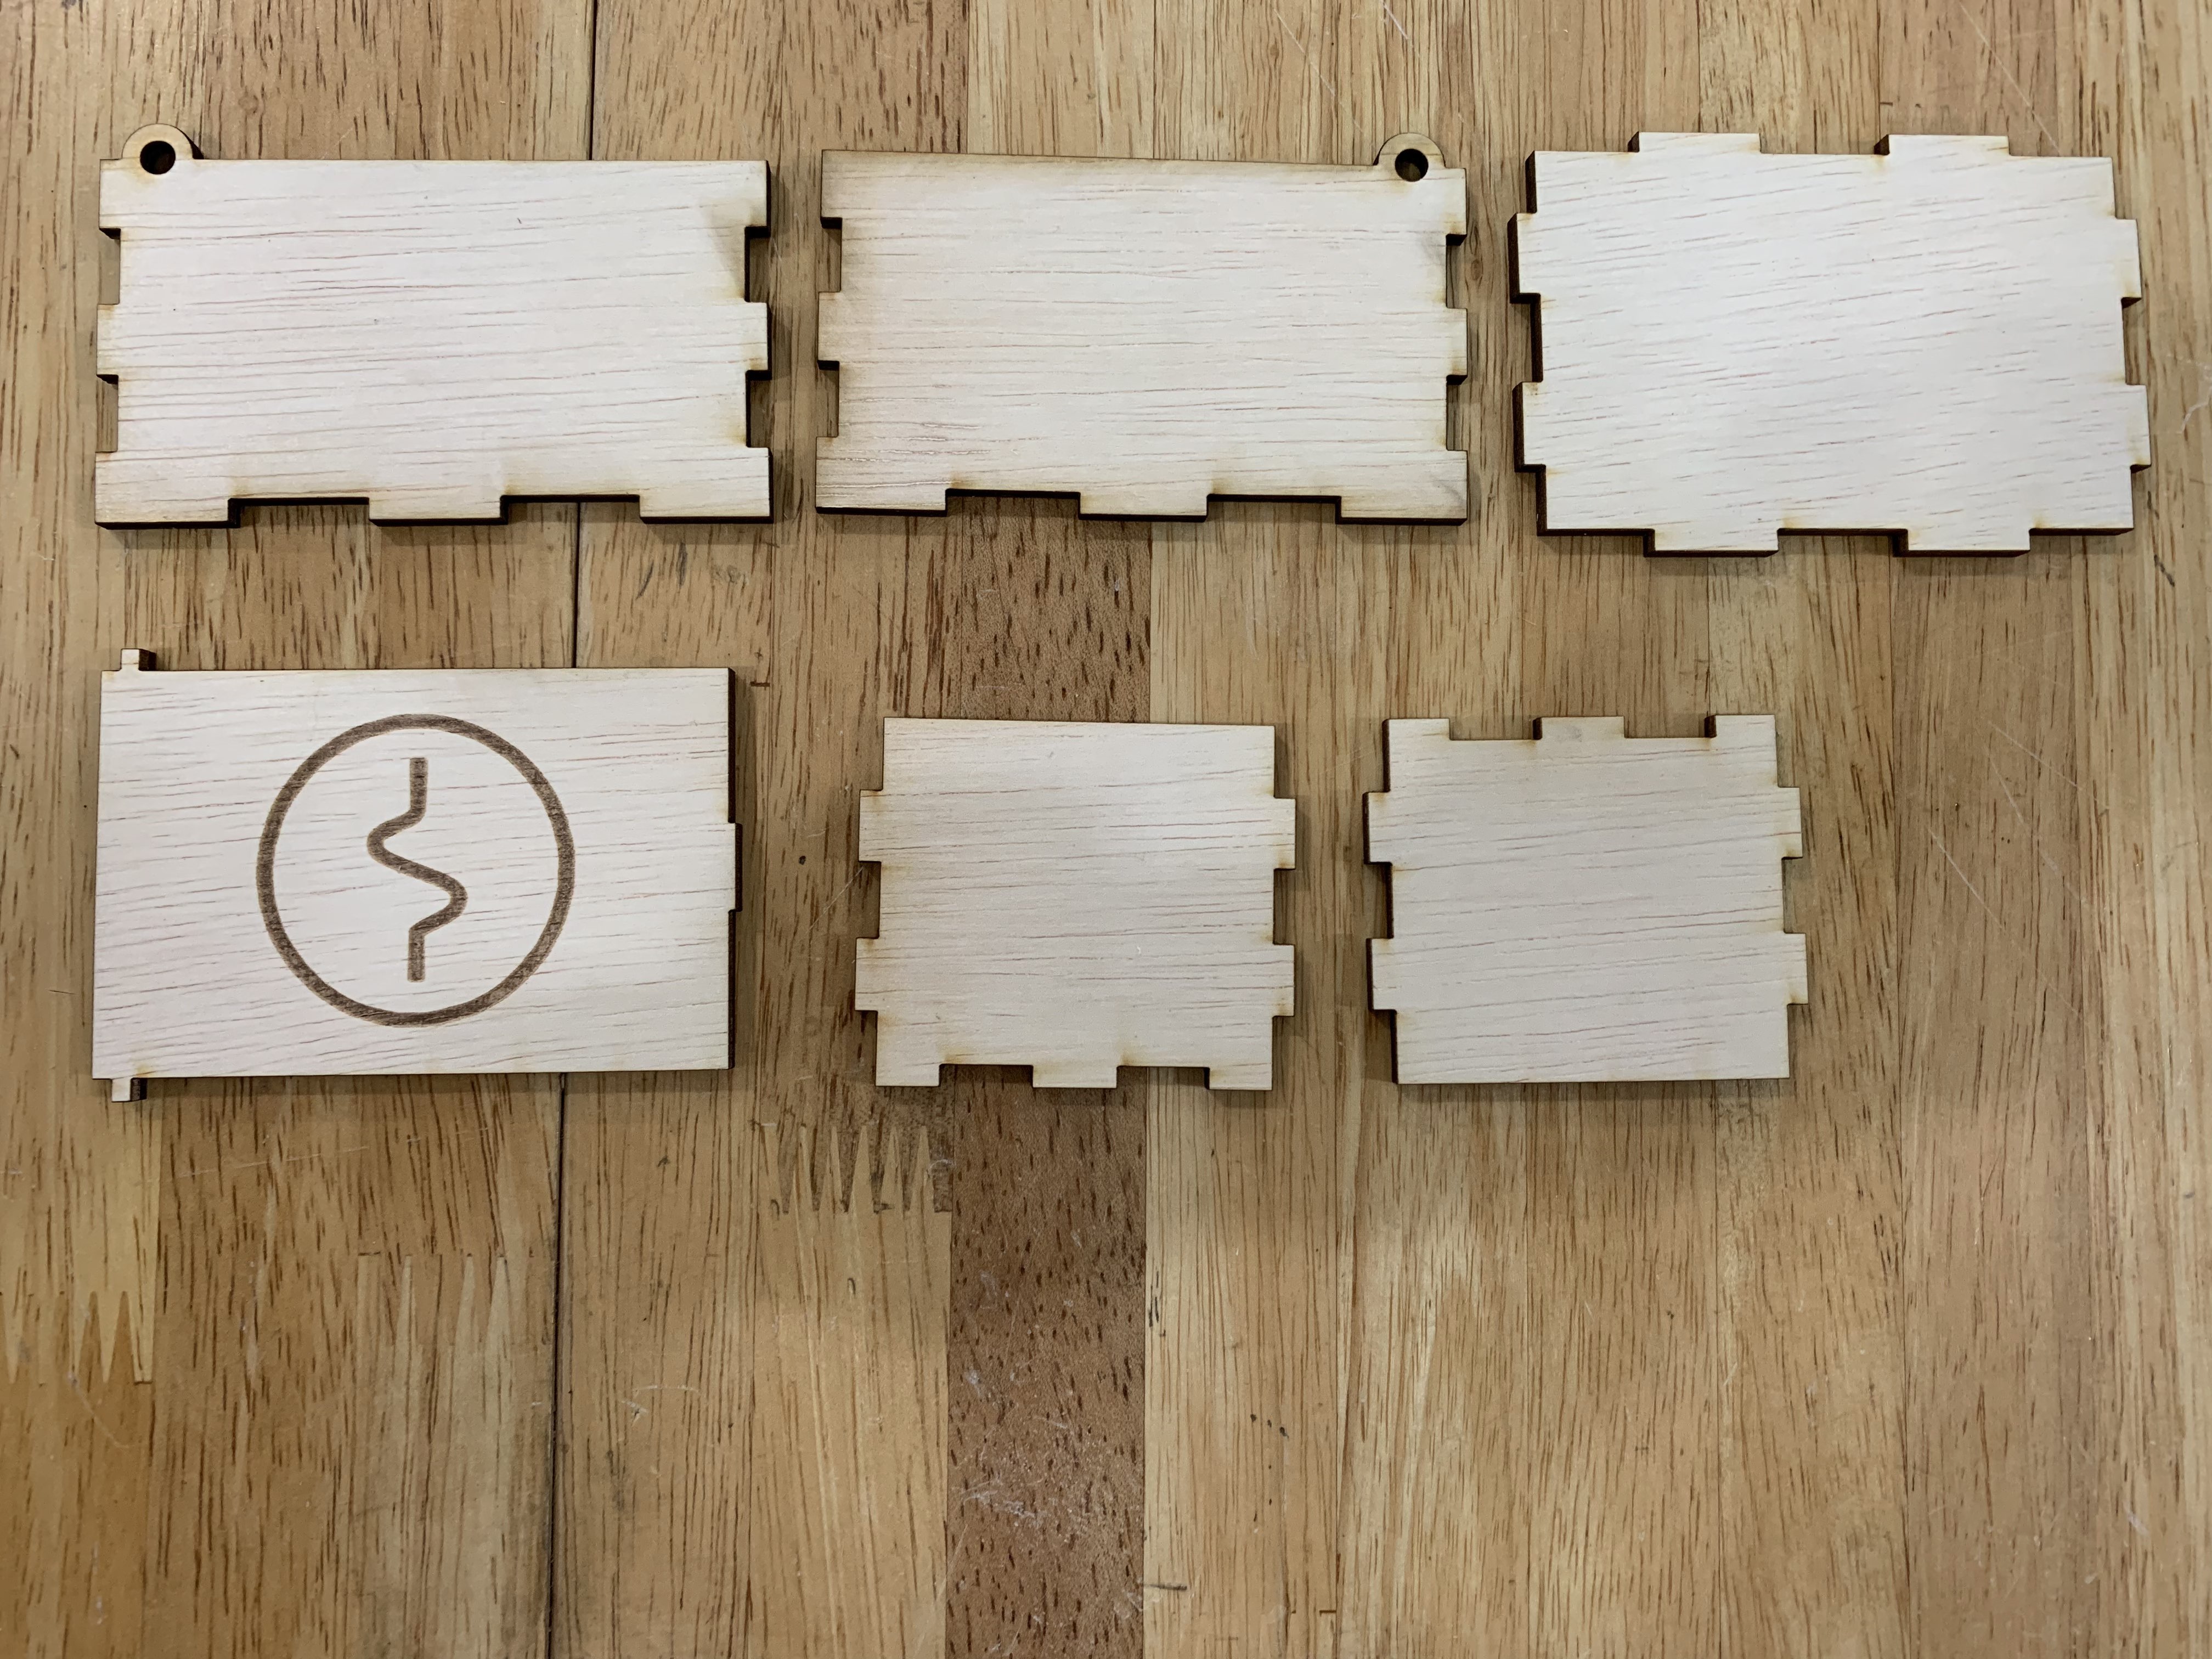
With our completed 3D model, we have to export each face of the box into a DXF File.
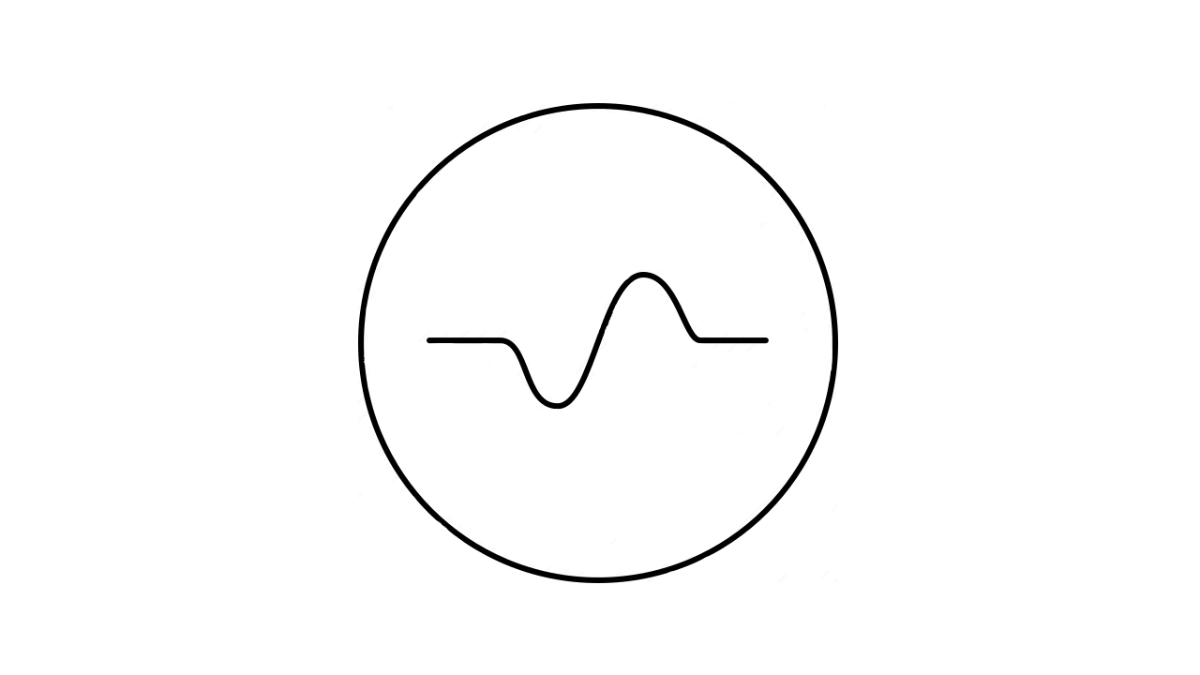
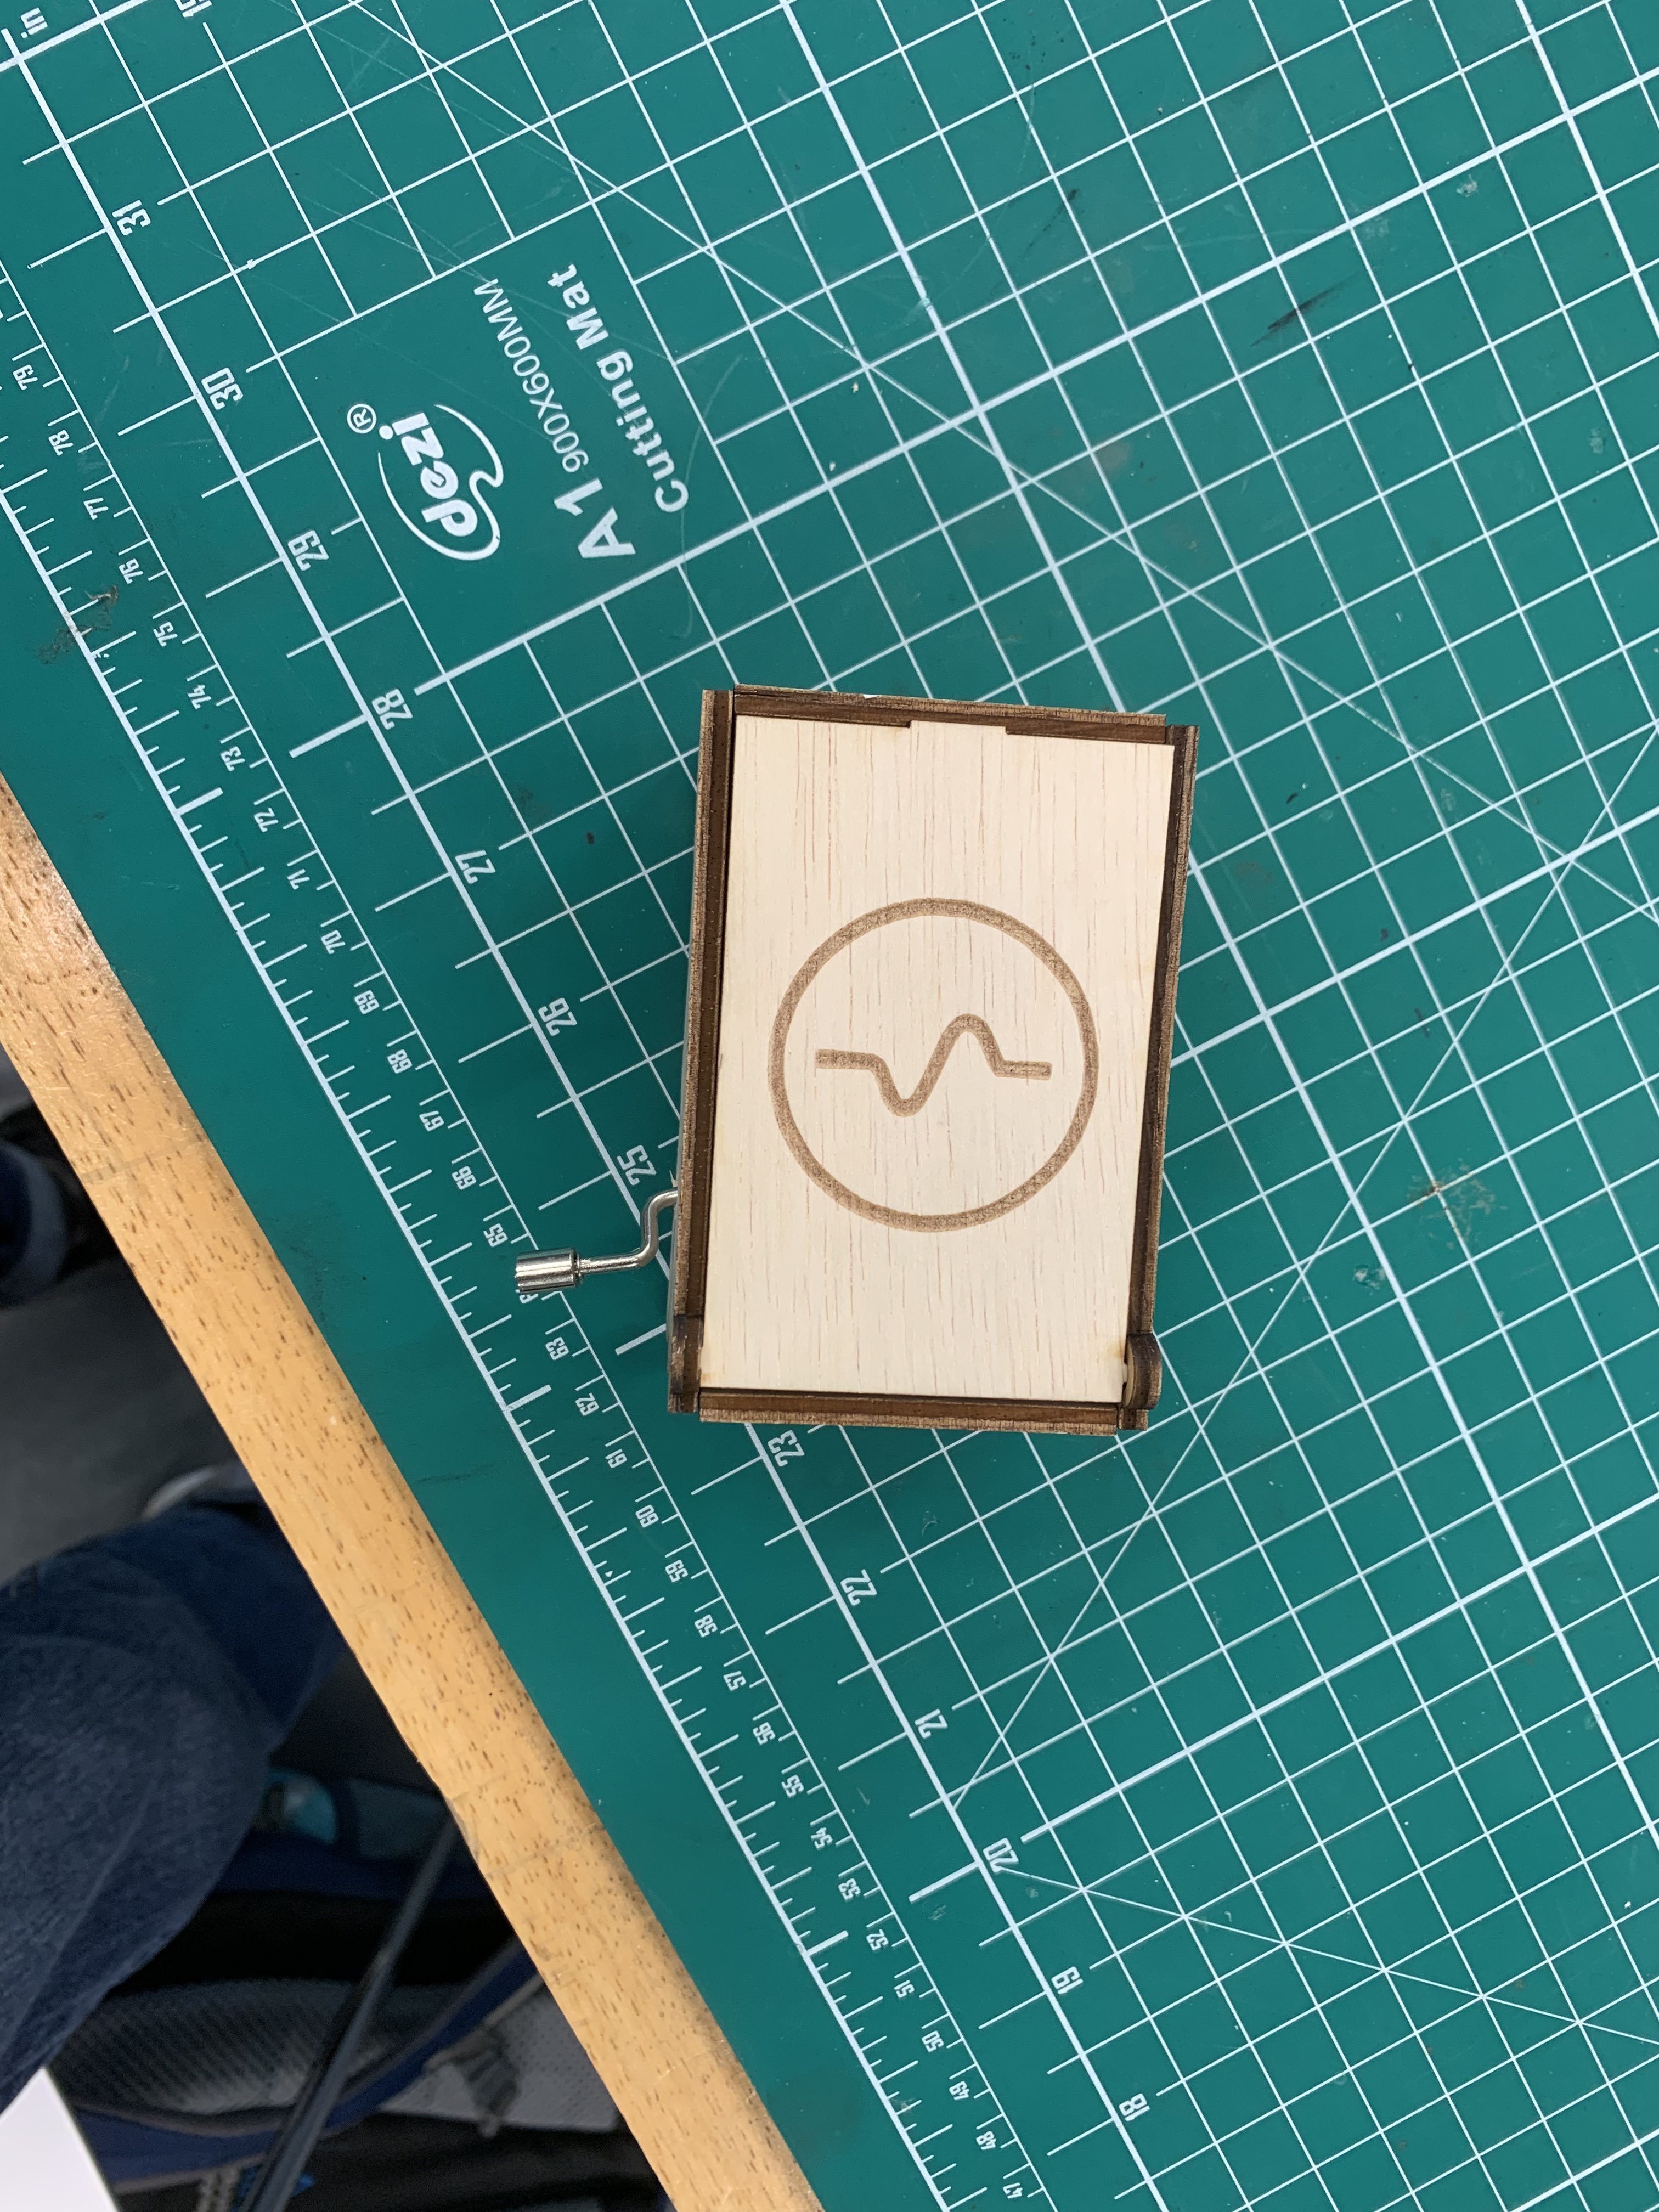
I decided to use a simple image for decoration purposes.
Next, we import our DXF files into CorelDraw to do our final preparations, which include the following:
- Machine Used: Epilog Fusion Pro
- Material: 3.9mm thick Plywood
- 25 Speed, 80 Power, 20 Frequency
- Editing and Resizing decoration image.
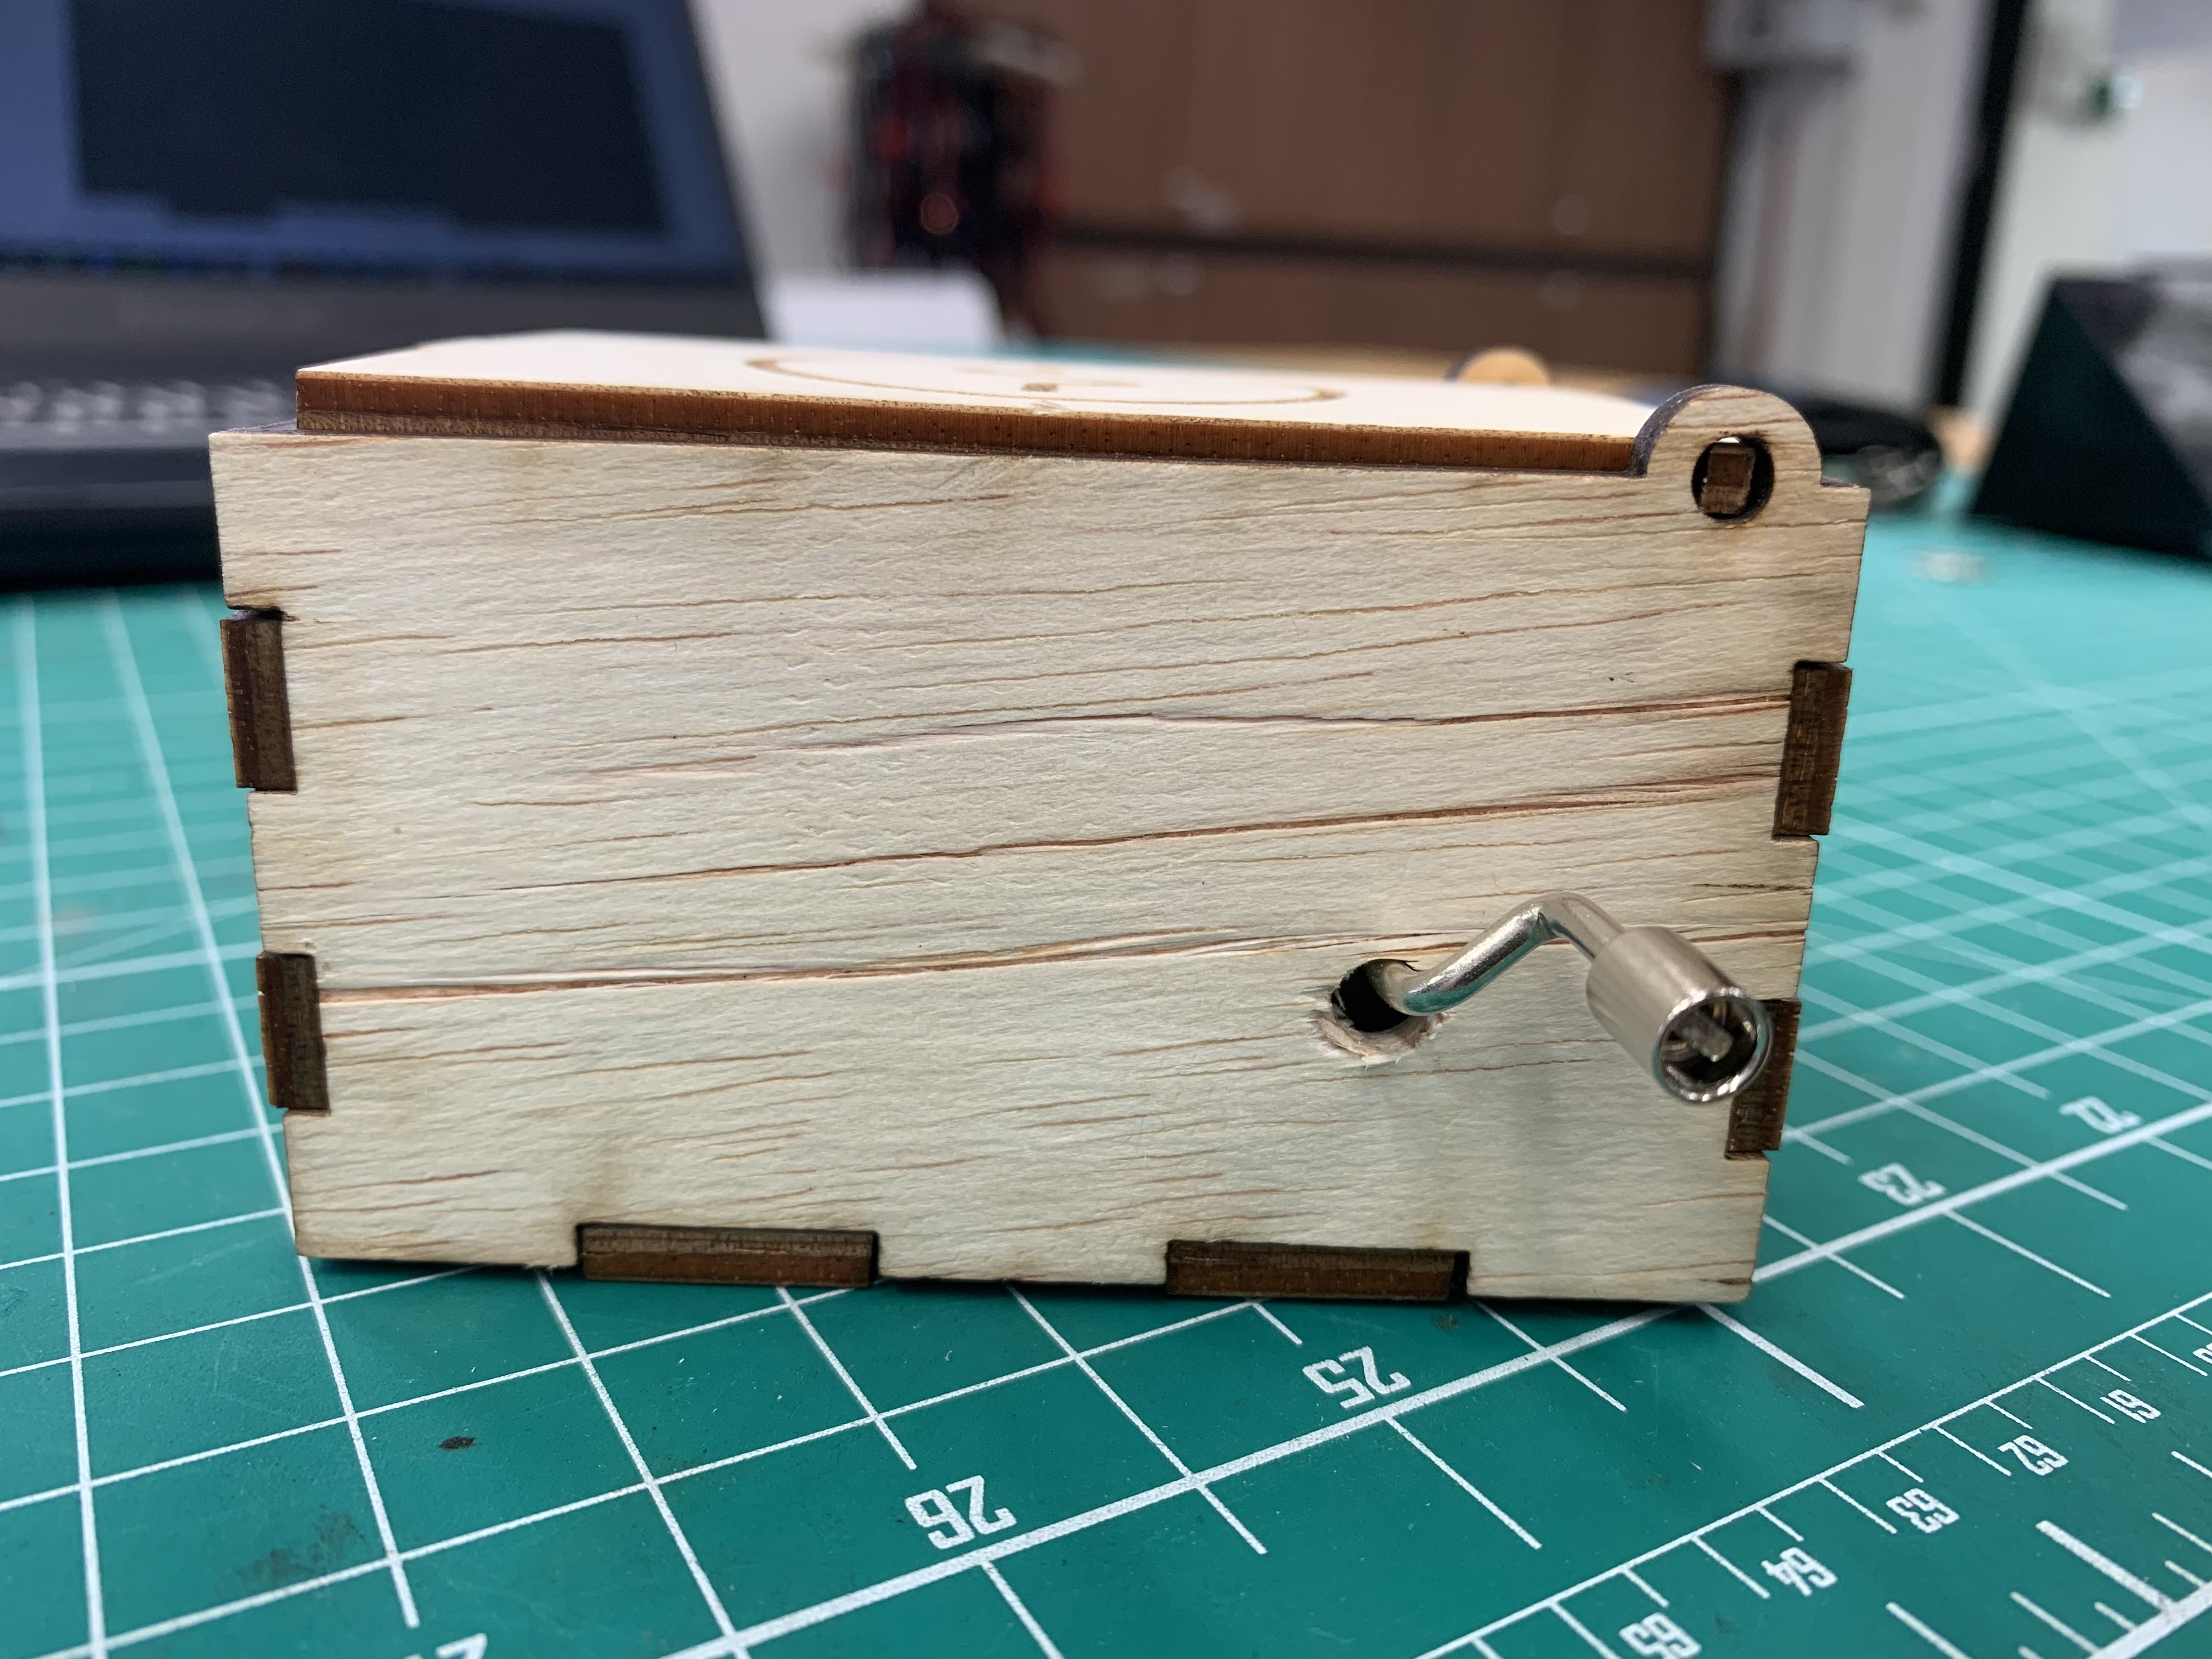
A hole will be drilled on one of the sides to fit the hand crank just before assembly.
Below is how the final product looks like, before and after assembly.
Although the process was mostly smooth due to Mr Rodney Dorville being there to supervise us, there were some issues
that cropped up. One issue was that the decoration image was too large and had to be resized. It was also a fake PNG image
(it had a very light gray background) in which I had to edit the image using GIMP to ensure the laser cutting machine would only detect
the sections I want engraved.
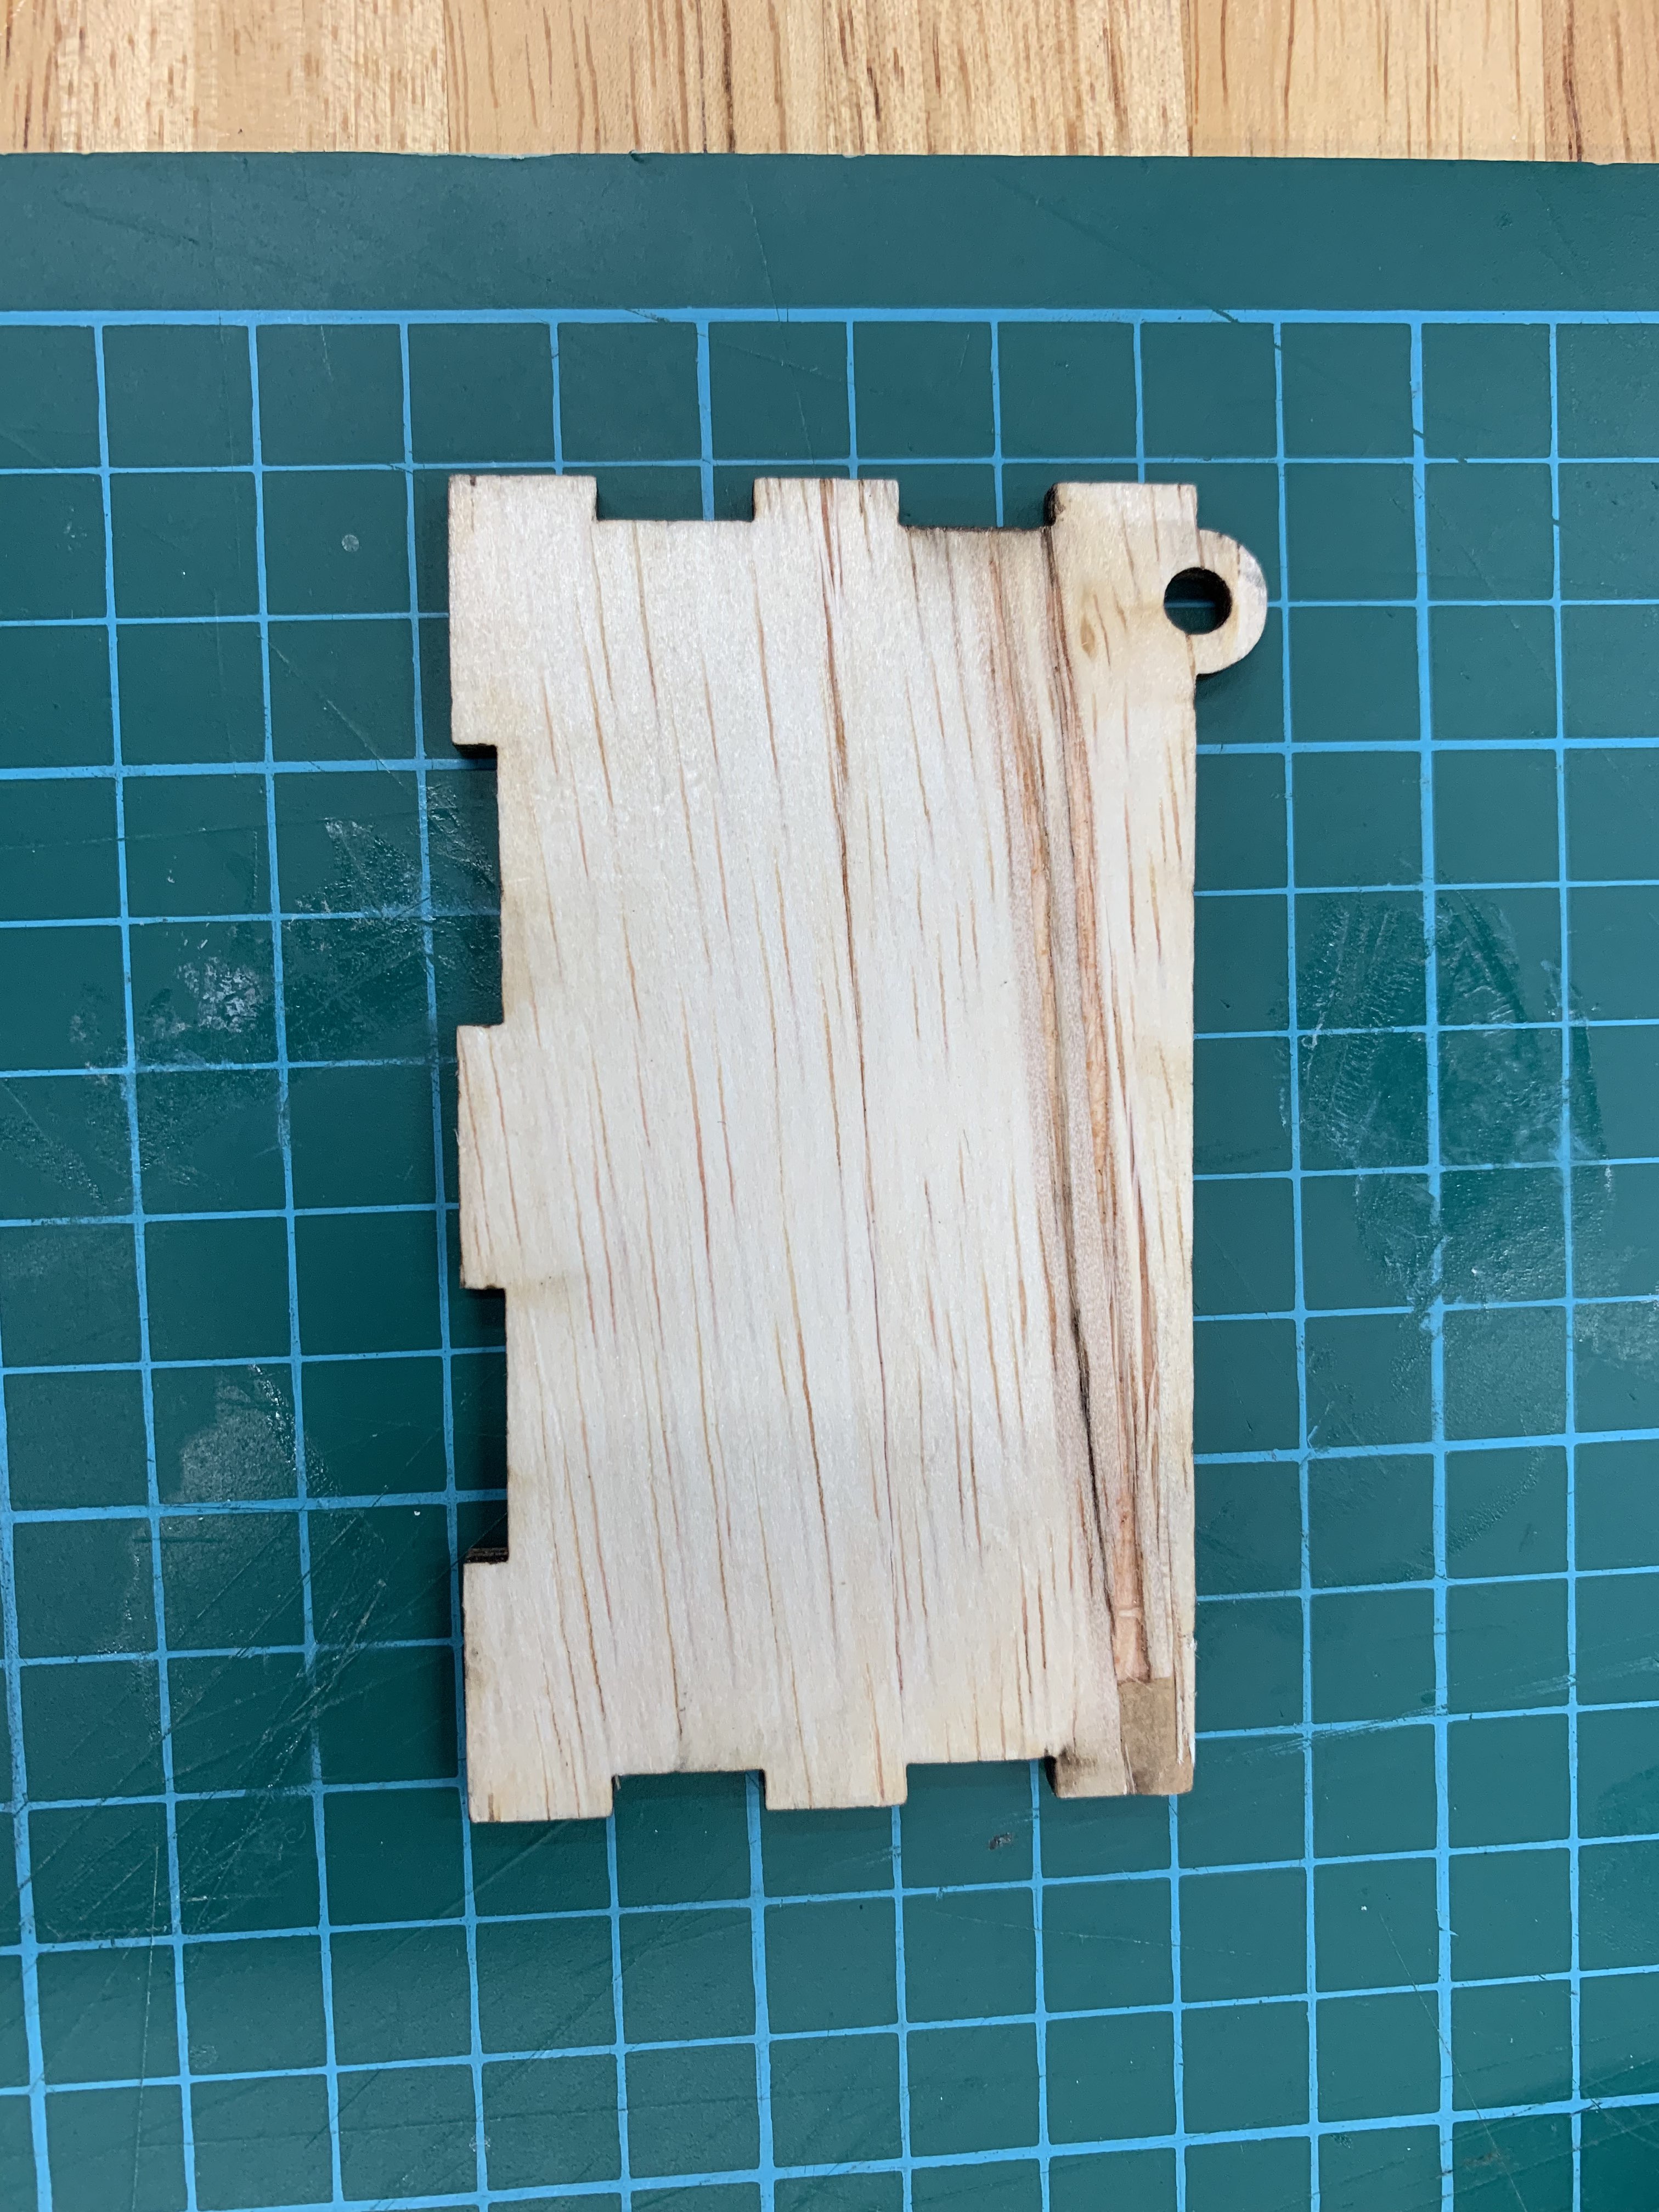
In addition, the laser cutting machine went through some sections twice during the cutting process, causing the wood to look
slightly burnt like this piece below.