3D Printing
3D printing is a relatively new tecnhological development which allows 3D models created using different softwares to be constructed layer by layer.
The 3D printed material is printed layer by layer using a melted material like PLA (Polylactic Acid), which means the 3D printer settings and 3D model have to be sliced in the appropriate software (Ultimaker Cura) beforehand.
To know if a 3D model can be 3D printed, knowing the limitations of the 3D printer will be useful.
Some things to note for 3D printing are:
- Support Structures
- Overhang (part of 3D print which extends outward without support.)
- Bridging (links 2 raised points without needing supports)
- Build Plate Adhesion (to stabilize print)
- Infill/Infill Percentage (usually in between 10%-30% to avoid material wastage)
- Resolution (measured in microns. The lower the micron value the finer the print, which means longer print time)
To start 3D printing anything, a few steps must be done. It can be condensed into the following:
- Make the 3D model using appropriate 3D modelling software like TinkerCAD, Autodesk Inventor/Fusion 360 etc.
- Export the 3D model into a Stereo Lithography (STL) file.
- Select appropriate settings in Ultimaker Cura and slice the model to preview how long the print will take as well as how it will look like layer by layer.
- Save the sliced model into a .gcode file and copy into a SD card or USB drive to be sent to the 3D printer.
Below is my documentation on the 3D printing processes I went through. The 3D
printing process will be documented in this page. For the CAD modelling section,
view the page Computer Aided Design.
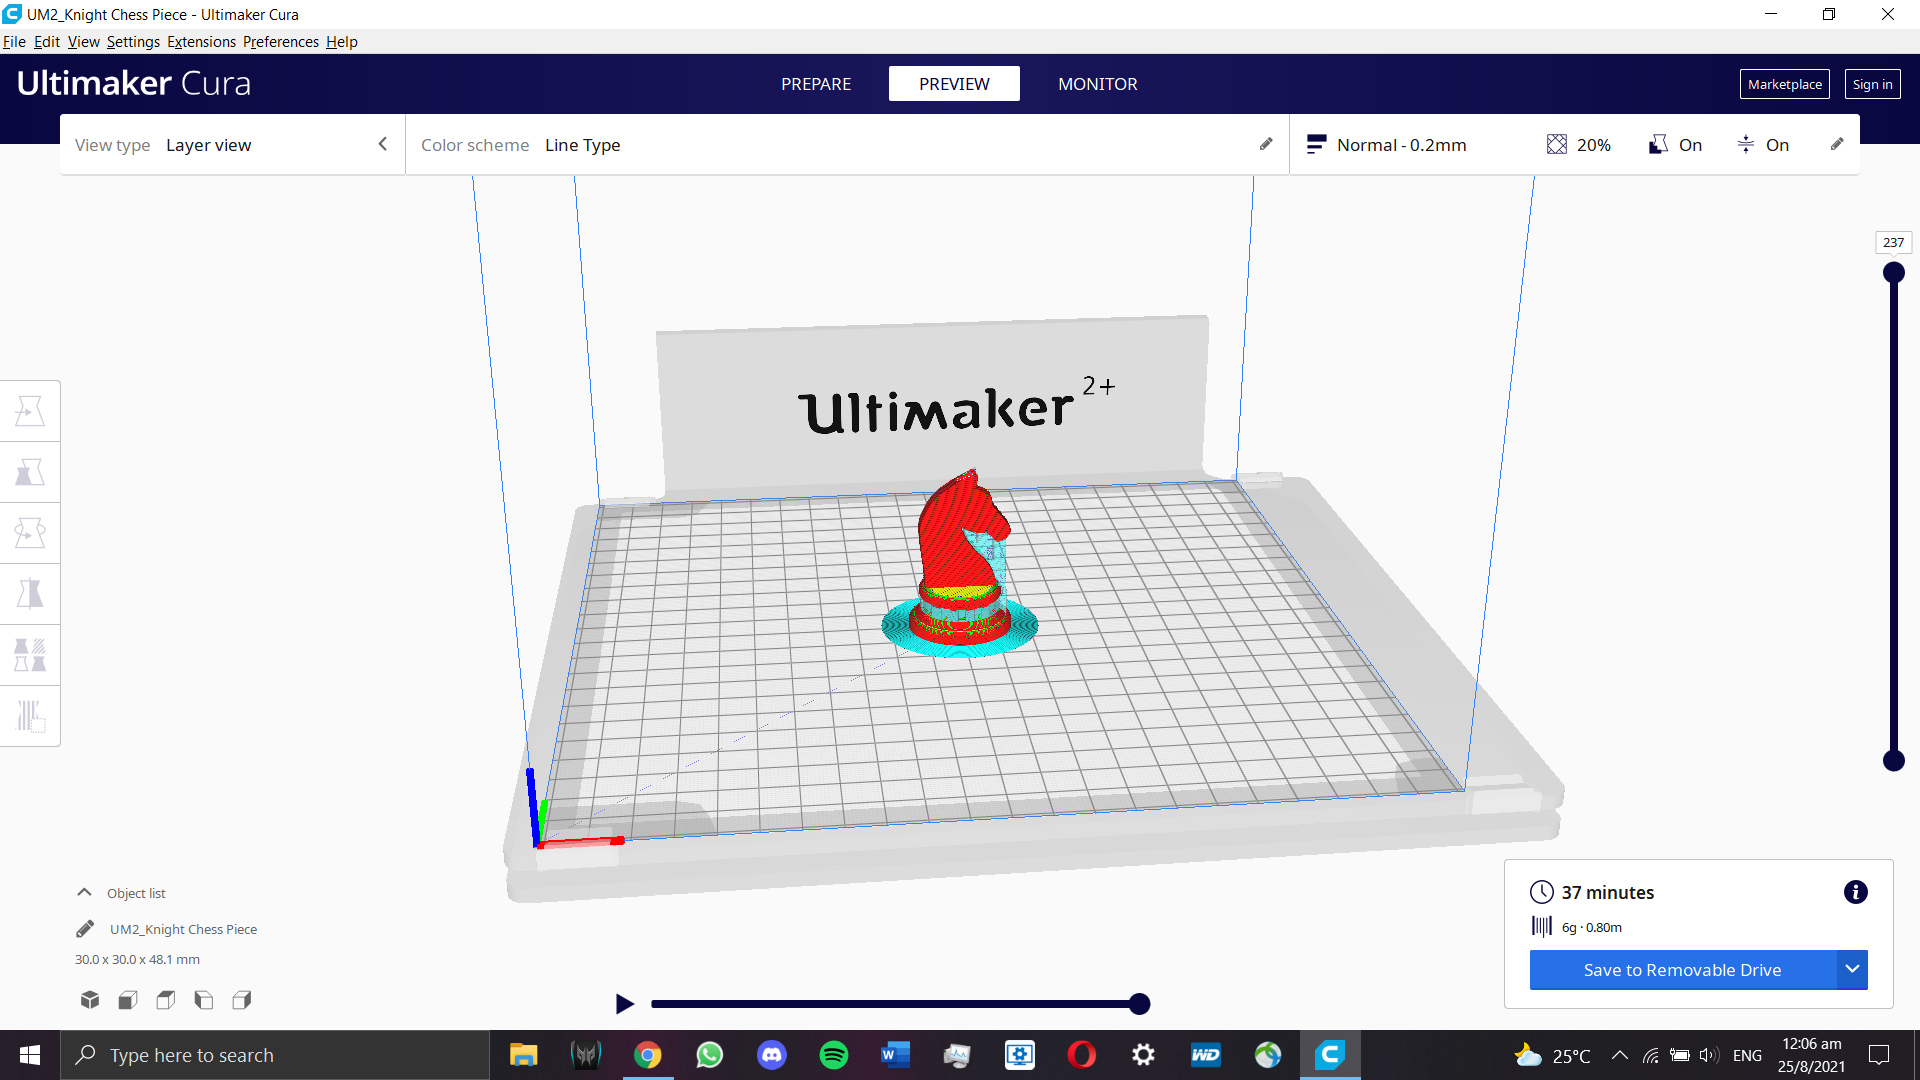
Now that our 3D model is done, we need to send it for 3D printing. The 3D model
is exported as a STL file and opened in Ultimaker Cura for slicing.

Below are the settings I used to 3D print the 3D model:
- Infill Density: 20%
- Build Plate Adhesion set to Brim
- Supports Enabled (Everywhere)
- Layer Height: 0.2mm
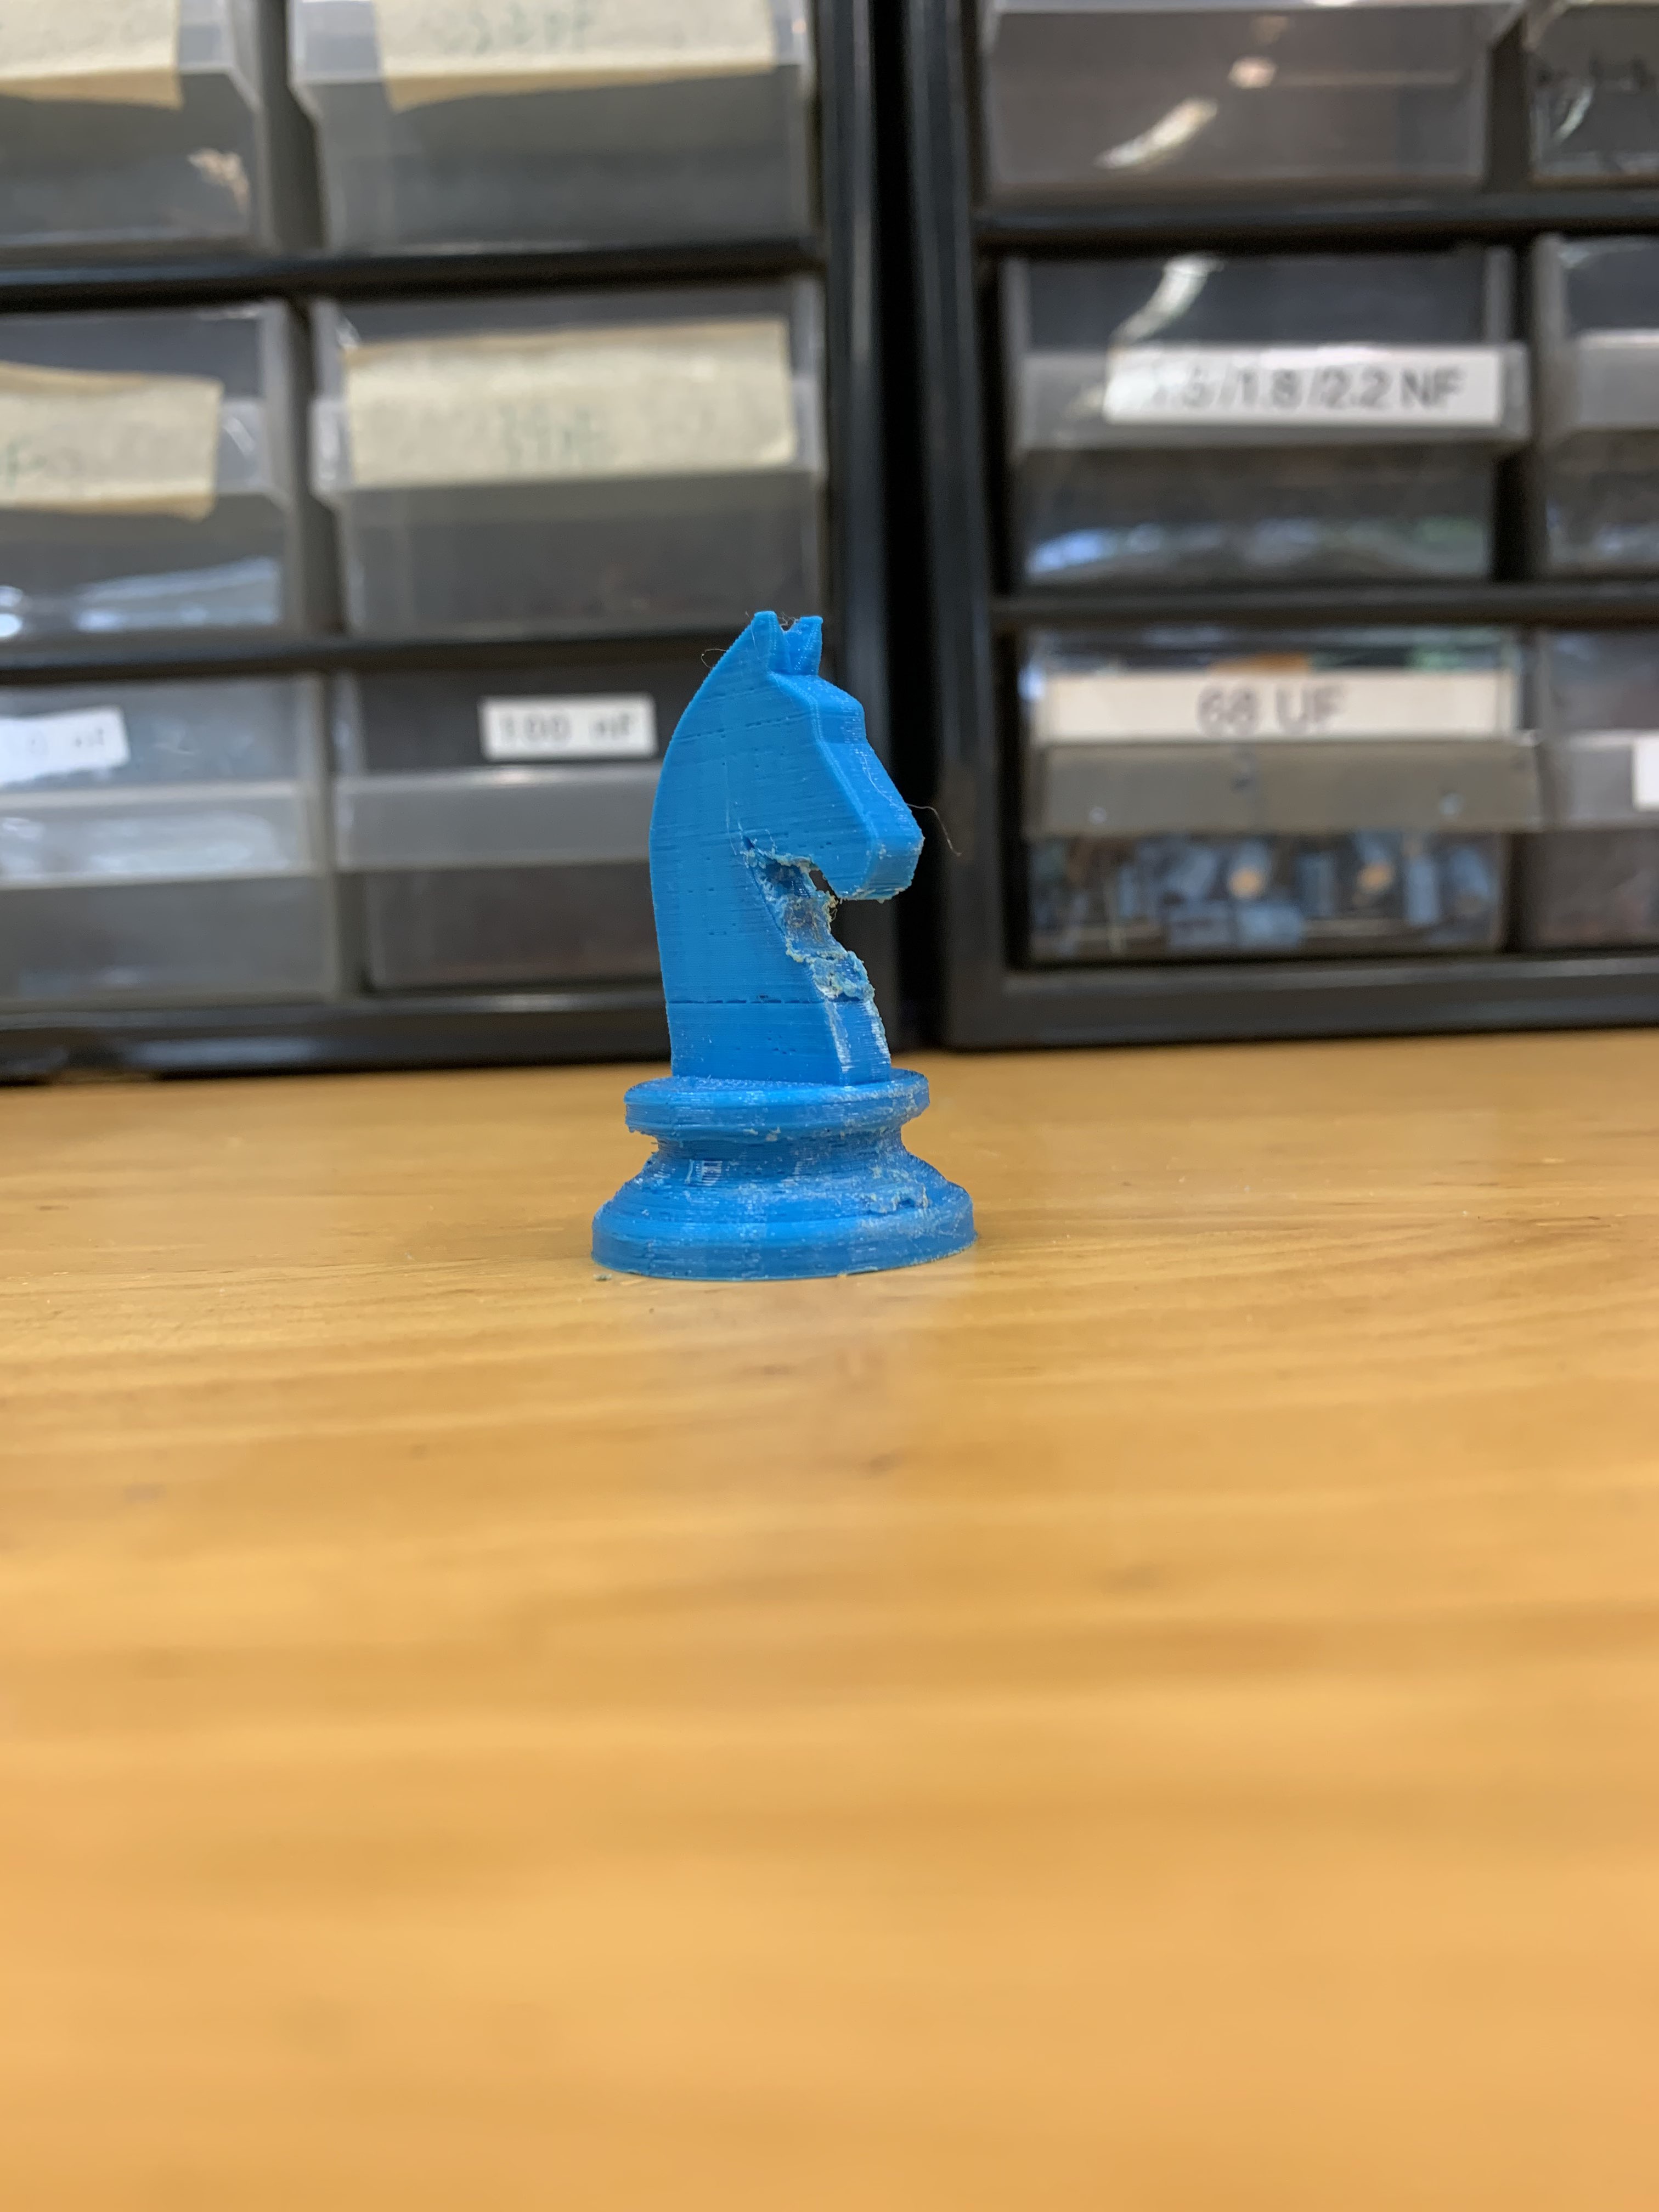
Final Model:

Throughout the process of 3D printing the knight chess piece, the whole process was mostly smooth
except I decided to add supports during the slicing. By doing so, the 3D print takes longer and they
require post-print work to remove the supports at the shell and below the head of the knight piece.
This made the finishing less smooth and I had to use sandpaper to smoothen the rough edges out.